How to draw a mug - a free mug drawing guide
Draw a simple mug step by step using basic shapes, add a handle, shading, and decoration to learn proportions, perspective, and drawing skills.

Drawing Apps
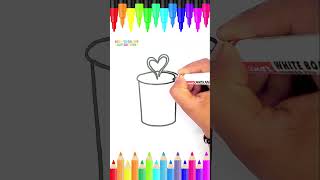
Photos of mug drawing examples
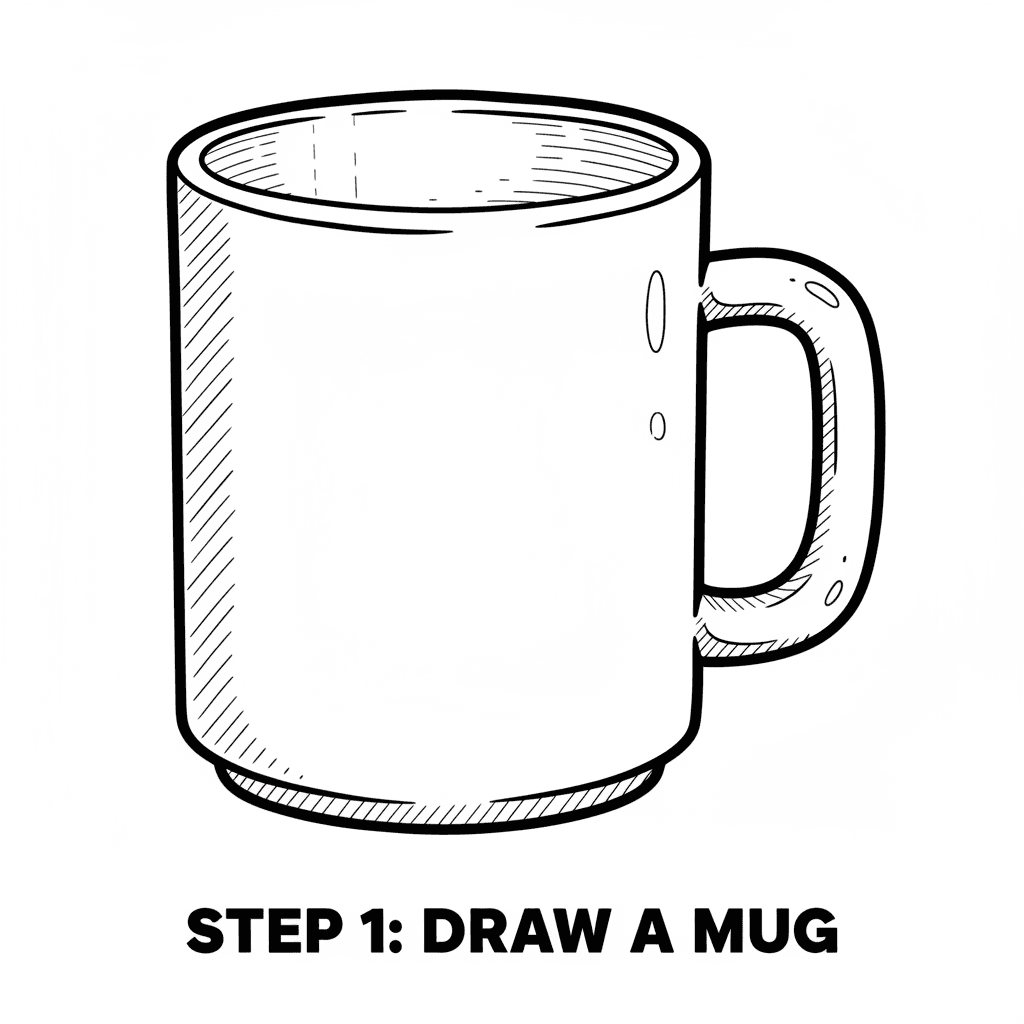


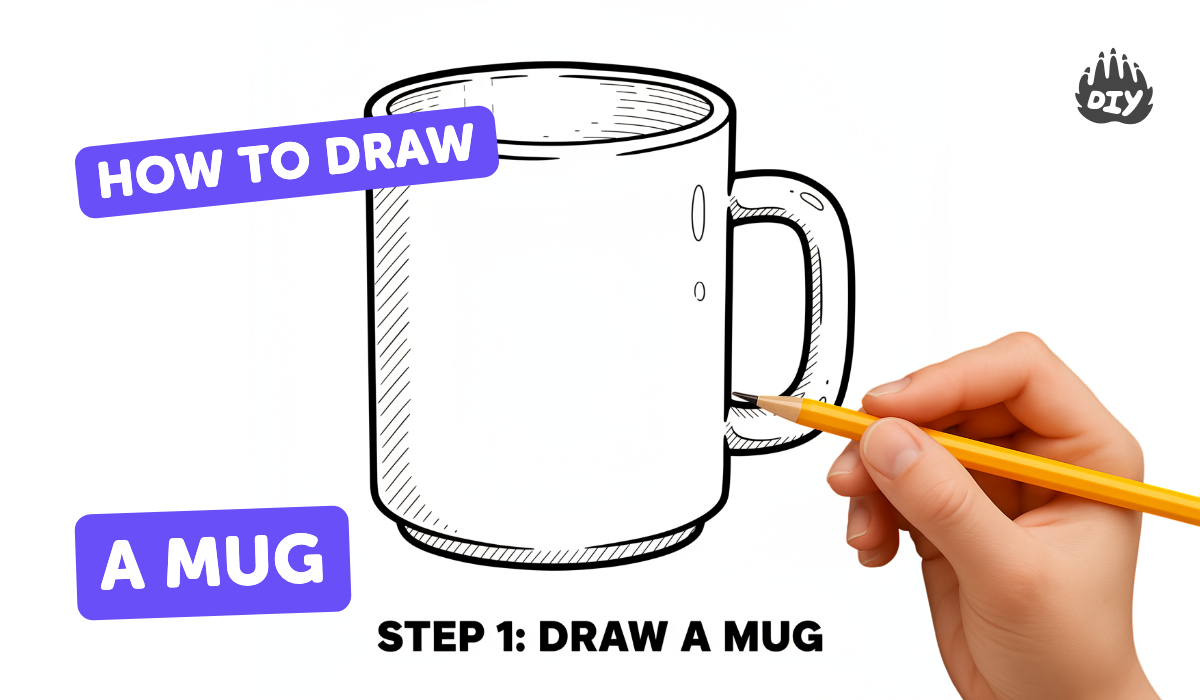
Step-by-step guide to draw a mug
How to Draw an Easy Mug | Step-by-Step Tutorial | Kids Drawing and Coloring
Step 1
Lightly draw a horizontal oval near the top third of your paper to make the mug's top rim.
Step 2
From each side of the oval draw a vertical line straight down about the same length to make the mug's sides.
Step 3
Connect the two vertical lines with a gentle curved line to form the mug's bottom.
Step 4
Draw a smaller oval just inside the top rim to show the inside edge of the mug.
Step 5
Sketch a large C shape on one side of the mug where the handle will go.
Step 6
Draw a smaller C inside the first C to make the handle look thick and sturdy.
Step 7
Pick a light direction by imagining a dot where the light comes from and keep it in mind.
Step 8
Shade the side opposite the light using short curved pencil strokes that follow the mug's round shape.
Step 9
Gently blend the shaded area with a cotton swab or tissue to smooth the tones.
Step 10
Erase a thin curved strip on the lit side to create a bright highlight.
Step 11
Add a soft flattened oval under the mug opposite the light to make a cast shadow.
Step 12
Decorate the mug with a simple pattern like stripes dots or a small drawing on the side.
Step 13
Trace your final outlines with a darker pencil or black pen and then color the mug keeping darker tones where you shaded.
Step 14
Share your finished mug drawing on DIY.org.
Help!?
I don't have a cotton swab, tissue, or black pen—what can we use instead?
If you don't have a cotton swab or tissue for blending (step 9), use a clean fingertip, a soft paintbrush, or a paper stump to smooth the shaded area from step 8, and if you lack a black pen for tracing (step 13) use a darker HB/2B pencil or a marker you have on hand.
My mug looks lopsided or the shading looks wrong—how can I fix it?
If the top oval or sides are off, lightly erase and redraw the horizontal rim (step 1) and vertical sides (step 2) using short construction lines so they match, and if shading is uneven, darken the side opposite your imagined light dot (step 7) with short curved strokes (step 8) then blend gently (step 9) and preserve the thin highlight (step 10).
How can I adapt this activity for different ages or skill levels?
For younger kids, provide a pre-drawn top oval and side lines for them to finish and decorate (steps 1–6, 12), elementary ages can complete all steps with guidance on shading (steps 7–11), and older kids can add perspective, detailed cross-hatching for shading (step 8), and advanced coloring techniques before inking (step 13).
What are simple ways to extend or personalize the mug drawing?
To extend and personalize the activity, add a custom pattern, logo, or name on the mug (step 12), experiment with ceramic textures and layered highlights in steps 10–13, create a series of color variations, and then photograph and share your favorites on DIY.org (step 14).
Watch videos on how to draw a mug
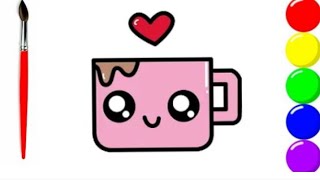
🎨 Cute Mug Drawing | Fun & Simple Art for Kids ☕
4 Videos
🎨 Cute Mug Drawing | Fun & Simple Art for Kids ☕
Easy Coffee Mug Drawing for Kids | Learn How to Draw a Cute Coffee Mug ☕️
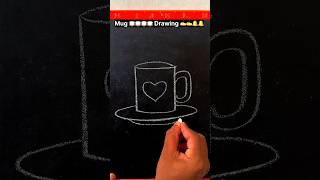
"Easy Mug Drawing for Kids | Simple Cup Sketch on Slate | Chalk Art Tutorial"
How to draw a cute mug step by step.easy cup drawing tutorial
Facts about drawing and sketching for kids
☕ A typical coffee mug holds about 8–12 fluid ounces (240–350 ml) — a handy size to imagine when drawing proportions!
✏️ Many artists begin a mug by sketching an ellipse for the rim and a cylinder for the body — simple shapes make tricky forms easy.
🎨 Using just three tones (highlight, midtone, shadow) can turn a flat sketch of a mug into something that looks 3D.
🔁 A mug handle is usually drawn as two parallel curves to show its hollow thickness — that little space makes it believable.
🧭 Linear perspective uses vanishing points so rims and ellipses tilt correctly when a mug sits on a table.
How do I teach my child to draw a simple mug step by step?
What materials do I need to draw a mug with my child?
What ages is this mug-drawing activity suitable for?
What are the benefits of drawing a mug with my child?
