How to draw a money bag - a free money bag drawing guide
Draw a money bag using pencil, ink, and simple shading. Practice shape, proportions, folds, and highlights to create a realistic sketch.

Drawing Apps
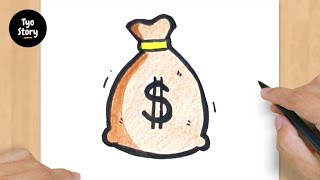
Photos of money bag drawing examples


Step-by-step guide to draw a money bag
How To Draw An Old Fashion Money Bag
Step 1
Lightly sketch a large rounded sack shape with your pencil to make the basic bag body.
Step 2
Draw a horizontal band near the top of the sack to show where the bag will be tied.
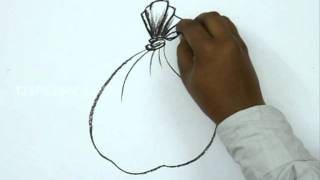
Step 3
Add a tied knot on the band and draw two short ribbon tails to show the tie.
Step 4
Draw a few curved fold lines radiating down from the knot to show fabric wrinkles.
Step 5
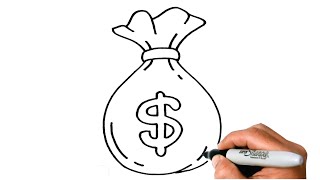
Lightly mark a centered dollar sign or coin circle on the front of the bag for the money symbol.
Step 6
Refine the bag outline and adjust the proportions so the base looks wider and the top narrower.
Step 7
Carefully trace over your final pencil lines and main folds with the ink pen.
Step 8
Wait for the ink to dry completely before doing anything else.
Step 9
Gently erase the pencil guidelines so only the inked drawing remains.
Step 10
Decide where the light is coming from and shade the side opposite the light with soft pencil strokes to create volume.
Step 11
Darken shadows under folds and at the base and blend them smoothly with a blending stump or tissue.
Step 12
Use the eraser to lift tiny highlights on the side facing the light and on the top of folds for shiny spots.
Step 13
Share your finished creation on DIY.org.
Help!?
What can I use instead of a blending stump or an ink pen if I don’t have them?
If you don't have a blending stump, use a folded tissue, cotton swab, or your fingertip to softly blend the shading, and if you lack an ink pen, carefully trace your final pencil lines with a darker 2B pencil or a fine-tip marker during the 'trace over your final pencil lines' step.
My ink smudged and pencil lines won’t erase cleanly — how do I fix that?
Follow the instructions to wait until the ink is completely dry, then use a soft kneaded eraser gently to lift pencil guidelines and avoid smearing by touching the paper as little as possible.
How can I change this activity for different age groups?
For younger kids, skip the inking and detailed shading and have them draw the basic rounded sack and big dollar sign, while older kids can refine proportions so the base is wider and top narrower, add curved fold lines, blend shadows with a stump or tissue, and lift highlights with the eraser as described.
How can we make the money bag drawing more creative or challenging after finishing it?
Extend the activity by adding coins spilling out, drawing a patterned fabric or patch on the sack, coloring the dollar sign and bag with colored pencils or watercolor after the ink dries, or creating dramatic lighting and deeper shadows before sharing the result on DIY.org.
Watch videos on how to draw a money bag
How To Draw cute money bag. Easy Drawing, Painting & Coloring For Kids and Toddlers_🌈🎨
4 Videos
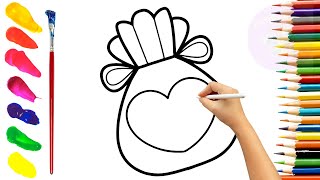
How To Draw cute money bag. Easy Drawing, Painting & Coloring For Kids and Toddlers_🌈🎨
#425 How to Draw a Money Bag - Easy Drawing Tutorial
How to Draw BAG OF MONEY EASY Step by Step
How to Draw a Money Bag
Facts about drawing and sketching for kids
🖉 Graphite pencils became popular for artists after a big deposit was found in England in the 1500s — still the go-to for sketching!
🖋 India ink (traditional black drawing ink) has been used by artists in Asia for over a thousand years.
🎨 You only need three tones — highlight, midtone, and shadow — to make a simple pencil sketch look three-dimensional.
💰 The money bag emoji (💰) is recognized around the world as a symbol for cash, treasure, or savings.
✒️ Cross-hatching (layers of parallel lines) was used by masters like Leonardo da Vinci to create texture and form.
How do I draw a realistic money bag step by step with pencil and ink?
What materials do I need to draw a money bag using pencil, ink, and shading?
What ages is drawing a money bag suitable for?
What are the benefits, variations, and safety tips for this money bag drawing activity?
