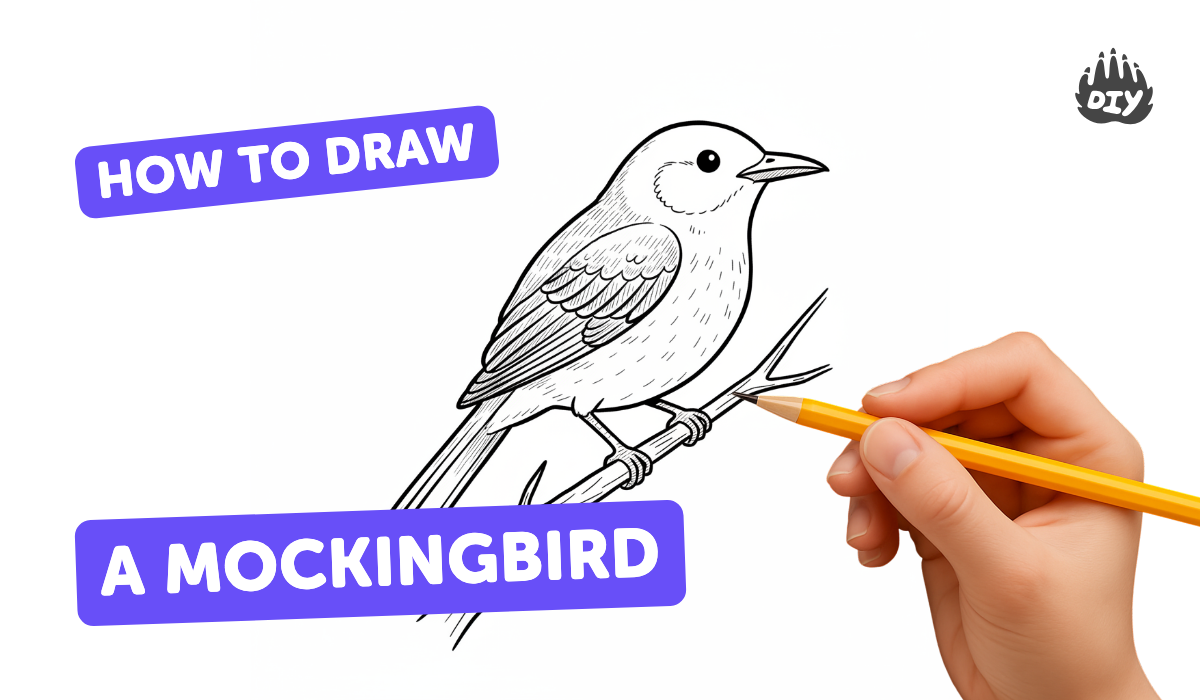
How to draw a mockingbird - a free mockingbird drawing guide
Draw a detailed mockingbird using pencil and ink. Practice proportions, feather patterns, and shading to create a realistic bird illustration.

Drawing Apps
Photos of mockingbird drawing examples


Step-by-step guide to draw a mockingbird
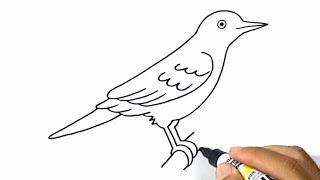
How To Draw A Mockingbird
Step 1
Place your mockingbird reference image where you can see it and study the bird's overall shapes and proportions.
Step 2
Lightly sketch the bird's main shapes with your HB pencil by drawing an oval for the body and a smaller circle for the head.
Step 3
Draw a gentle center line through the head and body to show the bird's posture and tail direction.
Step 4
Mark the beak and eye positions on the head so you know where the face details will go.
Step 5
Sketch the wing and tail outlines using long curved lines to show their basic shapes.
Step 6
Draw the legs and simple feet placement beneath the body.
Step 7
Lightly map the feather groups and patterns on the wing breast and tail with short directional strokes.
Step 8
Refine the outer contour of the bird with darker pencil lines to sharpen the shape.
Step 9
Use the fine-tip black ink pen to carefully ink the main outlines of the head body beak and eye.
Step 10
Use the pen to add feather detail lines following the natural feather direction and texture.
Step 11
Wait for the ink to dry completely so you don't smudge your work.
Step 12
Gently erase all remaining pencil guide lines without lifting the ink.
Step 13
Add soft shading with your 2B pencil and blend gently with a stump or tissue to create volume and light.
Step 14
Add any final tiny ink accents where you want more contrast and sign your name lightly.
Step 15
Share your finished mockingbird illustration on DIY.org
Help!?
Can I substitute any materials if I can't find the fine-tip black ink pen or a blending stump?
If you don't have a fine-tip black ink pen or a blending stump, ink the main outlines and feather details with a black gel pen or a sharpened dark HB pencil and blend your 2B shading with a rolled tissue, cotton swab, or your finger instead of a stump.
My ink smudged or pencil guide lines won't erase cleanly—what can I do?
Follow the instruction to wait for the ink to dry completely and if it still smudges, let it dry longer or use a clean kneaded eraser to gently lift remaining pencil guide lines while avoiding the inked outlines.
How can I adapt this drawing activity for younger or older kids?
For younger children, simplify the process by using only the HB pencil to sketch the oval head/body and mark the beak/eye positions and light 2B shading, and for older kids, add detailed feather mapping, careful fine-tip ink work, and extra 2B cross-hatching for texture.
How can we extend or personalize the finished mockingbird illustration?
After adding final tiny ink accents and signing your name, personalize the drawing by adding a habitat background with watercolor or colored pencils, experimenting with different feather patterns and contrast, or scanning it to make prints before sharing on DIY.org.
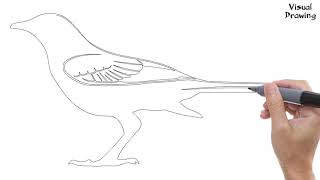
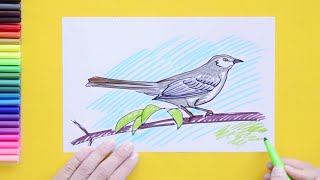
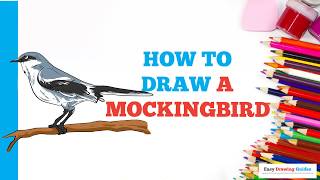
Watch videos on how to draw a mockingbird
Mockingbird Drawing Easy, How To Draw A Mockingbird Flying For Beginners Step By Step
4 Videos
Mockingbird Drawing Easy, How To Draw A Mockingbird Flying For Beginners Step By Step
How to draw Mockingbird - State Bird of Arkansas
How to Draw a Mockingbird in a Few Easy Steps: Drawing Tutorial for Beginner Artists
How to Draw Mocking Bird Easy Step by Step Drawing Animals Easy
Facts about bird anatomy and illustration
🎶 Northern mockingbirds can mimic over 200 sounds, including other birds, insects, and even mechanical noises like car alarms.
🐦 Mockingbirds often hold their tails cocked upward — a great pose to study for accurate proportions.
✏️ Pencil grades (like HB, 2B, 4B) change line darkness and softness—use softer pencils for smooth feather shading.
🖋️ India ink and fountain-pen inks have been used by artists for centuries to create strong, permanent outlines.
🪶 A feather has a central shaft (rachis) and many barbs—drawing those repeating patterns makes feathers look realistic.
How do I draw a realistic mockingbird step-by-step?
What materials do I need to draw and ink a detailed mockingbird?
What ages is drawing a detailed mockingbird suitable for?
What are the benefits of practicing pencil and ink bird drawings?
