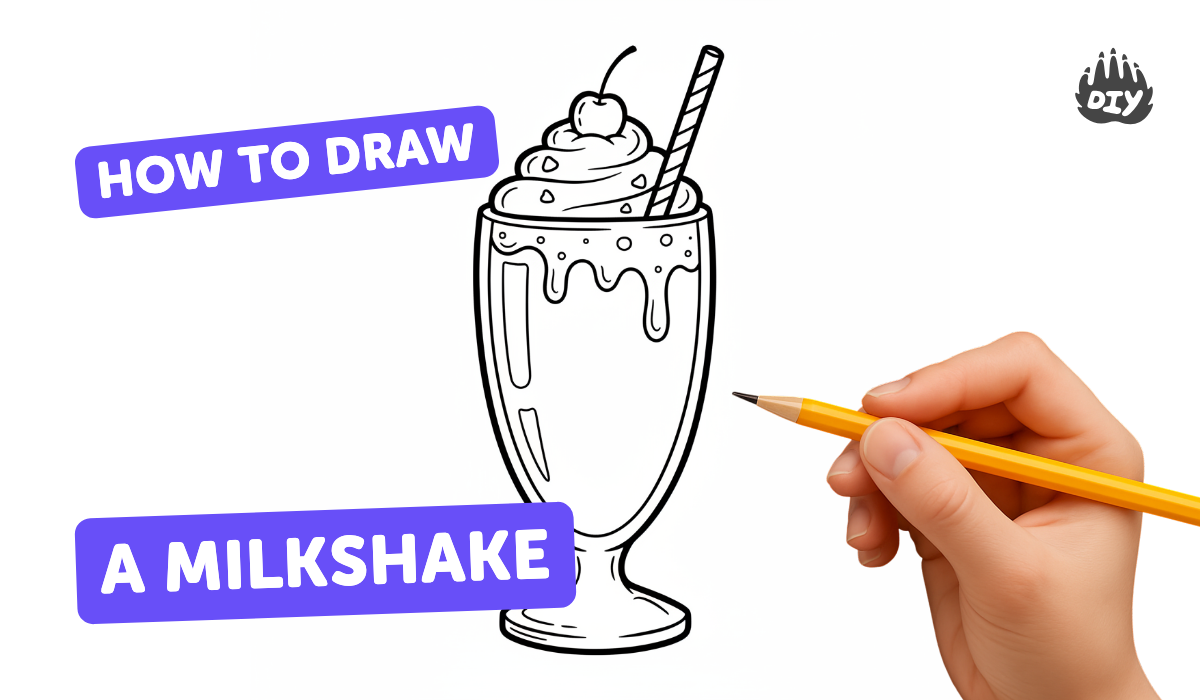
How to draw a milkshake - a free milkshake drawing guide
Draw a realistic milkshake using pencil, markers, and shading techniques. Practice observation, proportion, and texture while adding a straw and toppings.

Drawing Apps
Photos of milkshake drawing examples


Step-by-step guide to draw a milkshake
How to Draw a Milkshake | Simple & Easy for Kids! 🥤✨
Step 1
Set up your workspace by placing your paper and reference photo in front of you and arranging your pencils and markers within reach.
Step 2
Look closely at the reference photo and notice the overall shape of the glass the height of the milkshake and where the light is coming from.
Step 3
Lightly draw a vertical center line on your paper to help keep the milkshake symmetrical.
Step 4
Lightly sketch the basic shapes for the glass the milkshake top the straw and any big toppings using simple ovals and rectangles.
Step 5
Refine the outlines of the glass and the milkshake so the edges match the reference and the proportions look right.
Step 6
Add smaller details like the glass rim reflections whipped-cream swirls and the position of the cherry or sprinkles with light pencil lines.
Step 7
Erase extra construction lines so only the refined drawing lines remain clear.
Step 8
Decide where the light hits and use your HB pencil to add light shading to the glass to show reflections and curvature.
Step 9
Use the 4B pencil to darken the deeper shadows inside the glass and around the base for strong contrast.
Step 10
Soften and blend the shaded areas with a blending stump or tissue to create smooth glass and creamy texture.
Step 11
Create texture for whipped cream and toppings using short strokes and gently lift highlights with your eraser where the light hits.
Step 12
Carefully ink or trace the important outlines with markers leaving bright highlight areas untouched and let the ink dry.
Step 13
Color the straw and toppings with markers adding slightly darker tones where shadows fall to keep a realistic look.
Step 14
Add final touches by deepening the darkest shadows with your pencil and cleaning any smudges with your eraser.
Step 15
Take a photo of your finished realistic milkshake drawing and share your creation on DIY.org
Help!?
What can we use instead of a blending stump or a 4B pencil if we don't have them?
If you don't have a blending stump for step 10, use a tissue or cotton swab to soften and blend shaded areas, and if you lack a 4B pencil for step 9, substitute a softer graphite like 6B or build up darkness by layering a 2B pencil.
My glass looks lopsided or the proportions are wrong — how can I fix it?
Use the light vertical center line from step 3 together with the reference photo in step 2 to re-measure proportions, then erase extra construction lines from step 7 and refine the outlines in step 5 until the edges match.
How can I adapt this milkshake drawing for different ages or skill levels?
For younger children give a simple pre-drawn outline from step 4 and let them color with markers from step 13, while older kids can focus on realistic shading with HB and 4B pencils in steps 8–9 and practice blending with a stump in step 10 and inking in step 12.
How can we enhance or personalize the finished milkshake drawing?
After inking and coloring in steps 12–13, personalize the milkshake with new toppings or a patterned glass, deepen the darkest shadows with your 4B pencil in step 14, and then photograph the finished piece to share on DIY.org in step 15.
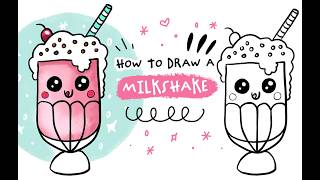
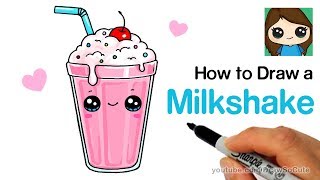
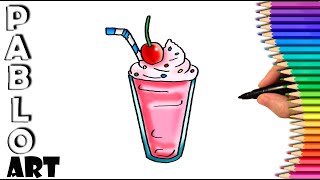
Watch videos on how to draw a milkshake
How to Draw a Milkshake Easy Step by Step Tutorial for Kids & Toddlers, Drawing Lesson
4 Videos
How to Draw a Milkshake Easy Step by Step Tutorial for Kids & Toddlers, Drawing Lesson
How to Draw a Milkshake Easy
How to draw Milkshake | Learn to Draw step by step
HOW TO DRAW A MILKSHAKE DRAWING STEP BY STEP FOR BEGINNERS (EASY AND SLOW)
Facts about still life drawing for kids
🍸 The word “milkshake” first showed up in the 1880s and could originally refer to a boozy, whiskey-based drink!
🍦 Most classic milkshakes are just ice cream and milk — using about 2–3 scoops of ice cream makes a nice thick shake.
✏️ Artists start realistic drawings by blocking a subject into simple shapes (circles, cylinders) to get proportions right.
🖊️ Marker pens give bright, smooth color; combining them with pencil shading helps keep soft textures and realistic highlights.
🎨 Chiaroscuro (strong light and shadow) and hatching techniques are key for making glass, cream, and reflections look real on paper.
How do you draw a realistic milkshake?
What materials do I need to draw a milkshake?
What ages is drawing a realistic milkshake suitable for?
What are the benefits of drawing a milkshake?
