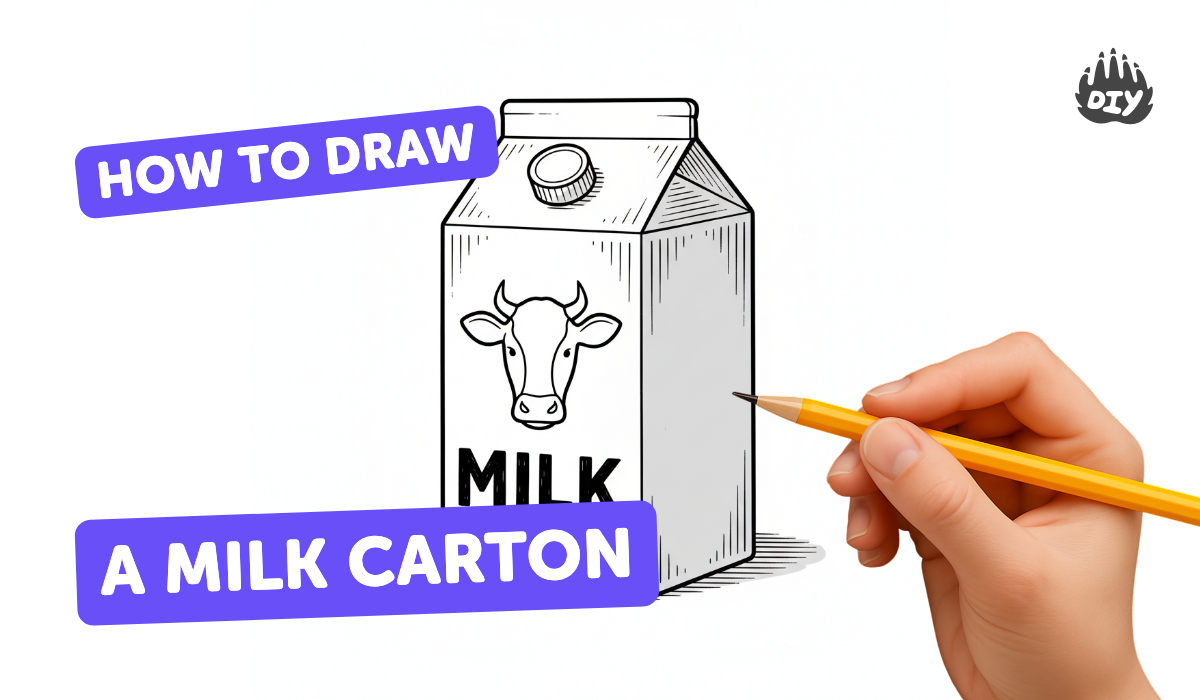
How to draw a milk carton - a free milk carton drawing guide
Draw and color a realistic milk carton using simple shapes, seams, and shading. Practice step by step observation and proportion drawing skills.

Drawing Apps
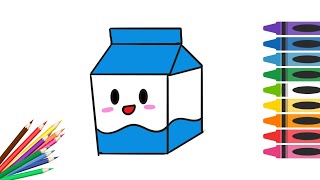
Photos of milk carton drawing examples


Step-by-step guide to draw and color a realistic milk carton
How to Draw a Simple Carton of Milk | Step-by-Step Lesson
Step 1
Find a real milk carton or a clear picture of one and put it where you can look closely.
Step 2
Lightly draw a tall rectangle in the middle of your paper for the front face of the carton.
Step 3
Draw a second narrower rectangle attached to the right side of the first rectangle to make the side panel.
Step 4
Draw two short diagonal lines from the top edge that meet in a point above the center to make the peaked roof (an inverted V).
Step 5
Connect the top corners of the front and side rectangles to the peak with straight lines to finish the roof planes.
Step 6
Draw a thin vertical line down from the peak to the front top edge to show the folded seam.
Step 7
Add a small rectangle or rounded flap near the top of the side panel to show the pouring spout or fold.
Step 8
Lightly sketch a rectangular label area on the front face for the milk logo.
Step 9
Add simple shapes inside the label (like a circle or cow shape) to look like a milk logo.
Step 10
Erase any extra construction lines and then darken the main outline so the carton looks clean.
Step 11
Decide where the light is coming from and make a small dot outside the drawing to remind you.
Step 12
Shade the side panel a bit darker than the front to show depth because it gets less light.
Step 13
Add gentle shading under the roof planes and along the seam to show creases and folds.
Step 14
Use your coloring materials to color the label and carton and keep the shaded areas darker for realism.
Step 15
Share your finished milk carton creation on DIY.org
Help!?
What can we use instead of a real milk carton or a printed picture if we don't have one for Step 1?
Use a cleaned cereal or juice carton cut down to a similar size or a clear photo of a milk carton on a phone or tablet propped up as your reference for Step 1.
I'm having trouble making the side panel and peaked roof look 3D—what should I try?
Draw the front rectangle lightly, measure and add a narrower rectangle for the side, sketch the short diagonal lines to meet at a centered peak, and keep lines light so you can erase construction lines as described in Steps 2–6 to clean up the perspective.
How can I adapt this milk-carton drawing activity for different ages?
For younger children let them trace a real carton or stick on a premade label and color simply, while older kids can refine the pouring spout (Step 7), add detailed shading along the seam and roof planes (Steps 12–14), and design a complex logo in the label area (Step 11).
What are some ways to extend or personalize the finished milk-carton drawing?
Turn your drawing into a 3D paper model by redrawing panels with tabs to cut and fold, decorate a custom label as in Step 11, add realistic shading on the side panel and seam (Steps 12–14), and then photograph it to share on DIY.org as suggested.
Watch videos on how to draw and color a realistic milk carton
"Easy Step-by-Step on How to Draw a Cute Milk Carton" | Kids Drawing
4 Videos
"Easy Step-by-Step on How to Draw a Cute Milk Carton" | Kids Drawing
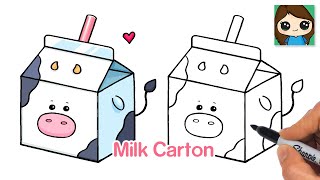
How to Draw a Milk Carton | Cute Food
How to Draw a Cute Milk Carton 🥛 | Easy & Fun Art Tutorial for Kids!

How to Draw a Carton of Milk Real Easy
Facts about observation and proportion drawing for kids
🥛 The gable-top milk carton (the classic paper milk carton) was patented in 1915 by John Van Wormer.
📦 Tetra Pak introduced aseptic carton packaging for liquids in 1951, allowing milk and juice to last longer without refrigeration.
✏️ Artists often start with simple shapes—rectangles, triangles and cylinders—to build accurate proportions for objects like cartons.
📏 Measuring with your pencil held at arm’s length is a classic artist trick to check angles and proportions while drawing.
🎨 Shading the flat planes of a carton (bright highlights on the lit side and softer shadows opposite) makes a box look three-dimensional.
How do I draw a realistic milk carton step by step?
What materials do I need to draw and color a milk carton?
What ages is drawing a milk carton suitable for?
What are the benefits and variations of drawing a milk carton?
