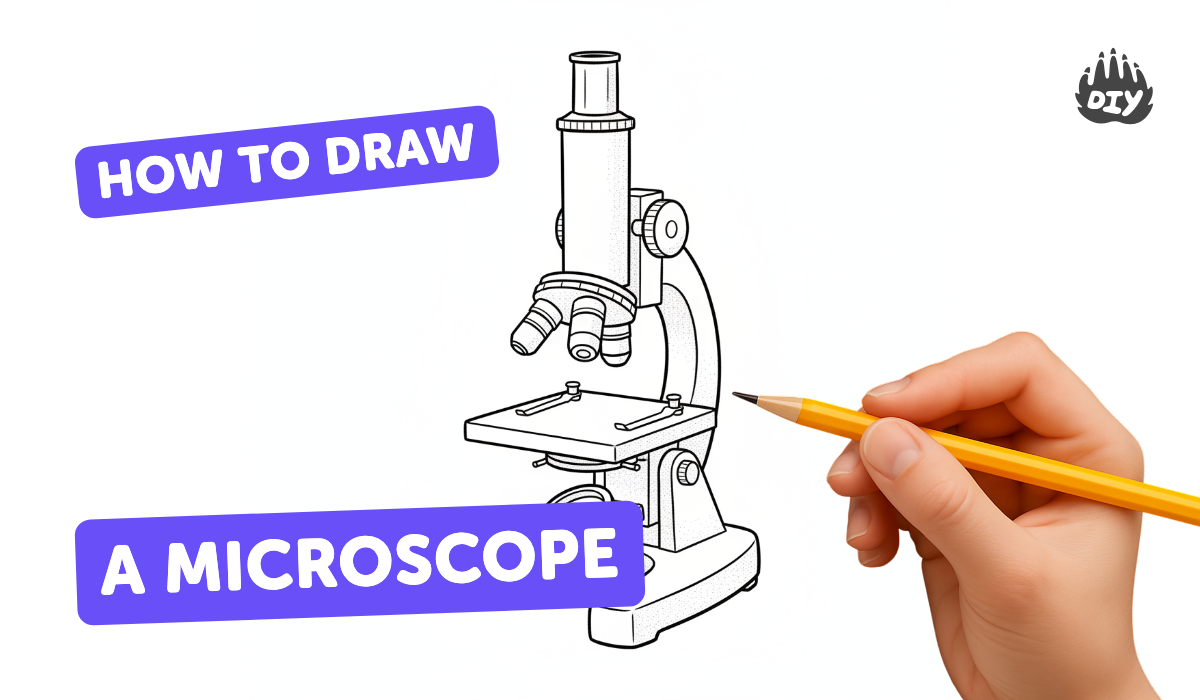
How to draw a microscope - a free microscope drawing guide
Draw a simple microscope step-by-step using basic shapes, shading, and perspective. Label its parts and practice careful observation, proportions, and neat line work.

Drawing Apps
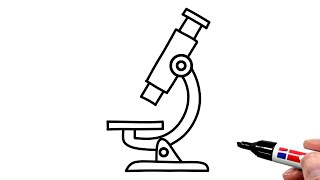
Photos of microscope drawing examples


Step-by-step guide to draw a microscope
How to Draw a Microscope | Easy Step-by-Step Science Drawing Tutorial for Kids
Step 1
Sit at a flat well-lit workspace with your paper and pencil ready.
Step 2
Lightly sketch the microscope base as a flat rounded rectangle near the bottom of the page using your ruler.
Step 3
Draw a curved arm rising from the back edge of the base up toward the top third of the page.
Step 4
Sketch a thin rectangular stage attached to the arm about halfway up.
Step 5
Add a small circle or oval on the stage to show a stage clip.
Step 6
From the top of the arm draw an angled body tube that ends in a small circle for the eyepiece.
Step 7
Sketch two or three short tapered cylinders under the body tube above the stage to make the objective lenses.
Step 8
Draw a round focus knob on the side of the arm at about the middle height.
Step 9
Carefully trace the final outlines of the microscope with a fine-tip pen or a darker pencil for neat lines.
Step 10
Erase faint construction lines gently so only the neat outlines remain.
Step 11
Shade the curved surfaces with light pencil strokes to show form and blend gently with a tissue or cotton swab.
Step 12
Draw straight leader lines from each main part to a clear area beside the drawing using your ruler.
Step 13
Write neat labels beside each leader line for: Eyepiece; Body tube; Objective lenses; Stage; Focus knob; Base.
Step 14
Add light color to parts if you wish and tidy any smudges with your eraser or tissue.
Step 15
Share your finished microscope drawing on DIY.org.
Help!?
What can I use if I don't have a ruler, fine-tip pen, or cotton swab listed in the materials?
Use the straightedge of a hardcover book or a credit card for the ruler, a darker pencil or ballpoint pen instead of a fine-tip pen to trace final outlines, and a fingertip, blending stump, or folded tissue in place of a cotton swab for shading.
My base and curved arm look lopsided and my labels are messy — what should I try?
Lightly re-sketch the base and curved arm (steps 1–2) with soft short strokes, use your ruler when drawing leader lines (step 12), and only trace outlines with a fine-tip pen after you're happy so you can erase construction lines cleanly (steps 9–10).
How can I change the difficulty so it's right for a 4‑year‑old, an 8‑year‑old, or a 12‑year‑old?
For a 4‑year‑old, pre-draw the rounded base and arm and let them color and stick one label; for an 8‑year‑old, have them follow all steps including ruler-led leader lines and simple shading (steps 1–13); and for a 12‑year‑old, add extra objective lenses, more precise shading techniques, and technical labels (steps 6, 11, 13).
What are some fun ways to enhance or personalize the drawing once it's finished?
Add light color or patterns to parts of the microscope (step 14), draw a lab background or a specimen on the stage, include personalized labels or a nameplate, and photograph it to share on DIY.org (step 15).
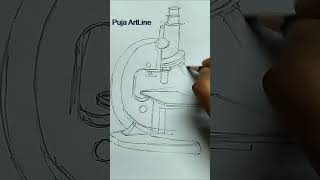
Watch videos on how to draw a microscope
How to Draw a Microscope
4 Videos
How to Draw a Microscope
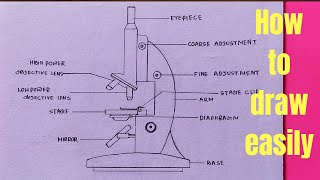
How to draw Microscope diagram for beginners - step by step
How to Draw Microscope diagram/Biology class/Science project/Easy trick to draw human Microscope...
How to Draw and Label a Microscope | Step-by-Step Pencil Sketch Tutorial
Facts about observational drawing
🔬 The first microscopes appeared in the late 1500s–early 1600s and let people explore tiny worlds for the first time.
🔎 Antonie van Leeuwenhoek built simple microscopes and was the first to describe bacteria, calling them “animalcules.”
🧫 In 1665 Robert Hooke used a microscope to sketch cork and coined the term “cell” — a classic example of scientific drawing.
🔭 Typical light microscopes magnify up to around 1,000×, while electron microscopes can magnify over a million times.
✏️ A pro drawing trick: break the microscope into basic shapes (cylinders, circles, rectangles) before adding details and shading.
How do I draw a simple microscope step-by-step with my child?
What materials do I need to draw a microscope at home?
What ages is drawing a microscope suitable for?
What are the benefits of having children draw a microscope?
