How to draw a meteor - a free meteor drawing guide
Draw a realistic meteor by sketching its rocky shape, adding a fiery trailing tail, using shading and color to show motion and glow.

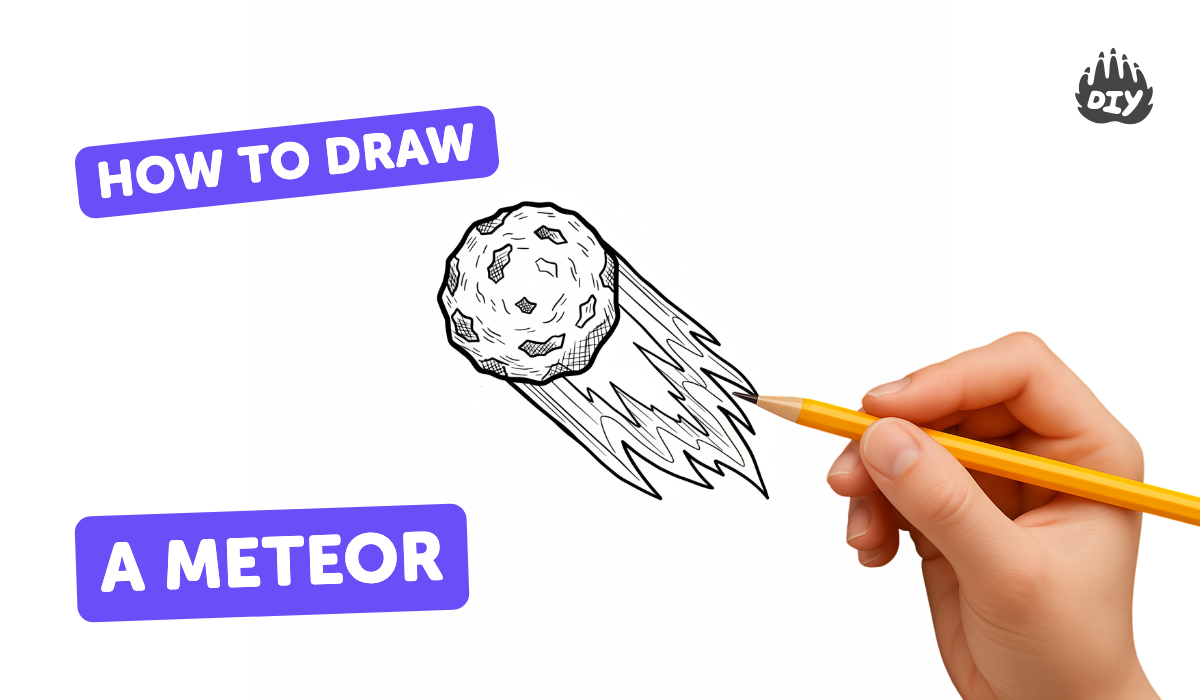
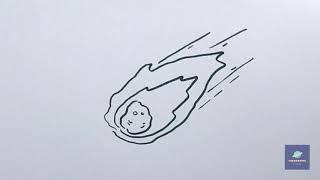
Step-by-step guide to draw a realistic meteor
How To Draw A Meteor (Hot Potato)
Step 1
Put all your materials on a clean table within easy reach.
Step 2
Lightly draw a short curved guideline that shows which way your meteor will fly.
Step 3
Lightly sketch the meteor's rocky shape near the front of the guideline using an irregular oval with bumps and jagged edges.
Step 4
Draw small crater circles and short surface lines on the meteor body to make it look rocky.
Step 5
Draw the tail as a long tapered shape behind the meteor following the guideline with sweeping lines.
Step 6
Inside the tail draw several flame-like curved tongues of fire pointing backward.
Step 7
Add short motion streaks and thin lines around the tail to show fast movement.
Step 8
Lightly shade one side of the meteor with soft pencil strokes to create shadow and roundness.
Step 9
Gently blend the shaded area with a tissue or cotton swab to smooth the shadow.
Step 10
Color the meteor's rocky body using grays and browns to add texture.
Step 11
Color the tail using bright yellows oranges and reds and blend where the colors meet for a fiery look.
Step 12
Outline the meteor and some tail edges with a black marker or darker pencil to make them stand out.
Step 13
Add small white highlights and a soft glow around the meteor's front and tail using a white gel pen or white colored pencil.
Step 14
Take a photo and share your finished meteor drawing on DIY.org.
Help!?
What can we use instead of a white gel pen, black marker, or cotton swab if we don't have them?
Use a sharpened white colored pencil or a tiny dab of white acrylic paint for the white gel pen, a dark gray colored pencil instead of a black marker for the outline step, and a rolled-up tissue or your fingertip to blend in place of a cotton swab.
My shading looks patchy after blending—how do I fix it?
Gently lift any heavy graphite with a clean eraser, reapply soft pencil strokes along the shaded side of the meteor as in 'Lightly shade one side...', then blend again with a tissue or cotton swab using small circular motions to smooth the shadow.
How can we adapt this drawing activity for younger or older kids?
For younger children simplify by drawing a single irregular oval meteor and one bold tail with crayons and skipping craters and shading, while older kids can add detailed craters, layered pencil shading, color blending in the tail, and finish with a black marker outline and white gel pen highlights as described.
How can we make the meteor drawing more dramatic or personalize it?
Create a dark space background with black or navy colored pencil, flick white paint for stars, add glitter glue or metallic pencil to the tail for extra sparkle, and then photograph the finished meteor to share on DIY.org as the last step.
Watch videos on how to draw a realistic meteor
How to Draw a Meteor Easy step by step
4 Videos
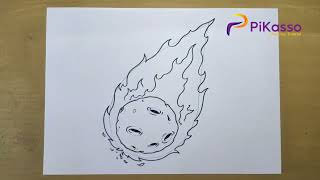
How to Draw a Meteor Easy step by step
How to Draw a Meteor | Meteorites / Easy Step by Step Drawing Guide Tutorial
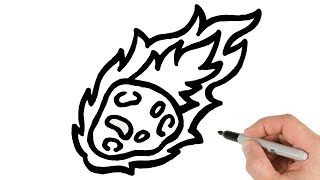
How to Draw a Falling Meteor | easy Drawings for Beginners
How to Draw meteor | Easy Drawing
Facts about drawing and shading techniques
🌠 Most meteors are smaller than a pebble and burn up high in the atmosphere — that's why we see quick streaks!
☄️ When a meteoroid enters Earth's atmosphere it's called a meteor; if any piece reaches the ground it's a meteorite.
🔆 Fireballs are extra-bright meteors that can outshine planets and sometimes be seen in daytime.
💨 A meteor's glowing tail comes from heated and ionized air, which is why tails can show different colors.
🎨 Artists show speed and glow with motion blur, high-contrast highlights, and warm-to-cool color fades.
How do you draw a realistic meteor?
What materials do I need to draw a meteor?
What ages is drawing a meteor suitable for?
What are the benefits of drawing a meteor, and are there safe variations?
