How to draw a mask - a free mask drawing guide
Draw a wearable mask design using simple shapes, proportions, and shading to practice facial symmetry. Add colors and patterns to personalize it.

Drawing Apps
Photos of wearable mask design examples


Step-by-step guide to draw a wearable mask design
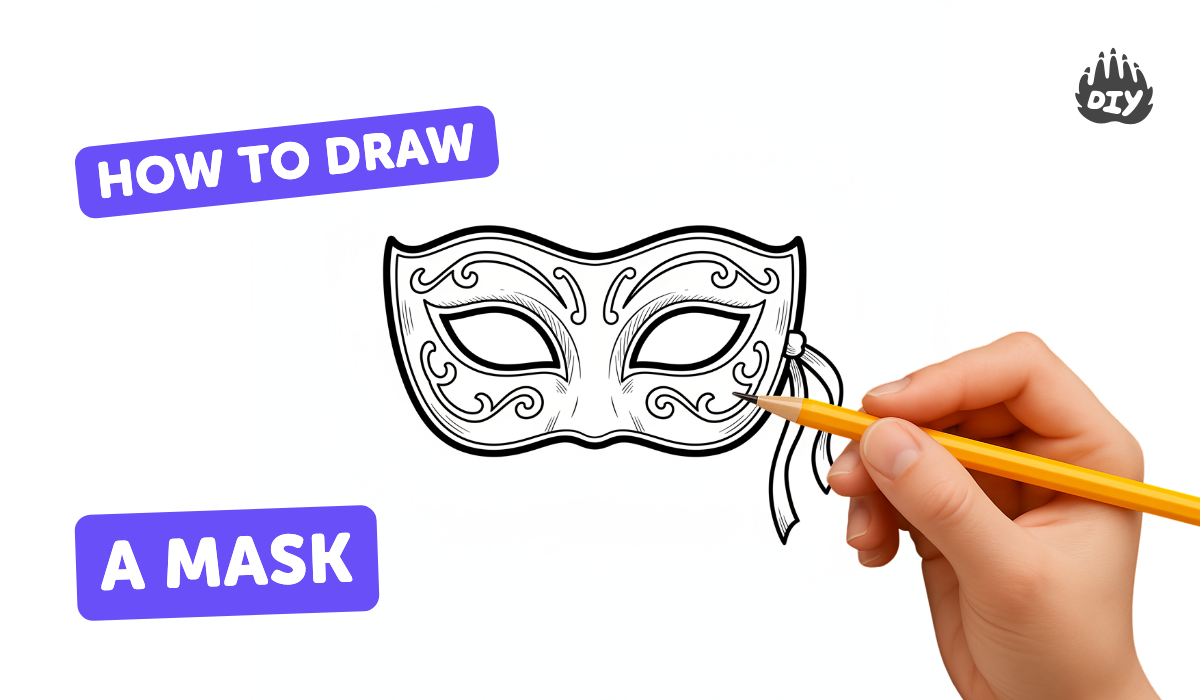
How to Draw a Mask: Easy Step by Step Drawing Tutorial for Beginners
Step 1
Lay a sheet of paper flat on your table so you have a smooth space to draw.
Step 2
Use your pencil and ruler to draw a light vertical centerline down the middle of the paper to help keep things symmetrical.
Step 3
Draw a light horizontal eye line across the paper about halfway down to set the mask's eye level.
Step 4
Sketch the outer shape of your mask centered on the centerline using a simple oval or rounded rectangle.
Step 5
Draw two eye holes that are the same size and sit evenly on each side of the centerline.
Step 6
Add a small nose bridge shape centered on the vertical line below the eye line.
Step 7
Draw fun decorative shapes on the left side of the mask like stars stripes or swirls.
Step 8
Copy the same decorative shapes in the same places on the right side so both sides match.
Step 9
Shade lightly along curves and under openings with your pencil to make the mask look three-dimensional.
Step 10
Trace the final lines of your design with a black marker or a darker pencil to make the artwork bold.
Step 11
Erase the faint guide lines and any stray pencil marks so your mask looks neat.
Step 12
Carefully cut out the mask shape along the outer line using scissors.
Step 13
Use the hole punch to make a hole on each side at about ear level for the strap.
Step 14
Thread the string or elastic through both holes and tie knots so the mask fits comfortably on your head.
Step 15
Share a photo of your finished wearable mask design and tell the story of how you made it on DIY.org.
Help!?
What can I use if I don't have a hole punch, elastic, or a ruler?
If you don't have a hole punch, carefully make the ear-level holes with the tip of scissors along the centerline marks, use ribbon, yarn, or tape instead of elastic for the strap, and use the straight edge of a book as a ruler to draw your pencil centerline and eye line.
My eye holes or decorations aren't lining up—how can I fix it?
Use your pencil and ruler to redraw the eye holes at equal distances from the vertical centerline and erase the old marks, and if the holes are already too big, glue a small paper patch behind the mask then retrace and cut the correct size.
How can I adapt the mask steps for younger or older kids?
For younger children, pre-draw the outer shape and eye holes on thicker cardstock and let them color and cut with safety scissors, while older kids can focus on precise pencil shading, tracing with a black marker, using a craft knife with supervision, and adding symmetric decorative shapes along the centerline.
How can we enhance or personalize the finished wearable mask?
After tracing your final lines with a black marker, personalize the mask by adding paint, glitter glue, feathers or foam decorations, reinforce the punched holes with tape or hole-reinforcements for durability, and share the photo and story on DIY.org as suggested in the instructions.
Watch videos on how to draw a wearable mask design
How To Draw and Color Carnival Mask | Drawing Tutorials For Kids
4 Videos

How To Draw and Color Carnival Mask | Drawing Tutorials For Kids
How to Draw a Mask 🎭 #art #drawing
How to Draw a Cute Face Mask, Easy Drawing
How to Draw a Face Mask in a Few Easy Steps: Drawing Tutorial for Beginner Artists
Facts about drawing and facial symmetry
🎭 Masks have been used for thousands of years in rituals, theater, and festivals around the world.
🔁 Human faces are rarely perfectly symmetrical — tiny differences help artists make portraits look lively.
✏️ Artists often start faces with simple shapes (ovals, circles, triangles) to get proportions right.
🎨 Complementary colors (like blue and orange) make mask patterns stand out and look brighter.
🖌️ A few well-placed shades and highlights can turn a flat drawing into a wearable-looking 3D mask.
How do I draw a wearable mask design to practice facial symmetry?
What materials do I need to draw and make a wearable mask?
What ages is this wearable mask drawing activity suitable for?
What are the benefits of drawing wearable masks for children?
