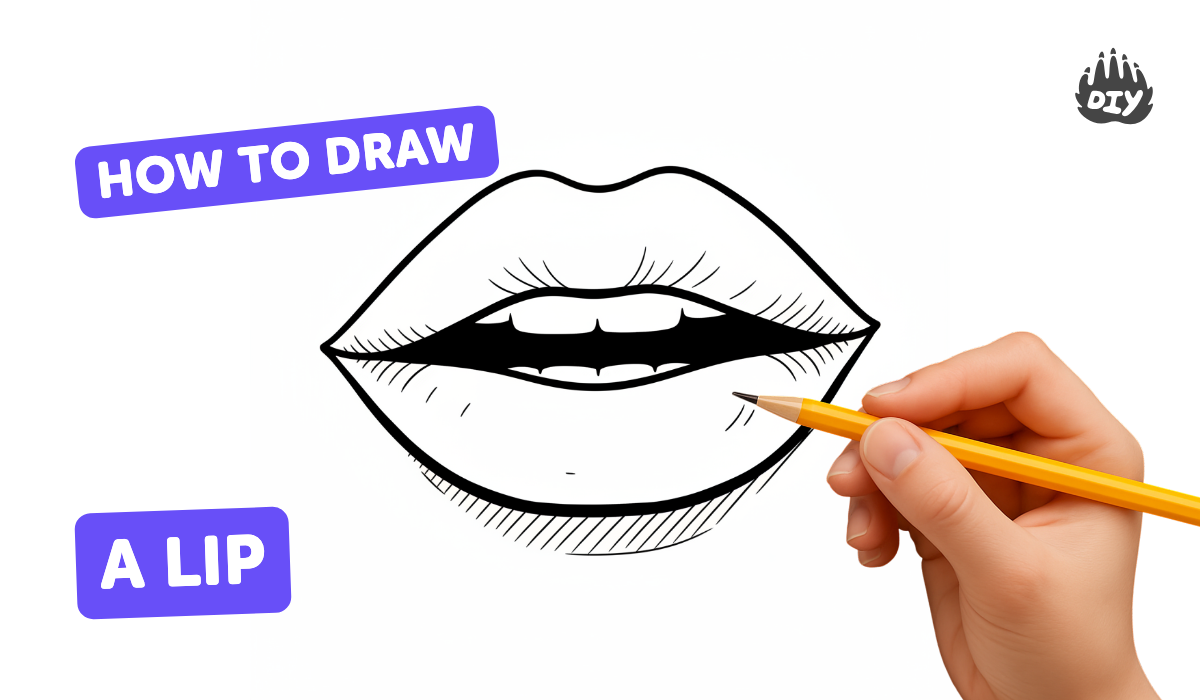
How to draw a lip - a free lip drawing guide
Draw a realistic lip step-by-step using pencil, shading, and blending to capture shape, highlight, and shadow. Practice measuring proportions and creating smooth gradients.

Drawing Apps
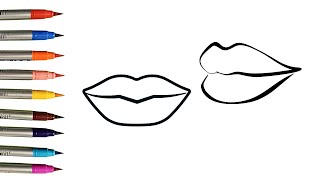
Photos of realistic lip drawings


Step-by-step guide to draw a realistic lip
How to Draw Lips for Kids - Easy Step by Step Tutorial!
Step 1
Place your paper and pencil on a flat workspace.
Step 2
Use your ruler and a light pencil to draw a faint horizontal center line.
Step 3
Measure and mark two small tick marks on the center line to set the mouth width.
Step 4
Lightly sketch the top lip starting with the cupid's bow and connect it to the tick marks.
Step 5
Lightly sketch the bottom lip as a fuller curved shape that meets the same corners.
Step 6
Draw a thin seam line between the lips to define the split.
Step 7
Choose a light source direction and mark a small area where the strongest highlight will remain light.
Step 8
Shade the midtones of the lips with light curved strokes following the lip shapes.
Step 9
Darken the shadows at the lip corners and directly under the lower lip with firmer pencil pressure.
Step 10
Use your blending tool to smooth the shading into soft gradients along the curves.
Step 11
Gently lift the marked highlight by dabbing with your eraser to make it brighter.
Step 12
Add subtle vertical texture lines on the lips with a sharp pencil and soften any hard edges.
Step 13
Compare your drawing to your reference and make small proportion or shading corrections as needed.
Step 14
Share your finished creation on DIY.org.
Help!?
What can we use instead of a blending tool if we don't have one?
If you don't have a blending tool, gently smooth the shading from step 9 with a folded tissue, cotton swab, or clean fingertip to create soft gradients.
My lips look uneven or too wide—how can I fix them?
If the mouth looks uneven or too wide, recheck and remeasure the faint horizontal center line and tick marks from steps 2–3 with your ruler, lightly erase the top/bottom lip sketches (steps 4–5), and redraw the cupid's bow and corners to match your reference.
How can I make this activity easier for little kids or more challenging for older kids?
For younger children, provide a pre-drawn lip outline to trace, use crayons or a thicker pencil, and skip subtle blending, while older kids can use softer pencils (2B–6B), a blending stump, sharper vertical texture lines (step 11), and work from a detailed reference to deepen shadows and highlights.
How can we personalize or extend this lip drawing activity?
To personalize or extend the activity, add colored pencils or a white gel pen to tint the lips and lift the highlight (steps 7 and 10), draw surrounding skin and expression details, or post your finished creation on DIY.org.
Watch videos on how to draw a realistic lip
Lips drawing and colouring| how to Draw lips | Made for Kids
4 Videos
Lips drawing and colouring| how to Draw lips | Made for Kids
How to Draw Lips Easy
How to Draw Lips | Easy and Fun Drawing, Coloring, and Painting for Kids, Toddlers

Easy Lips Drawing Tutorial for Beginners | Step by Step Pencil Sketch Guide
Facts about drawing facial features
✏️ Graphite pencils became widely used after a large deposit was discovered in Borrowdale, England in the 1500s.
👄 Like fingerprints, everyone's lip prints are unique — a science called cheiloscopy studies them.
🎨 Chiaroscuro literally means 'light-dark' in Italian and artists use it to make flat drawings look three-dimensional.
🪄 A tortillon (blending stump) is a small rolled-paper tool artists use to create smooth pencil gradients without adding oils from fingers.
📏 Artists often measure proportions by holding a pencil at arm's length — a simple trick to place features like lips accurately.
How do you draw a realistic lip step-by-step?
What materials do I need to draw a realistic lip?
What ages is lip-drawing suitable for?
What are the benefits, safety tips, and variations for this activity?
