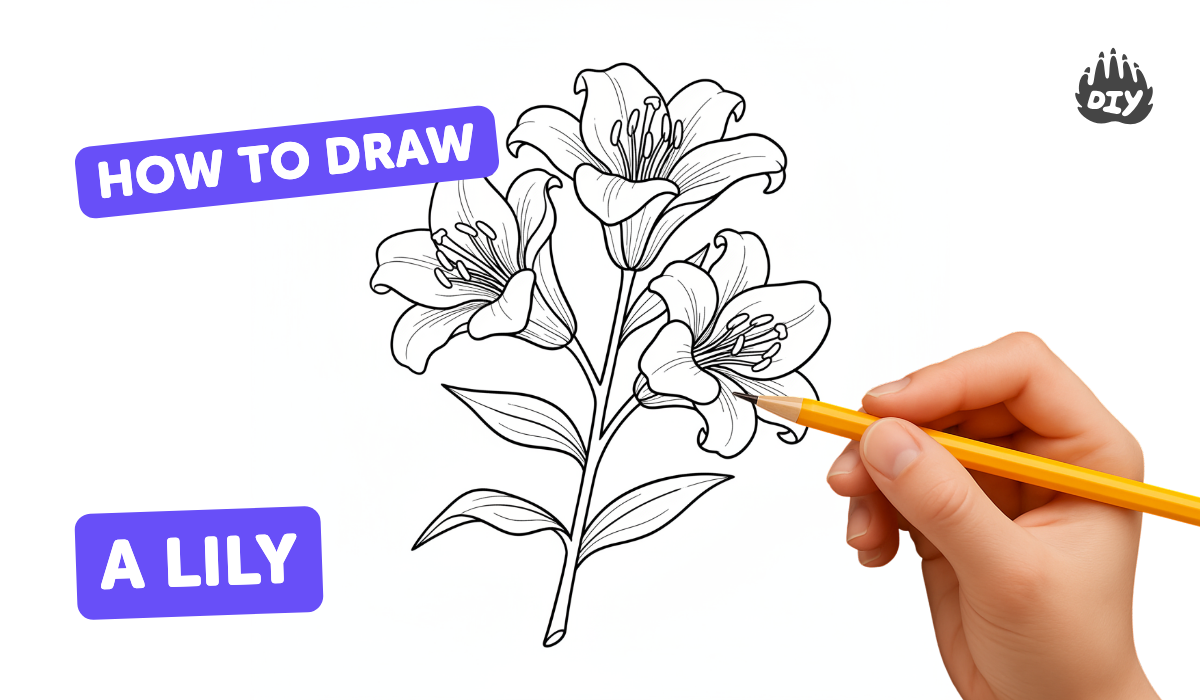
How to draw a lily flower - a free lily flower drawing guide
Draw a realistic lily step by step using pencil and color, learning petal shapes, proportions, shading, and stem details. Practice observation and fine motor skills.

Drawing Apps
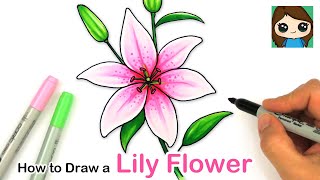
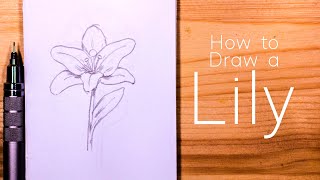
Photos of lily flower drawing examples


Step-by-step guide to draw a lily flower
How to draw a lily flower step by step // Flower drawing// Easy drawing// Kids Art
Step 1
Gather your materials and find a clean flat space to draw.
Step 2
Lightly draw a small circle near the top of the paper for the lily center.
Step 3
Draw a long gentle curved line down from the circle to make the stem.
Step 4
Lightly draw six curved guideline lines radiating out from the circle to map where each petal will go.
Step 5
Sketch elongated teardrop petal shapes along each guideline using light pencil strokes.
Step 6
Refine each petal outline by adding gentle waviness and small overlaps so some petals sit in front of others.
Step 7
Erase the extra guideline lines inside and around the petals so the flower looks clean.
Step 8
Draw thin stamen filaments from the center with small oval anthers at the tips.
Step 9
Add two long leaves to the stem with a clear central vein in each leaf.
Step 10
Lightly mark a small arrow on the page to show where your light source is coming from.
Step 11
Shade the petals with light short strokes starting near the base and along folds to add depth.
Step 12
Gently blend the shaded areas with a tissue or blending stump to smooth the tones.
Step 13
Add color by laying a light base on each petal and stem then deepen color at the petal bases folds and leaf veins for realism.
Step 14
Share your finished lily drawing on DIY.org
Help!?
What can I use if I don't have a blending stump or tissue?
Use a clean fingertip, a folded soft tissue, a cotton swab, or a small piece of scrap paper to gently blend the shaded areas called for in step 11 where the instructions say to 'Gently blend the shaded areas with a tissue or blending stump.'
My petals look flat or the overlaps don't read—how can I fix that?
Darken the petal bases and fold lines with light short strokes (step 12) and carefully erase the inside guideline lines (step 6) so overlapping petals appear separate and the front petals read forward.
How can I adapt this activity for younger children or older kids?
For younger kids, simplify by drawing three large petals and using crayons or markers to skip blending (steps 4–5 and 13), while older kids can increase petal waviness, add detailed stamen (step 8), and build layered color and stronger contrast in shading (steps 12–13).
How can we personalize or extend the lily drawing once it's finished?
Add tiny water-drop highlights, place the lily in a vase or add a soft background wash with watercolor pencils, deepen color at petal bases and leaf veins per steps 12–13, or make a series in different colors to photograph and share on DIY.org (step 14).
Watch videos on how to draw a lily flower
How to Draw a Lily Flower Easy
4 Videos
How to Draw a Lily Flower Easy

How to Draw a Beautiful Lily Flower - Step-by-Step Tutorial 🌸✨

🌸 How to Draw a Lily - Beautiful Flower Drawing Guide for Kids
How to Draw a Lily : Step by Step for Beginners
Facts about botanical drawing for kids
🌸 Most true lilies (genus Lilium) have six petal-like parts called tepals — three petals and three sepals that look alike.
✏️ Artists usually begin with a light pencil (2H or HB) for guidelines, then use softer pencils (2B–6B) to build shading and depth.
🎨 Lilies appear in many colors — white, yellow, orange, pink, red and near-purple — and plant breeders have created hundreds of garden varieties.
🔍 Botanical illustrators study a plant from several angles and often measure parts to get petal shapes and proportions just right.
🐝 Many lilies are fragrant to entice pollinators like bees, butterflies, and sometimes hummingbirds — scent helps flowers get noticed.
How do I teach my child to draw a realistic lily step by step?
What materials do I need to draw a realistic lily with my child?
What ages is drawing a realistic lily suitable for?
What are the benefits of teaching a child to draw realistic lilies?
