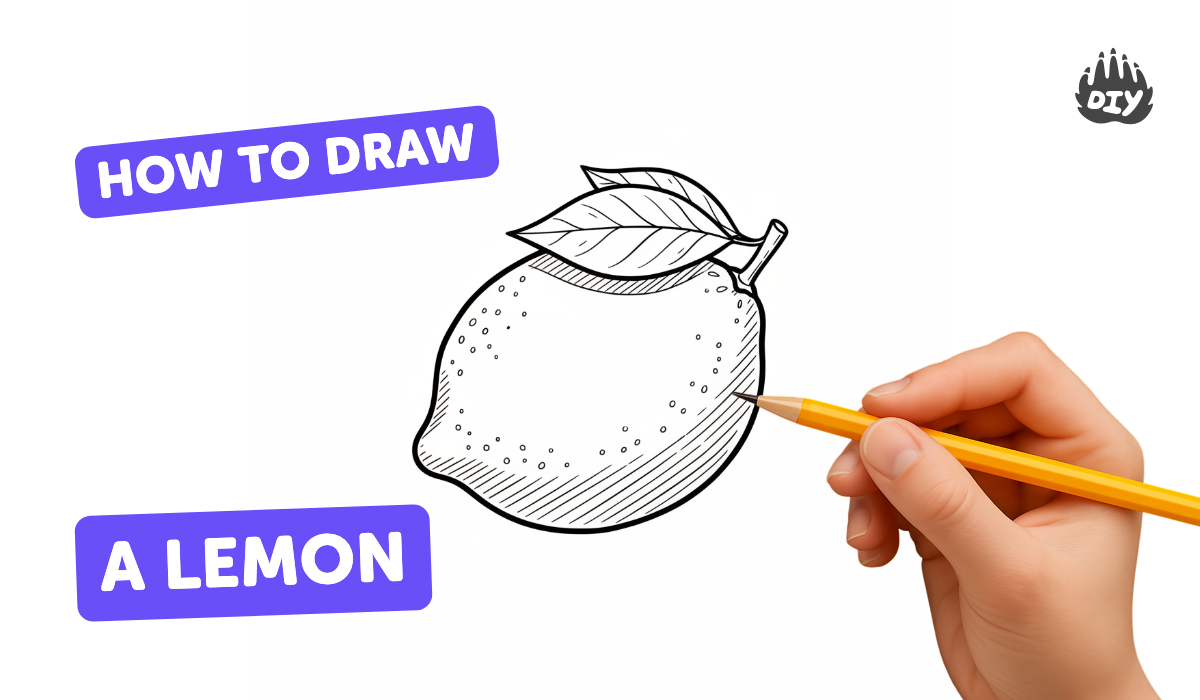
How to draw a lemon - a free lemon drawing guide
Draw a lemon step by step using pencil, eraser, and colored pencils. Practice shapes, shading, highlights, and simple texture to create a realistic fruit drawing.

Drawing Apps
Photos of lemon drawing examples


Step-by-step guide to draw a lemon
How to Draw a Lemon - Easy Drawing Tutorial for Kids
Step 1
Gather your materials and sit at a well-lit flat place to draw.
Step 2
Lightly draw a faint horizontal guideline to show where the lemon will sit.
Step 3
Sketch a light oval in the middle of the guideline for the lemon body.
Step 4
Add two small pointed curves at the top and bottom of the oval to form the lemon’s ends.
Step 5
Erase the extra guideline and any unwanted lines so the lemon outline looks clean.
Step 6
Mark the light source by drawing a tiny dot outside the lemon to know where highlights will be.
Step 7
Shade the side of the lemon opposite the light source using soft pencil strokes to build a smooth gradient.
Step 8
Add tiny dots and short curved strokes on the skin to create a bumpy lemon texture.
Step 9
Draw a soft cast shadow under the lemon that follows its shape and fade the shadow edges.
Step 10
Gently blend the shaded areas with a tissue or blending stump to make the tones smooth.
Step 11
Apply a light base layer of yellow with colored pencils over the lemon.
Step 12
Layer darker yellows and a touch of green on the shadow side to deepen the color and add contrast.
Step 13
Use an eraser or a white colored pencil to lift a small bright spot on the side facing the light to create a highlight.
Step 14
Share your finished lemon drawing on DIY.org.
Help!?
What can I use if I don't have a blending stump, white colored pencil, or yellow colored pencils?
Use a folded tissue or cotton swab instead of a blending stump, lift highlights with a clean eraser or white gel pen instead of a white colored pencil, and substitute crayons or a light watercolor wash for yellow colored pencils when applying the base color.
My shading looks patchy and the lemon feels flat — what should I try?
Shade lightly on the side opposite the tiny dot (the marked light source), build up soft pencil strokes gradually and blend with a tissue or blending stump, then deepen the shadow side with darker yellows and a touch of green as in steps 6 and 11 to add contrast.
How can I adapt this lemon drawing for younger or older kids?
For preschoolers, simplify by drawing a bold oval on the guideline and coloring with crayons while skipping detailed texture and blending, and for older kids follow all steps, add more bumpy skin dots, refine the cast shadow, and layer colored pencils for realistic color depth.
How can we extend or personalize the finished lemon drawing?
Add a leaf and stem or draw a sliced lemon cross-section with segments, experiment with colored paper or paint for the background, and then share your finished lemon on DIY.org as the final step.
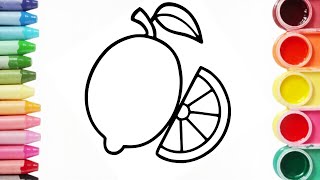
Watch videos on how to draw a lemon
How to Draw a Lemon | Easy Step-by-Step for Kids | Lalagram
4 Videos

How to Draw a Lemon | Easy Step-by-Step for Kids | Lalagram

How To Draw and Color Easy Cute Lemon Step by Step Drawing Tutorial for Kids and Toddler

How to draw lemon juice drawing, painting &coloring for kids&toddlers|Step-by-Step Guide
Lemon Drawing and Coloring for Preschoolers - Learn Colors, Draw Fruits Step by Step | 子供向けお絵かき
Facts about pencil drawing and shading for kids
🍋 Lemons originally grew in Asia (Assam, northern Burma and China) before spreading around the world.
✏️ Artists often start a lemon by sketching simple shapes—an oval and a few curves—then refine the form.
🎨 Colored pencils became popular in the late 1800s and are great for layering color and building smooth shading.
🌟 Small highlights (tiny white spots) make a lemon look shiny and juicy in a drawing.
🧪 Lemon juice is about 5–6% citric acid, which gives lemons their tangy, sour flavor—and a fun science fact to mention while you draw!
How do I teach my child to draw a lemon step by step?
What materials do we need to draw a realistic lemon with my child?
What ages is drawing a lemon suitable for?
What are the benefits of drawing a lemon with kids?
