How to draw a leaf - a free leaf drawing guide
Learn to draw a realistic leaf by observing shapes, sketching outlines, adding veins and texture, then coloring and shading to finish the artwork.

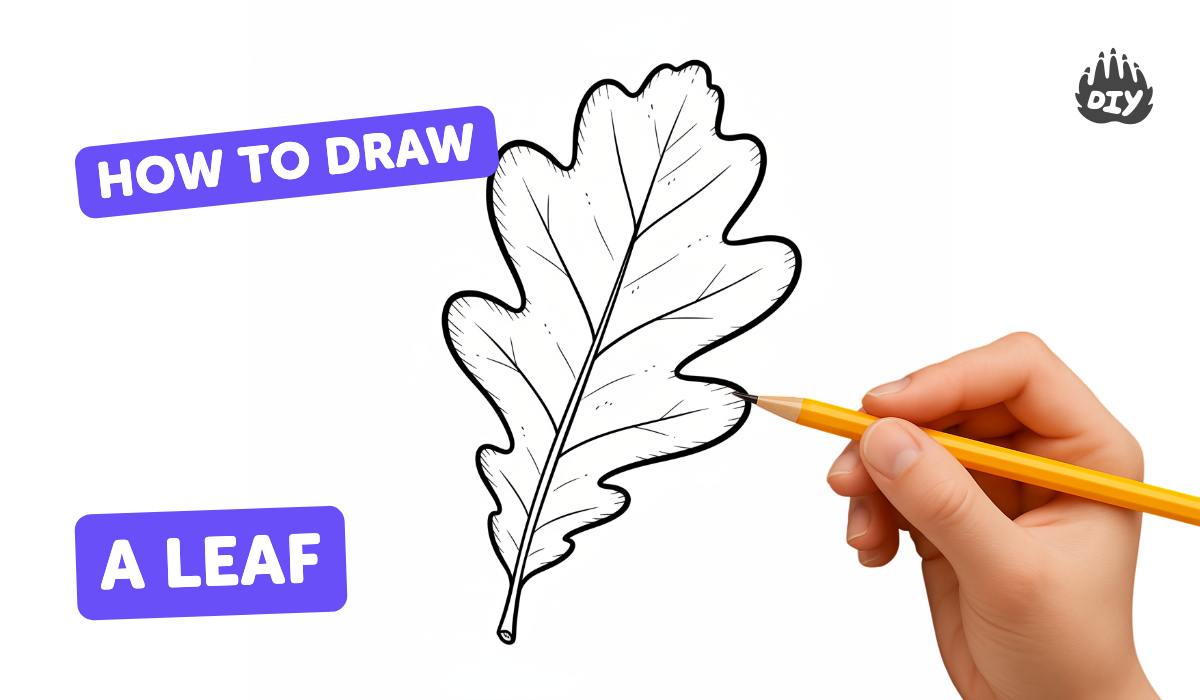

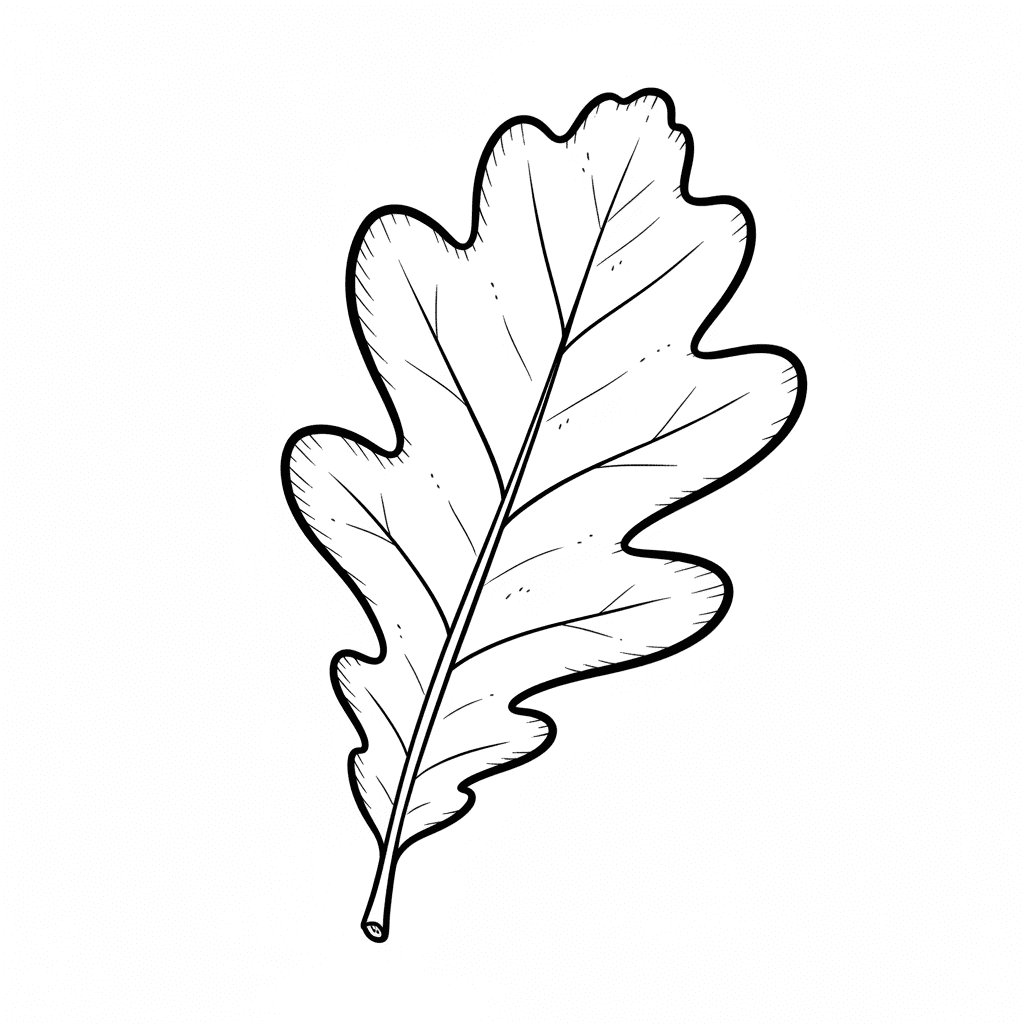
Step-by-step guide to draw a realistic leaf
How To Draw A Leaf Step By Step 🍂 Leaf Drawing Easy
Step 1
Gather your paper pencil eraser coloring materials and a real leaf to observe and put them on your table.
Step 2
Pick a leaf you like and place it flat on the table so you can see both sides clearly.
Step 3
Look closely at the leaf for 30 seconds and notice its overall shape tip base and the pattern of veins.
Step 4
Lightly draw a straight center line on your paper from the spot where the leaf base will be to where the tip will be.
Step 5
Lightly sketch the outer shape of the leaf around the center line using smooth curved lines that match the leaf you see.
Step 6
Erase any extra sketch lines until the outline looks like the real leaf shape.
Step 7
Darken the center line to make the main vein (midrib) stand out.
Step 8
Draw the side veins branching from the midrib at the angles you observed on the real leaf.
Step 9
Add little edge details and texture lines inside the leaf to show tiny bumps or serrations.
Step 10
Choose where the light is coming from and remember that direction for your shading.
Step 11
Shade the parts of the leaf that are farther from the light with gentle pencil strokes to make the leaf look three-dimensional.
Step 12
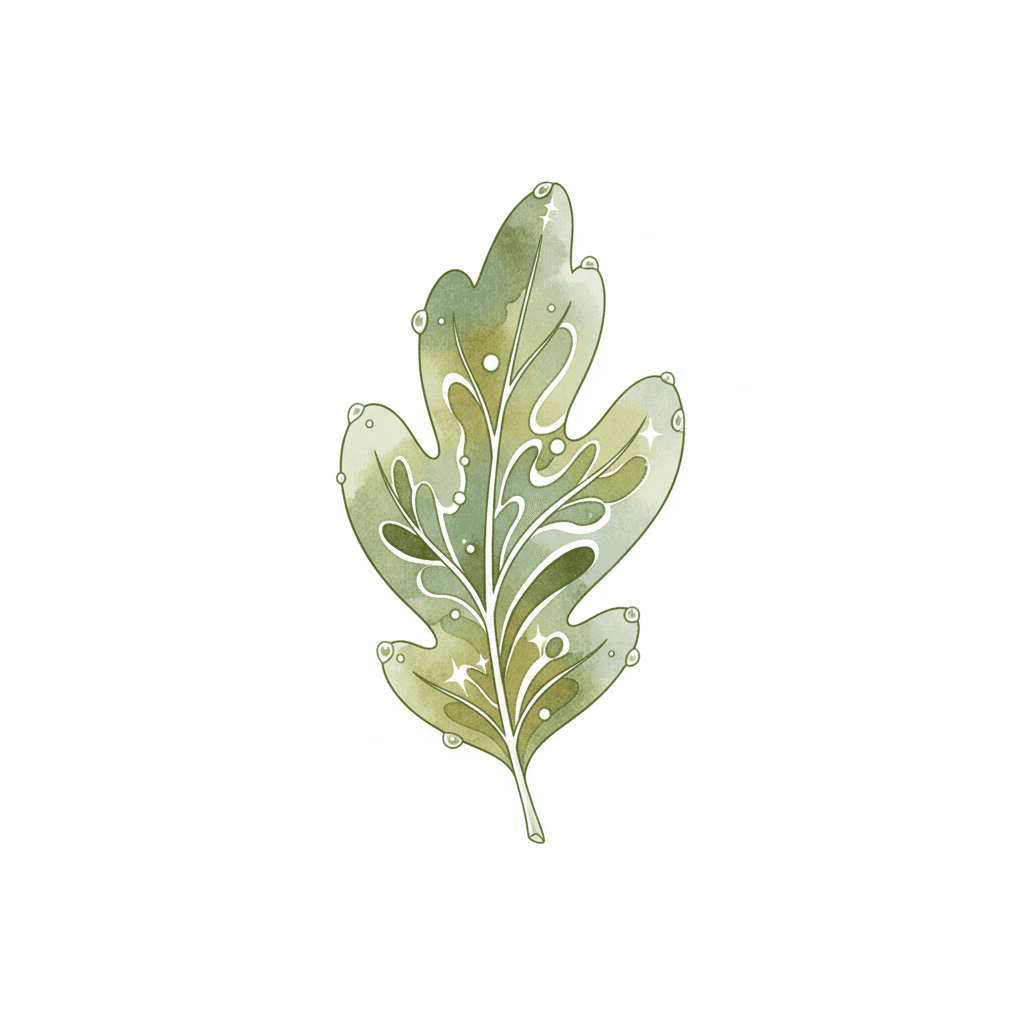
Apply a light base color across the whole leaf with your coloring materials.
Step 13
Add darker colors along the veins and edges and blend gently to create depth and realistic color changes.
Step 14
Use your eraser to lift tiny spots of color or pencil to make bright highlights if the leaf has shiny areas.
Step 15
Share your finished leaf drawing on DIY.org.
Help!?
What can we use if we don't have a real leaf or fancy coloring materials?
If you don't have a real leaf, use a printed photo or a dried pressed leaf to observe, and if you lack 'coloring materials' substitute crayons, markers, or colored pencils.
My drawing doesn't look like the leaf—what should I fix first?
If the outline or proportions are wrong, lightly erase the extra sketch lines as the instructions say and re-sketch the outer shape around the center line while re-checking the leaf's overall shape and vein pattern.
How can I change this activity for different ages?
For toddlers have them trace a leaf and color broadly, for school-age kids follow the steps to lightly draw the center line, add side veins and texture, and for teens focus on shading from a chosen light direction and using the eraser for highlights.
How can we make the leaf drawing more special or advanced?
Extend the activity by drawing several leaves with different shapes and light directions, add darker colors along the veins and blend, lift tiny highlights with the eraser, or create a mixed-media background and share your favorite on DIY.org.
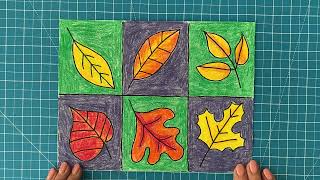
Watch videos on how to draw a realistic leaf
How to Draw a Leaf step by step
4 Videos
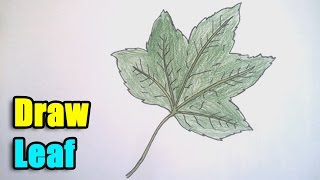
How to Draw a Leaf step by step
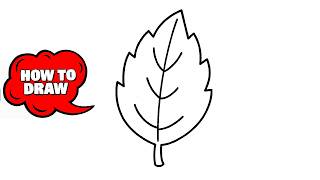
How to Draw a Leaf | Easy Drawing Tutorial for Beginners & Kids
How to Draw a Leaf
3 Easy Leaf Drawings Anyone Can Try | Simple Step-by-Step Tutorial
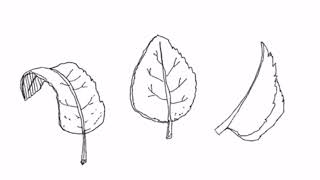
Photos of leaf drawing examples


Facts about botanical drawing for kids
🌿 Leaves come in many shapes — needle, lance, heart, lobed, or even compound with many little leaflets.
🧭 The pattern of veins (venation) is like a roadmap: grasses have parallel veins while many trees have branching nets.
🎨 Botanical illustrators such as Maria Sibylla Merian and Pierre-Joseph Redouté made incredibly detailed plant drawings to study shape and color.
🍁 Chlorophyll makes leaves look green and hides other pigments; when it fades in fall, yellows and reds appear — great inspiration for shading.
📏 Leaves can be tiny or enormous — some palm leaves reach over 20 meters long, so you can practice drawing leaves at any scale.
How do I teach my child to draw a realistic leaf step by step?
What materials do I need to draw a realistic leaf with my child?
What ages is drawing realistic leaves suitable for?
What are the benefits of having my child draw realistic leaves?


