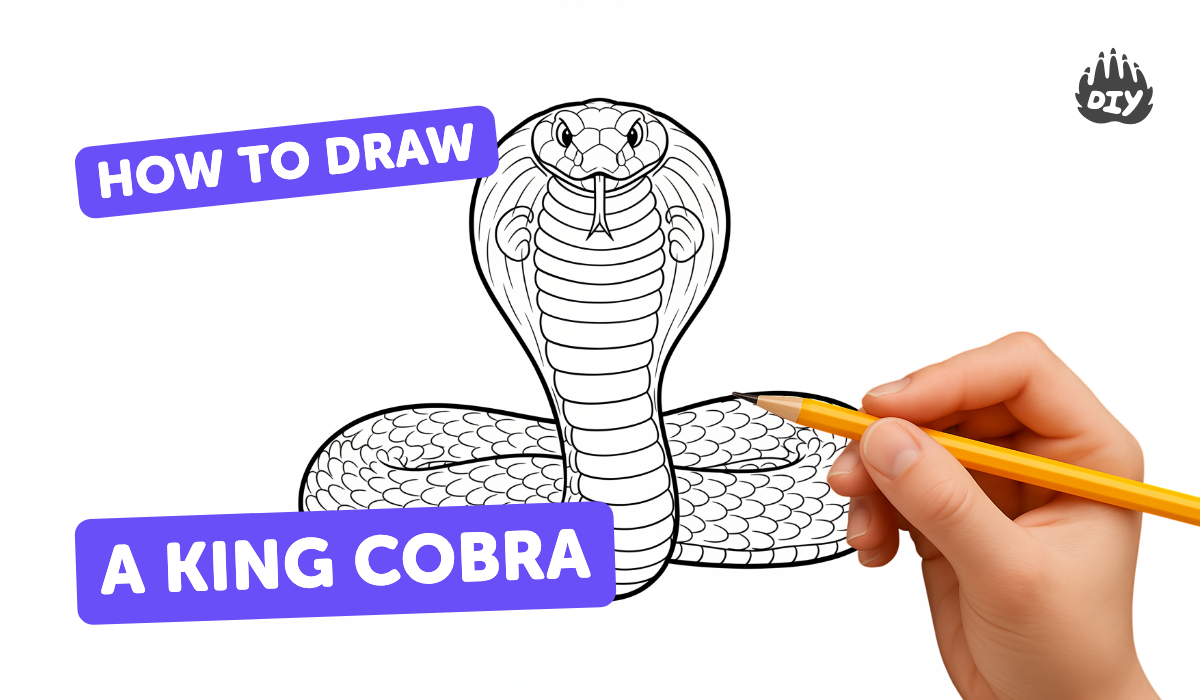
How to draw a king cobra - a free king cobra drawing guide
Draw a king cobra step by step using pencil and markers. Learn proportions, hood shape, scales, and simple shading to create a realistic snake illustration.

Drawing Apps
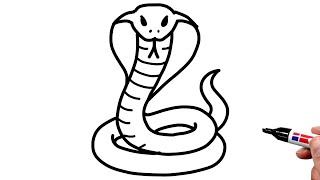
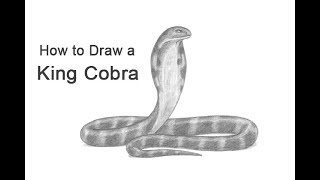
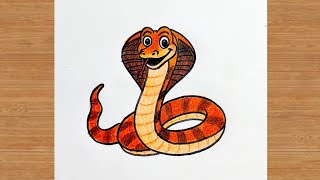
Photos of king cobra drawing examples


Step-by-step guide to draw a king cobra
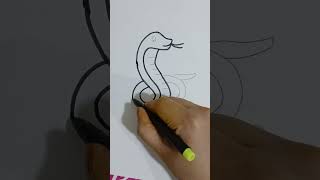
How to Draw a Cobra Snake Easy Step by Step | King Cobra Drawing for Kids & Beginners
Step 1
Gather your materials and sit at a clean flat table so you can draw comfortably.
Step 2
Lightly draw a long curving centerline across the paper to set the snake’s spine and overall proportion.
Step 3
At one end of the centerline lightly sketch an elongated oval for the cobra’s head.
Step 4
Draw the hood by adding two wide curved lines that flare out from the sides of the head and meet behind it.
Step 5
Draw the snake’s body outline by sketching two parallel curved lines along the centerline that taper to a thin tail.
Step 6
Mark two small almond-shaped eyes and tiny nostrils on the head for facial placement.
Step 7
Draw a short curved mouth line and a thin forked tongue sticking out from the mouth.
Step 8
Lightly sketch a pattern guide by drawing a row of larger top scales down the spine and small curved guide marks along each side.
Step 9
Fill in the scales by drawing small overlapping curved shapes across the body and inside the hood following your guides.
Step 10
Add simple pencil shading under the belly curve and at the base of the hood to show roundness and depth.
Step 11
Carefully trace the main outline and scale pattern with the fine-tip black marker.
Step 12
Let the marker ink dry completely so it won’t smudge.
Step 13
Gently erase the pencil guidelines and any stray pencil marks.
Step 14
Color your cobra with markers and darken the areas you shaded to keep the 3D look.
Step 15
Share your finished king cobra drawing on DIY.org.
Help!?
What can I use if I don't have a fine-tip black marker or art markers listed in the materials?
If you don't have a fine-tip black marker, trace the main outline and scale pattern with a dark sharpened pencil or black gel pen and, instead of markers, use colored pencils or watercolor pencils to color your cobra for controlled blending.
My ink smudged and my pencil guidelines are still visible after erasing—how can I fix that?
To prevent smudging and visible pencil lines, keep your centerline and sketches light (step 2), let the marker ink dry completely as instructed, then gently erase the pencil guidelines with a soft or kneaded eraser (step 10) to protect the traced outline.
How can I adapt this king cobra drawing activity for different age groups?
For younger kids, pre-draw the centerline, head oval, and hood (steps 2–4) and have them fill in big scale shapes and color with broad markers, while older kids can add tiny overlapping scales, more detailed pencil shading under the belly and at the hood base (steps 11–12), and use the fine-tip black marker for crisp linework.
What are some ways to extend or personalize the drawing once the cobra is finished?
To enhance your finished cobra, personalize the pattern guide and scales (step 9) with unique colors or gradients when you color (final step), add a jungle background or rocks for context, and darken shaded areas for stronger 3D effect before sharing on DIY.org.
Watch videos on how to draw a king cobra
How to Draw a King Cobra
4 Videos
How to Draw a King Cobra
How to Draw a Snake (King Cobra)
How To Draw A King Cobra 🐍 Easy | Step-By-Step Drawing Tutorial | Art Tutorial | Art Is My Soul🤗
How to draw king cobra snake /easy drawing for kids
Facts about animal drawing for kids
🐍 King cobras are the world's longest venomous snakes — some can grow longer than 5.5 meters (about 18 feet)!
🛡️ The cobra's famous hood isn't a separate organ — it's made when special neck ribs flare out to stretch the skin.
✏️ Artists start with light construction lines and simple shapes (cylinders, cones, S-curves) to get snake proportions right.
🎨 Tiny, consistent shading on and under scales makes a flat drawing pop into a realistic, three-dimensional-looking snake.
📸 Studying photos or short videos of a cobra helps you capture its posture, hood spread, and the smooth S-shaped body curve.
How do you draw a king cobra step by step?
What materials do I need to draw a king cobra?
What ages is this drawing activity suitable for?
What variations can we try when drawing a king cobra?
