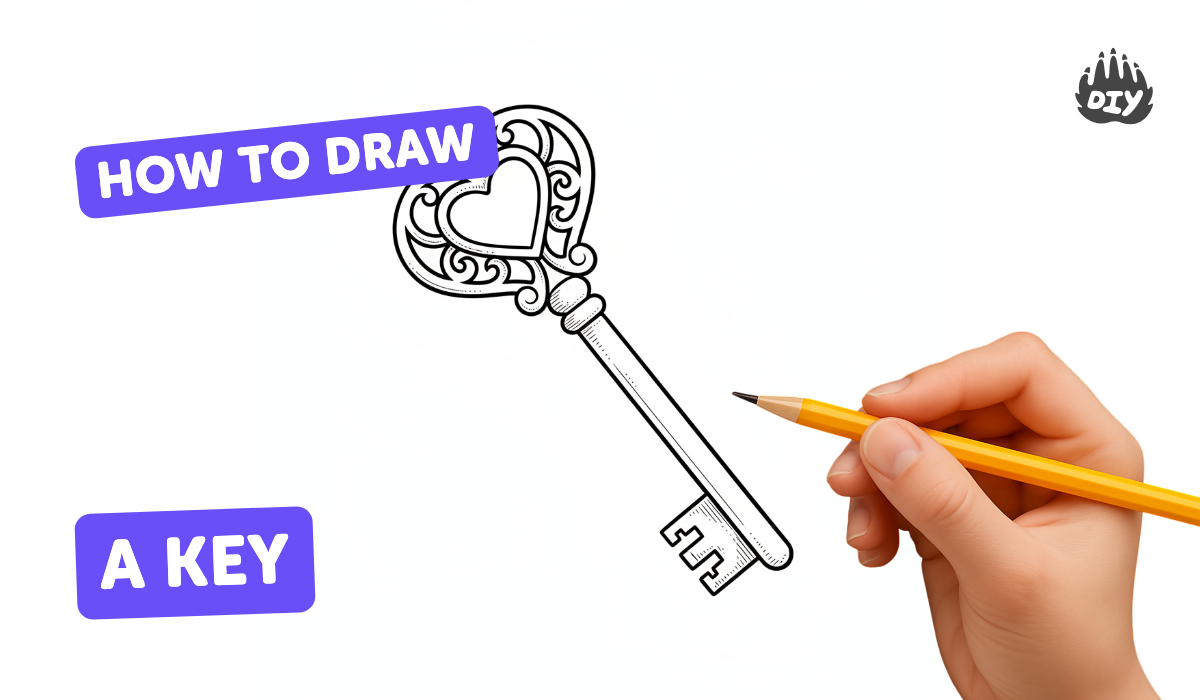
How to draw a key - a free key drawing guide
Draw a realistic key step by step using pencil, ruler, and eraser. Practice proportions, simple shapes, and shading to create a finished drawing.

Drawing Apps
Photos of realistic key drawings


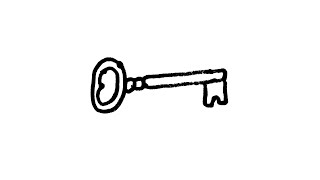
Step-by-step guide to draw a realistic key
How to draw a Key for kids | Key Drawing Lesson Step by Step
Step 1
Gather your pencil ruler eraser plain paper and a tissue or blending stump.
Step 2
Use your ruler to draw a long thin rectangle in the middle of the page to form the key's shaft.
Step 3
At the left end of the shaft draw an oval or circle that overlaps the shaft slightly to form the key's head.
Step 4
Draw a small circle inside the head to make the keyring hole.
Step 5
Draw a rounded shoulder where the head meets the shaft so the two parts join smoothly.
Step 6
At the right end use the ruler to place short vertical guide marks along the shaft edge where the teeth will be.
Step 7
Draw stepped tooth shapes by cutting into the shaft edge along your guide marks to shape the teeth.
Step 8
Erase any extra construction lines where the head and shaft overlapped.
Step 9
Draw a long shallow groove along the shaft to show the key's channel.
Step 10
Add small profile lines on the teeth and inside the groove to show metal detail.
Step 11
Draw a small arrow beside the drawing to show where the light is coming from.
Step 12
Lightly shade the side of the key opposite your arrow to create shadows.
Step 13
Gently blend the shaded areas with a tissue or your finger to make smooth tones.
Step 14
Use the eraser to lift a thin highlight along the shaft and on the head to show a shiny metal reflection.
Step 15
Share your finished creation on DIY.org.
Help!?
What can we use if we don't have a ruler or a blending stump?
Use a straight edge like a book cover or a credit card to draw the long thin rectangle and short vertical guide marks, and use a tissue, cotton swab, or fingertip instead of a blending stump to blend the shaded areas.
My key's teeth look uneven or my shading smudges—how can I fix that?
Reapply short vertical guide marks with your straight edge, lightly redraw the stepped tooth shapes and erase extra construction lines carefully, then use lighter pencil strokes and blend gently with a tissue to avoid smudging.
How can I make this activity easier for little kids or more challenging for older kids?
For younger children simplify by drawing a thicker rectangle and a larger oval for the head to trace and skipping detailed shading, while older kids can add finer profile lines, a long shallow groove, sharper tooth cuts, and stronger eraser highlights for a shiny metal effect.
What are some ways to personalize or extend the key drawing once it's finished?
Add initials or a decorative pattern on the head, draw a matching lock or a second key at a different angle, try metallic pens or colored pencils over your eraser highlights, and photograph the result to share on DIY.org.
Watch videos on how to draw a realistic key
How to Draw a Lock and Key for Kids Step by Step | Easy Lock Drawing | Lock and Key Drawing Tutorial
4 Videos
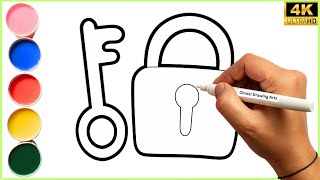
How to Draw a Lock and Key for Kids Step by Step | Easy Lock Drawing | Lock and Key Drawing Tutorial
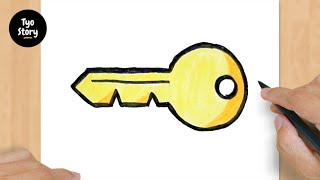
#196 How to Draw a Key - Easy Drawing Tutorial
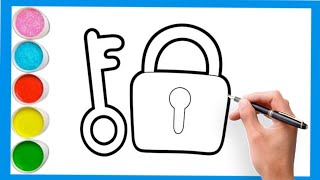
How to draw lock & key step by step easy tutorial for kids
Draw a Key for Kids Easy
Facts about pencil drawing and sketching for kids
🔑 The oldest known lock-and-key systems were used in ancient Egypt and Mesopotamia over 4,000 years ago — real antique keys!
✏️ Pencils are graded from 9H (very hard) to 9B (very soft); many beginners start with an HB pencil for balanced sketching.
🧽 Before rubber erasers were common, people often used bits of bread to rub out pencil marks!
📏 Many rulers show both centimeters and inches so you can measure tiny key parts and keep your drawing in good proportion.
🎨 Simple pencil shading—light to dark—can turn flat outlines into a realistic metal key by suggesting highlights and shadows.
How do I draw a realistic key step by step?
What materials do I need to draw a realistic key?
What ages is this drawing activity suitable for?
What are the benefits of drawing a realistic key?
