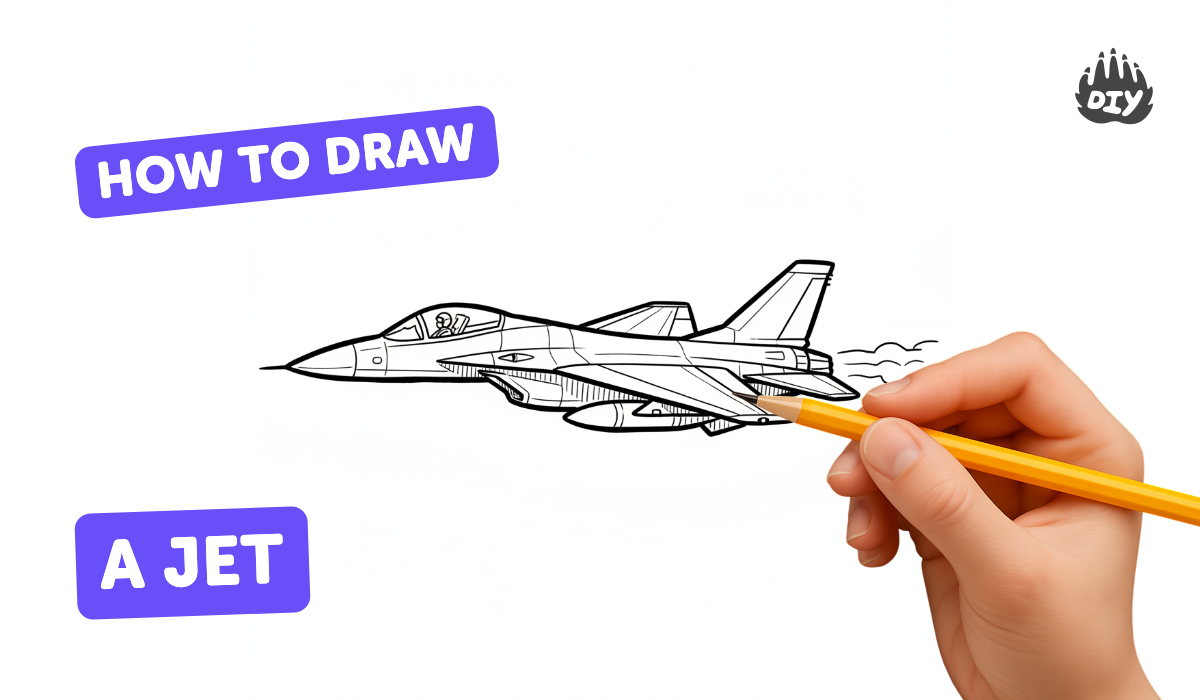
How to draw a jet - a free jet drawing guide
Draw a realistic jet step by step using simple shapes, outlines, and shading. Practice proportions, perspective, and adding cockpit and wing details.

Drawing Apps
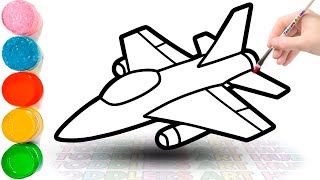
Photos of realistic jet drawings


Step-by-step guide to draw a realistic jet
How To Draw A Jet Airplane
Step 1
Draw a light horizontal guideline and a small vanishing point on your paper to set the jet’s perspective.
Step 2
Sketch a long slightly tapered oval along the guideline to make the fuselage of the jet using light pencil strokes.
Step 3
Add a rounded pointed nose cone at the front of the fuselage to shape the jet’s nose.
Step 4
Draw the tail assembly by sketching a vertical fin and small horizontal stabilizers at the rear of the fuselage.
Step 5
Draw two swept-back wings from the middle of the fuselage using trapezoid shapes that angle toward the vanishing point.
Step 6
Sketch the engines as cylinders under each wing or attached to the fuselage depending on the jet style you want.
Step 7
Draw the cockpit canopy as a rounded rectangle near the front of the fuselage.
Step 8
Add cockpit panes and passenger windows by sketching small curved rectangles and dividing lines where the canopy and fuselage meet.
Step 9
Add panel lines flaps and small details like antennas and seams using light straight and curved lines.
Step 10
Erase any extra construction lines from your drawing to clean it up.
Step 11
Trace over your final outlines with a darker pencil or fine liner to make the jet stand out.
Step 12
Choose a light direction then shade the opposite sides of the fuselage wings and engines with gentle pencil strokes to create a three-dimensional look.
Step 13
Use colouring materials to add color to your jet and lightly blend shaded areas with a tissue or cotton bud for smooth transitions.
Step 14
Share your finished jet drawing on DIY.org.
Help!?
I don't have a fine liner, tissue, or cotton bud—what can I use instead?
Use a well-sharpened darker pencil (HB or 2B) to trace final outlines instead of a fine liner, a clean corner of a paper towel or your finger to blend shaded areas instead of a tissue, and a straightened matchstick or the tip of a kneaded eraser to smudge tiny spots in place of a cotton bud.
My wings look wrong and the jet doesn't feel 3D—what can I fix from the instructions?
Make sure your swept-back wings are drawn as trapezoids angled toward the vanishing point on the light guideline and redraw them with light pencil strokes so you can erase and adjust before tracing and shading the opposite sides to create three-dimensional form.
How can I adapt this jet drawing for different ages?
For preschoolers simplify to a single tapered oval fuselage, triangle wings and sticker windows; for early elementary follow the full steps but skip fine panel lines and use crayons; for older kids add engine cylinders, detailed panel lines, antennae and blended pencil shading before inking.
How can we extend or personalize the finished jet beyond the basic steps?
Add airline or squadron markings, custom camouflage or bright color schemes with your colouring materials, draw a sky background with motion lines, or open landing gear and exhaust details, then blend shaded areas smoothly and share the result on DIY.org.
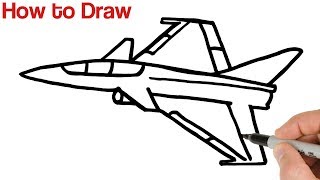
Watch videos on how to draw a realistic jet
How to Draw a Fighter Jet for Kids | How to Draw a Fighter Jet Airplane Step by Step
4 Videos
How to Draw a Fighter Jet for Kids | How to Draw a Fighter Jet Airplane Step by Step
How to Draw a Fighter Jet Airplane Step by Step

How to Draw a Jet Plane ✈️ Easy Step-by-Step Drawing Tutorial for Beginners
How to Draw a Fighter Jet Airplane Step by Step / Drawing a Fighter Jet / Easy Drawing Tutorials
Facts about drawing and sketching aircraft
✈️ Many military jets can fly faster than the speed of sound (over Mach 1), while most passenger jets cruise around Mach 0.8.
🌀 Fighter jets can perform extreme high‑G maneuvers (pilots sometimes experience up to about 9 G), which is why smooth curved lines show motion in drawings.
🎛️ A jet cockpit is packed with instruments and controls — pilots sit forward and high enough for a clear view during takeoff and landing.
🎨 Placing a horizon line and one or two vanishing points makes a jet look three‑dimensional and helps you draw correct perspective.
📐 Most jets have swept‑back wings (angled toward the tail); drawing that sweep and a slim fuselage quickly makes an airplane look fast and realistic.
How do I teach my child to draw a realistic jet step by step?
What materials do we need to draw a realistic jet?
What ages is this jet drawing activity suitable for?
What are the benefits of drawing realistic jets?
