How to draw a jar - a free jar drawing guide
Draw a glass jar step by step using pencil, ruler, and simple shading. Practice proportions and reflections to make a realistic jar.

Drawing Apps
Photos of glass jar drawing examples


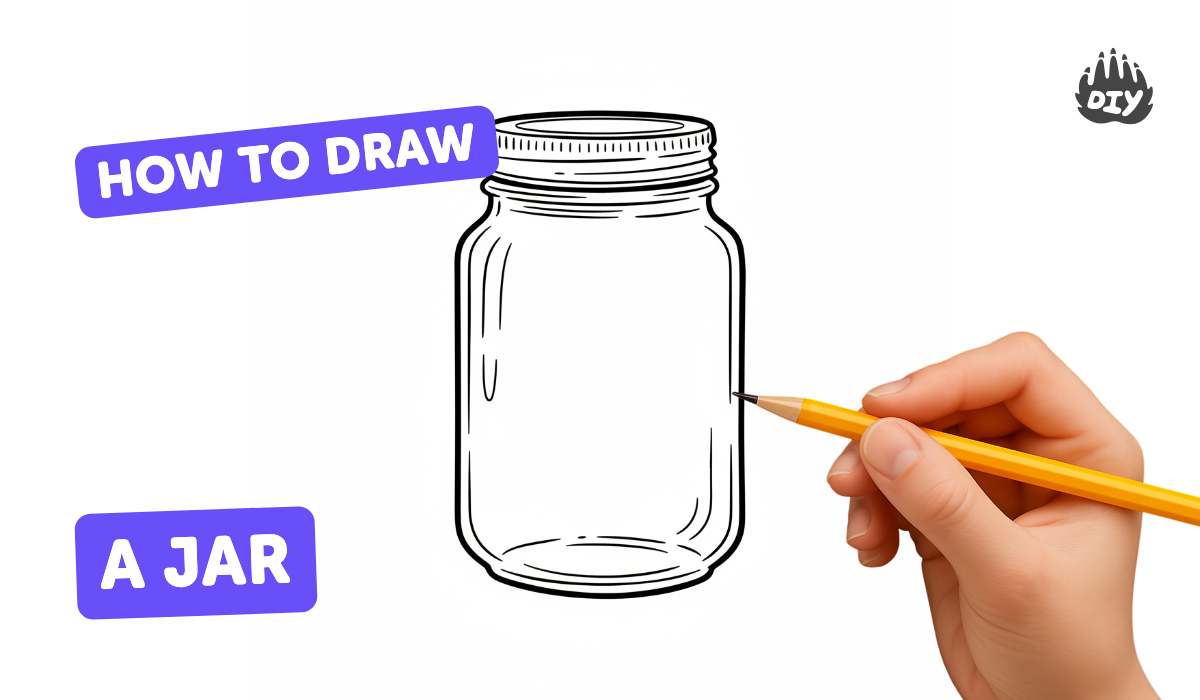
Step-by-step guide to draw a glass jar
How To Draw A Funny Jar Of Peanut Butter
Step 1
Gather your paper pencil ruler eraser and tissue and put them within reach.
Step 2
Use the ruler to draw a light vertical center line down the middle of the paper.
Step 3
Use the ruler to mark a top point and a bottom point about 12 cm apart (or a size you like) on the center line.
Step 4
Draw a light horizontal line halfway between the top and bottom marks to mark the jar's widest point.
Step 5
At the top mark lightly sketch a horizontal oval (ellipse) for the jar rim centered on the center line.
Step 6
Inside the top oval draw a slightly smaller oval to show the rim thickness.
Step 7
From the sides of the top oval draw two slightly curved vertical lines down to the horizontal midline to make the jar's neck and shoulders.
Step 8
From the midline draw two outward curving lines that taper inward toward the bottom mark to form the jar body.
Step 9
Lightly sketch a slightly flattened oval at the bottom mark for the jar base.
Step 10
Connect the bottom oval to the body with smooth lines so the jar outline looks complete.
Step 11
Erase extra construction lines outside the jar so the outline is clean and clear.
Step 12
Decide where the light is coming from and lightly mark a long thin highlight area on the jar where reflections will stay white.
Step 13
Shade the jar by softly darkening the edges under the rim and along the sides while keeping the highlight area mostly white.
Step 14
Gently blend the shaded areas with your tissue to smooth the reflections and then add a soft cast shadow beneath and slightly to the side of the jar.
Step 15
Take a photo of your finished jar and share your creation on DIY.org.
Help!?
What can we use if we don't have a ruler or tissue listed in the materials?
If you don't have a ruler use a straightedge like the edge of a hardcover book to draw your center line and marks, and substitute a folded paper towel or cotton pad for the tissue when gently blending the shaded areas.
My top oval or the jar sides look uneven—how do I fix that?
If the top oval or sides look lopsided, lightly redraw using the vertical center line and measure equal widths with your ruler at several points (top, midline, bottom), then erase extra construction lines outside the jar once the outline is symmetrical.
How can I adapt this drawing for different ages or skill levels?
For younger children simplify by using just the center line, one top oval and single curved body lines without inner rim or blending, while older kids can add the smaller inner rim oval, more precise midline measurements, detailed shading with the tissue, and a soft cast shadow.
How can we extend or personalize the jar drawing after finishing the basic steps?
Personalize the jar by sketching a label or pattern on the jar body, drawing contents like flowers or water reflections before shading, experimenting with different light directions when marking the highlight area, and then photograph the variations to share on DIY.org.
Watch videos on how to draw a glass jar
How to Draw a Jar of Candy 🍬Cute Food Art
4 Videos
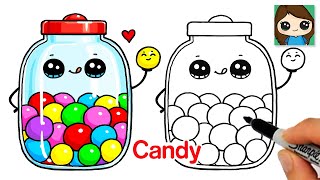
How to Draw a Jar of Candy 🍬Cute Food Art
Fun & Easy Drawing Tutorial For Beginners
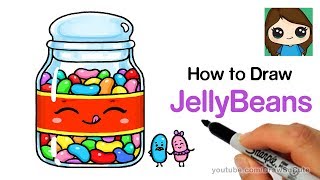
How to Draw Jelly Beans Easy and Cute
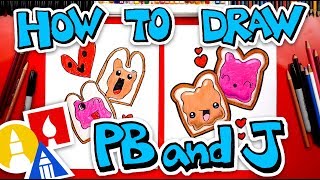
How To Draw Funny Peanut Butter And Jelly
Facts about observational drawing and shading
🪞 Glass bends and splits light — its refractive index (around 1.5 for common glass) produces the highlights and distortions you see in jars.
✏️ Graphite pencils are graded from H (hard, light) to B (soft, dark); use harder pencils for construction lines and softer ones for rich shading.
📐 A jar's circular rim appears as an ellipse in perspective — drawing accurate ellipses is key to keeping proportions believable.
🧩 Professional artists often start by blocking a jar into simple shapes (cylinder + ellipse) to speed up proportion and form corrections.
🕶️ Shiny highlights are tiny, very bright patches — leaving them white or lifting graphite with an eraser makes glass look realistic.
How do you draw a realistic glass jar step by step?
What materials do I need to draw a glass jar?
What ages is drawing a glass jar suitable for?
What are the benefits, safety tips, and variations for this jar drawing activity?
