How to draw a hockey stick - a free hockey stick drawing guide
Draw a hockey stick step by step using pencil, ruler, and markers; learn proportions, curve shaping, and basic shading to create a realistic illustration.

Step-by-step guide to draw a hockey stick
HOW TO DRAW HOCKEY STICKS EASY | DRAWING STEP BY STEP
Step 1
Lightly draw a long diagonal centerline about two-thirds the length of your paper using your ruler; this is the shaft center guide.
Step 2
Draw two straight parallel lines on either side of the centerline about 1 cm apart to form the shaft edges.
Step 3
Lightly erase the centerline so only the two shaft edges remain.
Step 4
Make a small tick mark near the lower third of the shaft to show where the blade will start.
Step 5
From the tick mark draw a short slanted line outward with the ruler to create the top edge of the blade.
Step 6
Draw a parallel slanted line below the top blade edge about 1.5 cm away to make the bottom edge of the blade.
Step 7
Draw a smooth curved line connecting the top shaft edge to the top blade edge to form the blade’s upper transition.
Step 8
Draw a smooth curved line connecting the bottom shaft edge to the bottom blade edge to form the blade’s lower transition.
Step 9
Add a gentle rounded curve at the blade tip to create the toe of the blade.
Step 10
Draw thin parallel lines inside the blade edges and one thin line along the shaft to show layered construction and a grip area.
Step 11
Lightly shade the side of the shaft and the underside of the blade with soft pencil strokes and gently blend with your fingertip for basic shading.
Step 12
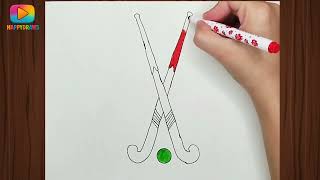
Carefully trace your final pencil outlines with a marker and then color the shaft and blade with markers.
Step 13
Take a photo of your finished hockey stick drawing and share it on DIY.org.
Help!?
What can we use if we don't have a ruler or markers for this hockey stick activity?
Use a straight edge like a hardcover book or credit card to lightly draw the diagonal centerline for the shaft guide, and swap a marker for a dark pen or sharpened pencil when tracing final outlines.
My shaft edges or blade curves look uneven—what should I try to fix them?
To keep the two shaft edges about 1 cm apart and create smooth blade transitions, mark 1 cm spacing along the centerline and the blade tick point, connect marks with a ruler, and practice the curved transition lines on scrap paper before drawing on the final sheet to avoid excessive erasing.
How can I adapt the instructions for younger or older children?
For younger kids, pre-draw the long diagonal centerline and wider shaft edges and let them color with thick crayons, for elementary kids have them measure the 1 cm shaft gap and place the blade tick mark themselves, and for older kids challenge them to use the 1.5 cm blade spacing, layered thin lines inside the blade, and fingertip blending for shading before tracing with marker.
What are simple ways to extend or personalize the finished hockey stick drawing?
After you color the shaft and blade with markers as instructed, personalize it by adding a team logo or name on the shaft, deepen the layered construction with extra thin parallel lines inside the blade, or cut it out to turn into a prop and then take the photo to share on DIY.org.
Watch videos on how to draw a hockey stick
Quick Draws for Kids - How to Draw HOCKEY STICKS (Easy)
4 Videos
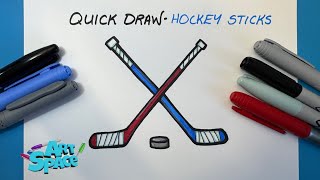
Quick Draws for Kids - How to Draw HOCKEY STICKS (Easy)
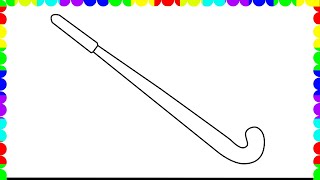
How to draw a Hockey Stick step by step for beginners
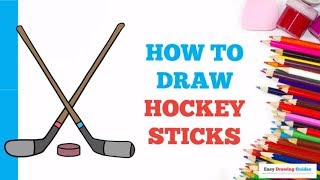
How to Draw Hockey Sticks in a Few Easy Steps: Drawing Tutorial for Beginner Artists
How to Draw Hockey Sticks and Ball | Easy Drawing Tutorial for Beginners
Facts about drawing fundamentals for kids
🏒 Modern ice hockey sticks are often made from composite materials and are lighter and more flexible than the old wooden sticks.
✏️ The word 'pencil' comes from the Latin penicillus, meaning 'little tail' — pencils have been used by artists for centuries.
📐 A ruler or straightedge helps keep proportions accurate; architects and designers rely on them to maintain consistent scales.
🌀 The curved blade (the 'curve') on hockey sticks became popular in the 1960s and changed how players shoot and control the puck.
🖌️ Good pencil shading uses light, midtones, and shadows to turn flat shapes into three-dimensional-looking forms.
How do you draw a hockey stick step by step?
What materials do I need to draw a hockey stick?
What ages is this hockey stick drawing activity suitable for?
What are the benefits of drawing a hockey stick and fun variations?
