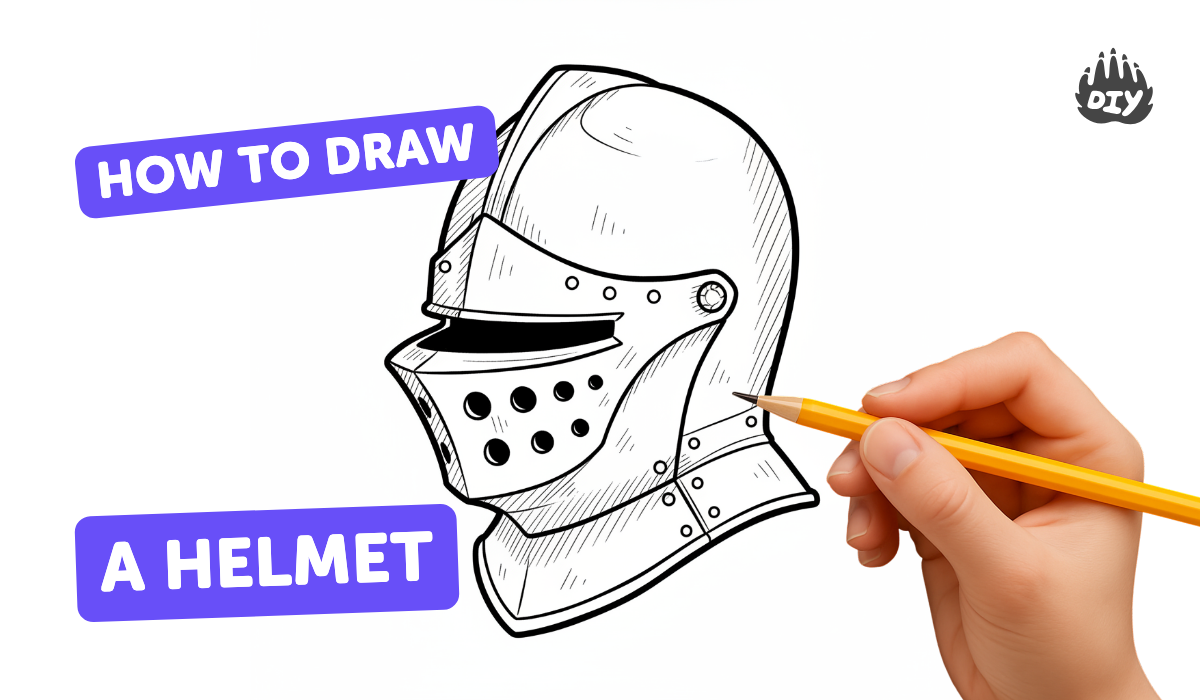
How to draw a helmet - a free helmet drawing guide
Draw a helmet step by step using simple shapes, add shading and details, and practice proportions, symmetry, and coloring to make a realistic helmet.

Step-by-step guide to draw a helmet
How To Draw A Football Helmet
Step 1
Place your paper on a flat surface and turn it to landscape so you have lots of room for the helmet.
Step 2
Lightly draw a vertical centerline down the middle of the paper to help keep your helmet even.
Step 3
Draw a large rounded dome shape centered on the centerline for the top of the helmet.
Step 4
Sketch a curved brim line across the front under the dome to make the visor edge.
Step 5
Draw matching cheek guards on each side of the centerline beneath the brim to form the lower helmet shape.
Step 6
Add a horizontal visor slit across the front centered on the centerline for the eye opening.
Step 7
Draw one smooth seam line from the front to the back along the dome to show a helmet panel.
Step 8
Place small circles along the brim edge to mark rivets or bolts.
Step 9
Erase any extra sketch lines that you don’t need so the helmet shape looks clean.
Step 10
Shade the underside of the brim and the sides of the helmet with light pencil strokes to show shadow.
Step 11
Blend the shaded areas gently with a tissue or blending stump to make the shading smooth.
Step 12
Color the helmet using darker tones where you shaded and lighter tones on areas that stick out.
Step 13
Use the eraser to lift tiny bits of color for small highlights on the round top and visor edge.
Step 14
Take a photo of your finished helmet and share your creation on DIY.org
Help!?
I don't have a blending stump—what can we use instead?
If you don't have a blending stump, use a clean tissue, cotton swab, or your fingertip to gently blend the shaded areas under the brim and on the sides as described in steps 10–11.
My helmet looks uneven—how can I fix it before I color?
Use the light vertical centerline from step 2 and erase extra sketch lines (step 9) to adjust one side of the dome and cheek guards until both sides match before darkening or adding the brim and visor slit.
How can I change this activity for younger or older kids?
For younger kids, simplify by folding paper to trace a half-dome or using stickers for the dome and rivets (steps 1 and 7), while older kids can add more seams, panel lines, dents, and refined blended shading with the blending stump and eraser highlights (steps 6, 10–12).
What are some ways we can personalize or enhance our finished helmet?
Add a crest, paint metallic tones with darker shading and lifted eraser highlights on the round top and visor edge (steps 11–12), draw battle dents along the dome seam (step 6), and then photograph it to share on DIY.org (step 14).
Watch videos on how to draw a helmet
Football Helmet Drawing - Easy Step-by-Step for Kids & Fans
4 Videos
Football Helmet Drawing - Easy Step-by-Step for Kids & Fans
How to Draw a Knight Helmet in a Few Easy Steps: Drawing Tutorial for Beginner Artists
How to draw a Helmet/Helmet drawing step by step/Helmet drawing easy @SimpleLineDrawing

How to Draw a Football Helmet Step by Step | Easy Football Helmet Drawing Tutorial for Beginners
Facts about drawing fundamentals
🪖 Helmets have been used for thousands of years — archaeologists have found bronze helmets dating back to around 2500 BCE!
✏️ Artists often begin with simple shapes (circles, ovals, rectangles) to keep helmet proportions steady and easy to adjust.
🪄 Shading with just a few tones (light, mid, dark) can instantly turn a flat outline into a realistic 3D helmet.
🔁 Most helmets are symmetrical across a centerline — drawing a light center guide or folding paper helps you mirror details perfectly.
🎨 Adding small highlights and tiny scratches makes a helmet look worn and believable without complicated coloring.
How do I draw a helmet step by step with my child?
What materials do I need to draw a realistic helmet?
What ages is drawing a helmet suitable for?
What are the benefits of drawing helmets for kids?
