How to draw a helicopter - a free helicopter drawing guide
Draw a helicopter step by step using pencil, eraser, ruler, and markers. Practice shapes, proportions, perspective, and adding rotors, windows, and landing skids confidently.

Drawing Apps
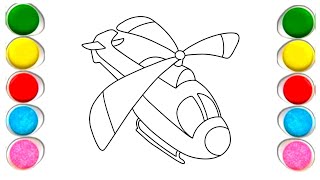
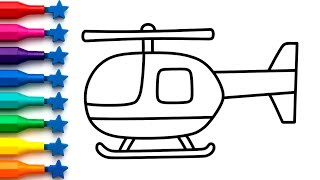
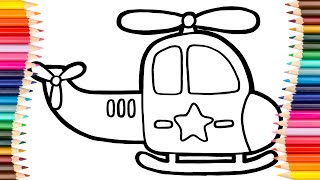
Photos of helicopter drawing examples


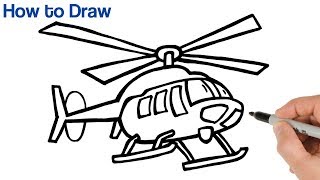
Step-by-step guide to drawing a helicopter
How to draw a helicopter | Easy step by step helicopter drawing and colouring for kids |easy drawing
Step 1
Turn your paper to landscape orientation.
Step 2
Use your ruler and pencil to draw a faint horizontal guideline across the middle of the page.
Step 3
Lightly sketch a long rounded rectangle centered on the guideline to make the helicopter's body.
Step 4
Draw a smaller rounded rectangle that overlaps the front of the body for the cockpit.
Step 5
Use the ruler to draw a straight tapered tail extending from the rear of the body.
Step 6
Add a small vertical tail fin at the end of the tail.
Step 7
Draw the tail rotor as two small blades crossing at the tail fin tip.
Step 8
Draw a short vertical mast on top of the body to hold the main rotor.
Step 9
Draw a small circle on the mast for the rotor hub and add two long straight blades crossing through it for the main rotor using the ruler.
Step 10
Draw two or three rounded rectangle windows on the cockpit.
Step 11
Draw the landing skids beneath the body by sketching two long parallel lines and adding short vertical struts to connect them to the body.
Step 12
Erase any extra guidelines and light sketch marks with your eraser to clean up your drawing.
Step 13
Carefully trace your final pencil lines with markers to make the drawing bold.
Step 14
Color your helicopter and add small details like stripes lights and numbers with markers.
Step 15
Share your finished creation on DIY.org.
Help!?
What can I use instead of a ruler, markers, or eraser if I don't have them?
Use a hardcover book or a straight cardboard edge instead of a ruler, colored pencils or crayons instead of markers for tracing the final pencil lines, and a soft cloth or folded tissue in place of an eraser to gently lift extra sketch marks.
My main rotor blades look crooked or the tail doesn't taper evenly—what should I do?
Go back to your faint horizontal guideline, lightly redraw the tapered tail from the rear of the body and the two long straight rotor blades through the rotor hub using your ruler for accuracy, then erase the old lines before you trace with marker.
How can I adapt this drawing activity for younger or older kids?
For younger kids, skip the ruler and have them make a single big rounded rectangle body, simple cockpit windows, and two skids to color, while older kids can use the ruler to refine the tapered tail and mast, add extra rotor detail, shading, and the stripes/lights/numbers before sharing on DIY.org.
How can we personalize or extend the helicopter after tracing and coloring?
Add themed details like rescue stripes, lights and numbers, draw a background scene, or insert a small brass brad at the rotor hub so the two main rotor blades can spin, then photograph and share the finished piece on DIY.org.
Watch videos on how to draw a helicopter
How to draw a helicopter | Easy step by step helicopter drawing and colouring for kids |easy drawing
4 Videos
How to draw a helicopter | Easy step by step helicopter drawing and colouring for kids |easy drawing
How to Draw a Helicopter ✈️🚁 Easy Step by Step for Kids
How To Draw A Helicopter Easy
How to Draw a Helicopter | Easy drawing tutorial for beginners
Facts about drawing and sketching for kids
🚁 Igor Sikorsky flew the first practical helicopter in 1939 — a big milestone for flying machines!
✏️ Many artists start drawings with simple shapes (circles, rectangles, triangles) to build a helicopter's form.
📐 Drawing the rotor disc as an ellipse makes a helicopter look tilted and more 3D on paper.
🌀 Light helicopters often have just 2 main rotor blades, while bigger ones can have 3–5 or more.
🧽 Using an eraser to lift a little graphite creates shiny window highlights that make your helicopter pop.
How do I draw a helicopter step by step?
What materials do I need to draw a helicopter?
What ages is this helicopter drawing activity suitable for?
What are the benefits of drawing helicopters, and how can I vary the activity?
