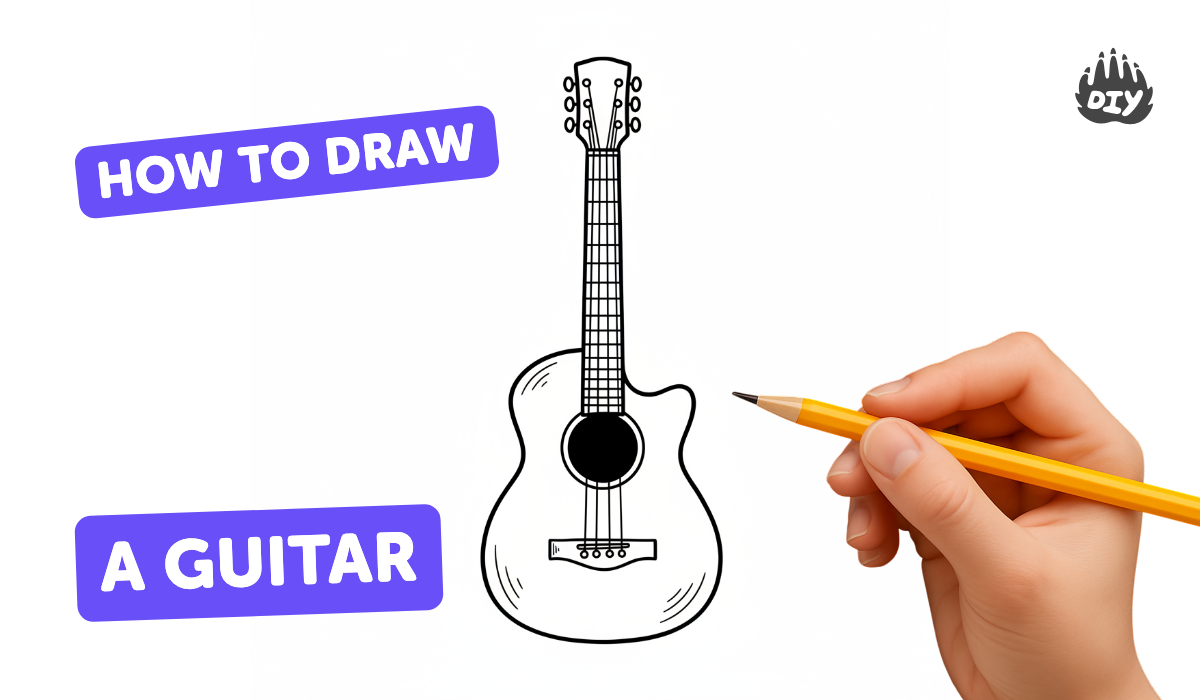
How to draw a guitar - a free guitar drawing guide
Learn to draw a simple acoustic guitar step by step, including body, neck, strings, and shading; practice proportions and creative decoration techniques.

Drawing Apps
Photos of simple acoustic guitar drawings


Step-by-step guide to draw a simple acoustic guitar
How to Draw a Guitar (Easy Drawing Tutorial for Kids)
Step 1
Gather all your materials and place them where you can reach them.
Step 2
Draw a light vertical centerline down the middle of your paper with your pencil.
Step 3
Put three small marks on the centerline for the top of the guitar the waist and the bottom so you know the guitar’s length.
Step 4
Draw a small oval centered on the top mark and a larger oval centered on the bottom mark so they overlap a bit.
Step 5
Draw smooth curved lines to connect the two ovals and make the guitar’s waist shape.
Step 6
Erase the extra curved and oval construction lines so the body outline looks clean.
Step 7
Draw a long narrow rectangle from the top of the body up along the centerline to make the neck.
Step 8
Add a small shape at the top of the neck for the headstock.
Step 9
Draw two parallel lines inside the neck to show the fretboard edges.
Step 10
Add short horizontal lines across the neck as frets making the spaces a little smaller toward the headstock.
Step 11
Draw a circle for the sound hole above the waist and a small rectangle for the bridge below the sound hole.
Step 12
Draw six straight evenly spaced lines from the bridge over the sound hole up to the headstock to make the strings.
Step 13
Shade the lower edge of the body under the strings and a little inside the sound hole with light pencil strokes to add depth.
Step 14
Use a tissue or blending stump to gently smooth the shaded areas then trace your final outlines with a darker pencil or marker and add decorations or color.
Step 15
Take a picture of your finished guitar and share your creation on DIY.org.
Help!?
If I don't have a blending stump or marker, what can I use instead?
Use a clean tissue, cotton swab, or fingertip to gently blend the shaded areas and a darker pencil (like a 4B) as an alternative to the marker when tracing your final outlines.
My ovals and waist don't line up or my strings look uneven—how can I fix that?
Keep your initial pencil centerline and the three small marks light, use a ruler to mark evenly spaced string points from the bridge up to the headstock before drawing the six strings, then erase construction lines after you smooth the body outline so the guitar stays symmetrical.
How can I adapt this activity for different ages?
For younger kids, pre-draw the centerline, ovals, and a few frets for them to trace and color with crayons, while older kids can measure accurate fret spacing, practice subtle shading with a blending stump, and add more detailed decorations or inlay designs.
How can we enhance or personalize the guitar drawing after finishing?
After tracing final outlines, glue short pieces of yarn or thin string over the drawn strings at the bridge and headstock, add paint, stickers, or custom decorations to the body and fretboard, or cut the body out on cardboard to make a 3D prop before taking a picture to share on DIY.org.
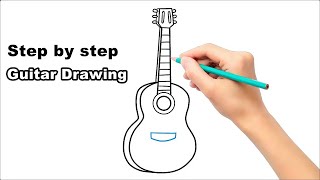
Watch videos on how to draw a simple acoustic guitar
Guitar Drawing: Easy Step-by-Step Guide for Kids
4 Videos

Guitar Drawing: Easy Step-by-Step Guide for Kids

How to Draw a Guitar 🎸 | Easy Step by Step Drawing for Kids | Color's Artbox
Easy Guitar Drawing in 10 Steps Drawing Tutorial

How to Draw a Very Simple Guitar? Step by Step Guitar Drawing - Drawing Guitar for Kids
Facts about drawing and sketching for kids
🎸 Most acoustic guitars have six strings — that’s why drawings often show six parallel lines across the neck!
🛠️ Antonio de Torres, a 19th-century luthier, helped design the modern acoustic guitar shape artists still copy today.
🎨 The round hole in the guitar is the sound hole, and the decorative ring around it (the rosette) is a fun spot to practice patterns.
📏 A simple drawing trick: use an oval for the body and a long rectangle for the neck to keep proportions correct.
✨ Many players personalize guitars with stickers, paint, or inlays — great inspiration for creative decoration ideas.
How do I teach my child to draw a simple acoustic guitar step by step?
What materials do I need to draw a simple acoustic guitar with my child?
What ages is drawing a simple acoustic guitar suitable for?
What are the benefits of drawing a guitar with my child and how can we vary the activity?
