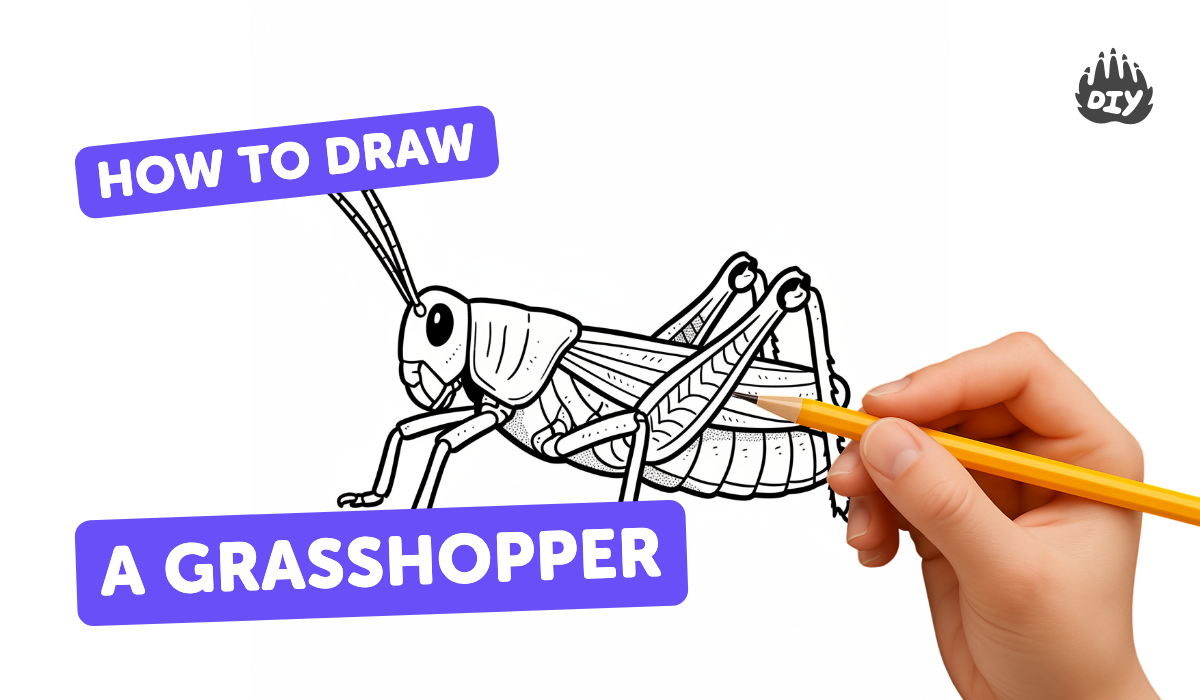
How to draw a grasshopper - a free grasshopper drawing guide
Draw a detailed grasshopper step by step using basic shapes, add legs, antennae and color. Practice proportion, texture and observation skills.

Drawing Apps
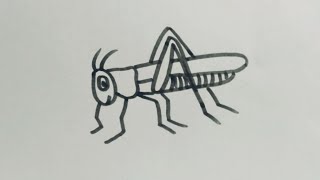
Photos of grasshopper drawing examples


Step-by-step guide to draw a grasshopper
How to draw a Grasshopper 🦗🦗| Easy Drawing for kids Step by Step
Step 1
Place your paper on a flat table.
Step 2
Look closely at a picture of a grasshopper to notice the head thorax and abdomen.
Step 3
Lightly draw a long curved oval in the middle of the paper for the thorax.
Step 4
Add a smaller circle overlapping the front of the thorax for the head.
Step 5
Draw a tapered oval attached to the back of the thorax for the abdomen.
Step 6
Draw a large round eye on the head.
Step 7
Draw two thin curved antennae from the top of the head.
Step 8
Sketch the two front legs as thin jointed lines coming down from the front of the thorax.
Step 9
Sketch the middle pair of legs under the center of the thorax using jointed lines.
Step 10
Draw the large hind legs with a thick upper thigh and a long lower segment bent like a jumping leg.
Step 11
Add short curved lines across the abdomen for segments and tiny lines on the legs for texture.
Step 12
Trace your best outline with a fine tip pen or darken it with your pencil.
Step 13
Erase the light construction lines to clean up your drawing.
Step 14
Colour your grasshopper using greens browns or yellows and add darker shading under the belly and legs.
Step 15
Share your finished grasshopper creation on DIY.org.
Help!?
I don't have a fine tip pen or colored pencils—what can I use instead?
Use a sharpened pencil or a thin marker to trace your best outline in place of the fine tip pen, and swap crayons, colored markers, or watercolor paints for the greens, browns, and yellows when colouring.
My grasshopper's hind leg looks wrong—how can I fix it?
If the hind leg is too short or stiff, lightly erase and redraw the thick upper thigh as a rounded shape and then add the long lower segment bent like a jumping leg (step 'Draw the large hind legs...') so you can adjust the bend before darkening the line.
How can I change this activity for younger or older kids?
For younger children simplify by drawing basic ovals for the thorax and head, bold jointed lines for legs, and colouring with crayons, while older kids can add the tiny texture lines across the abdomen, detailed antennae, fine-tip inking, and darker shading under the belly and legs.
How can we extend or personalize the drawing after finishing it?
Add a background of grass or flowers, decorate the abdomen with patterns or glued-on paper wings, increase contrast with darker shading under the belly and legs, and then photograph the finished grasshopper to share on DIY.org.
Watch videos on how to draw a grasshopper
How to Draw a Grasshopper | Easy Drawing Tutorial for Kids
4 Videos

How to Draw a Grasshopper | Easy Drawing Tutorial for Kids

How To Draw A Grasshopper

How to Draw & Color a Grasshopper | Fun & Easy Tutorial for Kids
How to draw a Grasshopper//Easy step by step//Easy and simple drawing for kids.
Facts about drawing insects
🦗 Grasshoppers have 6 legs, and the huge hind legs are specially built for powerful jumps—great detail to show in your drawing!
✏️ Artists often begin with simple shapes (circles, ovals, cylinders) to get proportions right before adding details.
👀 Grasshoppers have compound eyes made of thousands of tiny lenses, so eye placement really changes the look of the head.
🌿 Many grasshoppers are green or brown for camouflage; practice shading and texture to make your colors look natural.
📏 Some grasshopper species can jump over 20 times their body length—emphasize the strong hind legs to capture that energy.
How do I draw a detailed grasshopper step by step?
What materials do I need to draw a grasshopper?
What ages is this grasshopper drawing activity suitable for?
What are the benefits of drawing a detailed grasshopper?
