How to draw a gingerbread house - a free gingerbread house drawing guide
Draw a colorful gingerbread house step-by-step using simple shapes, add candy details, practice proportions, shading, and creative decorating techniques, and share your artwork with friends.

Drawing Apps
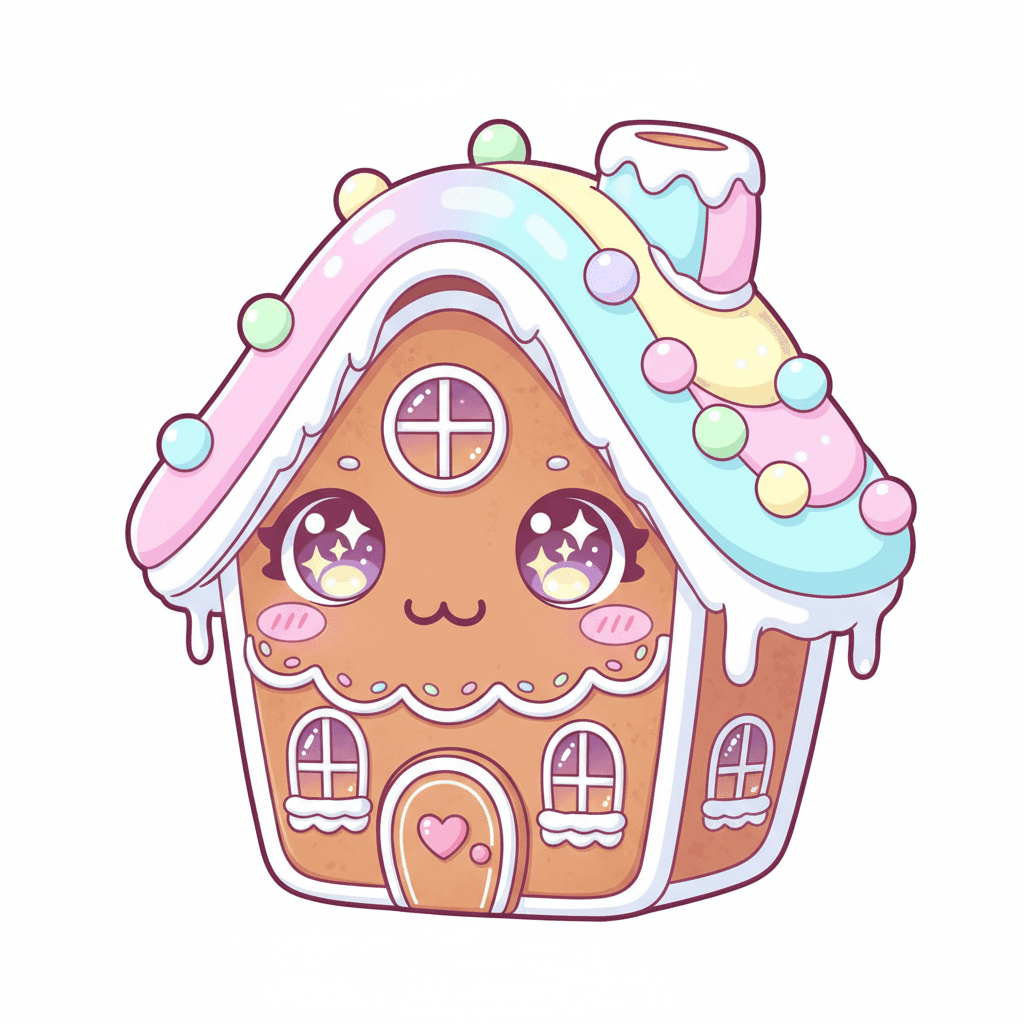
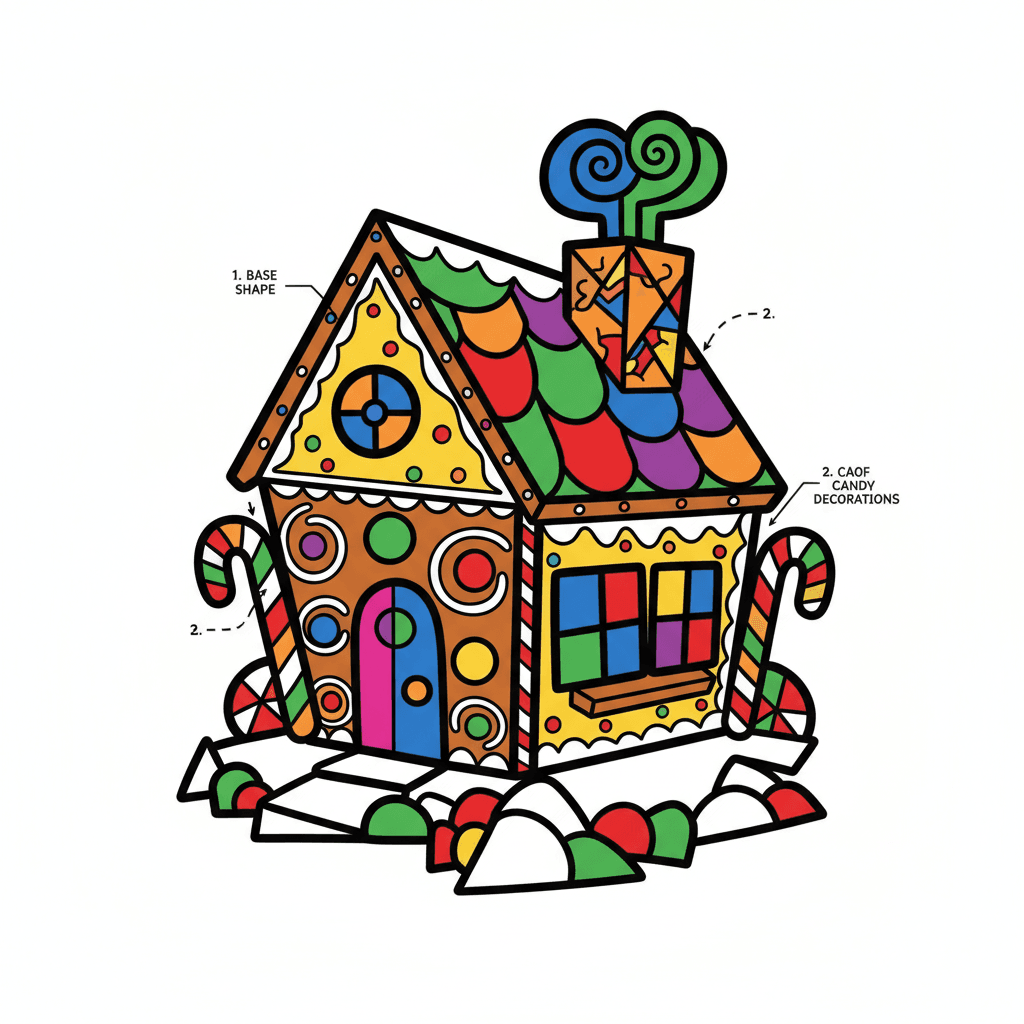
Photos of gingerbread house drawings
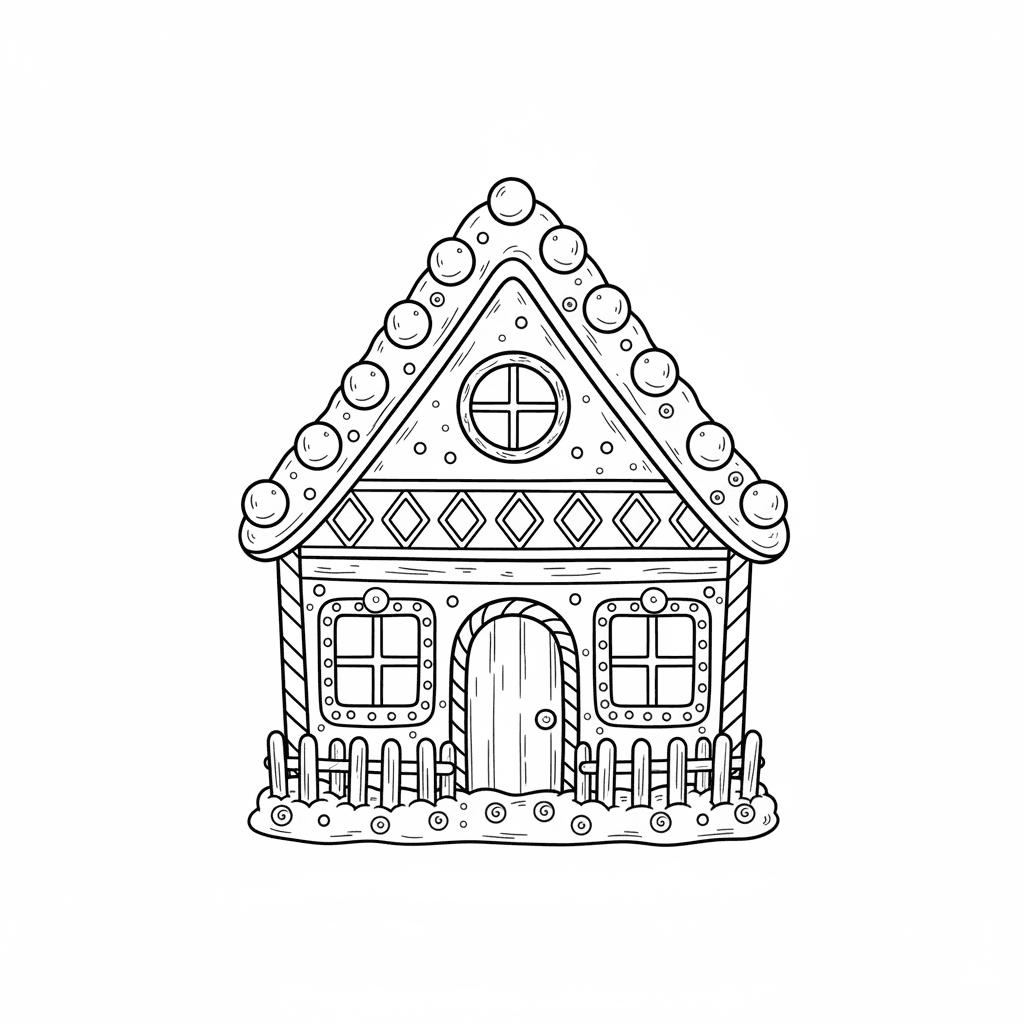
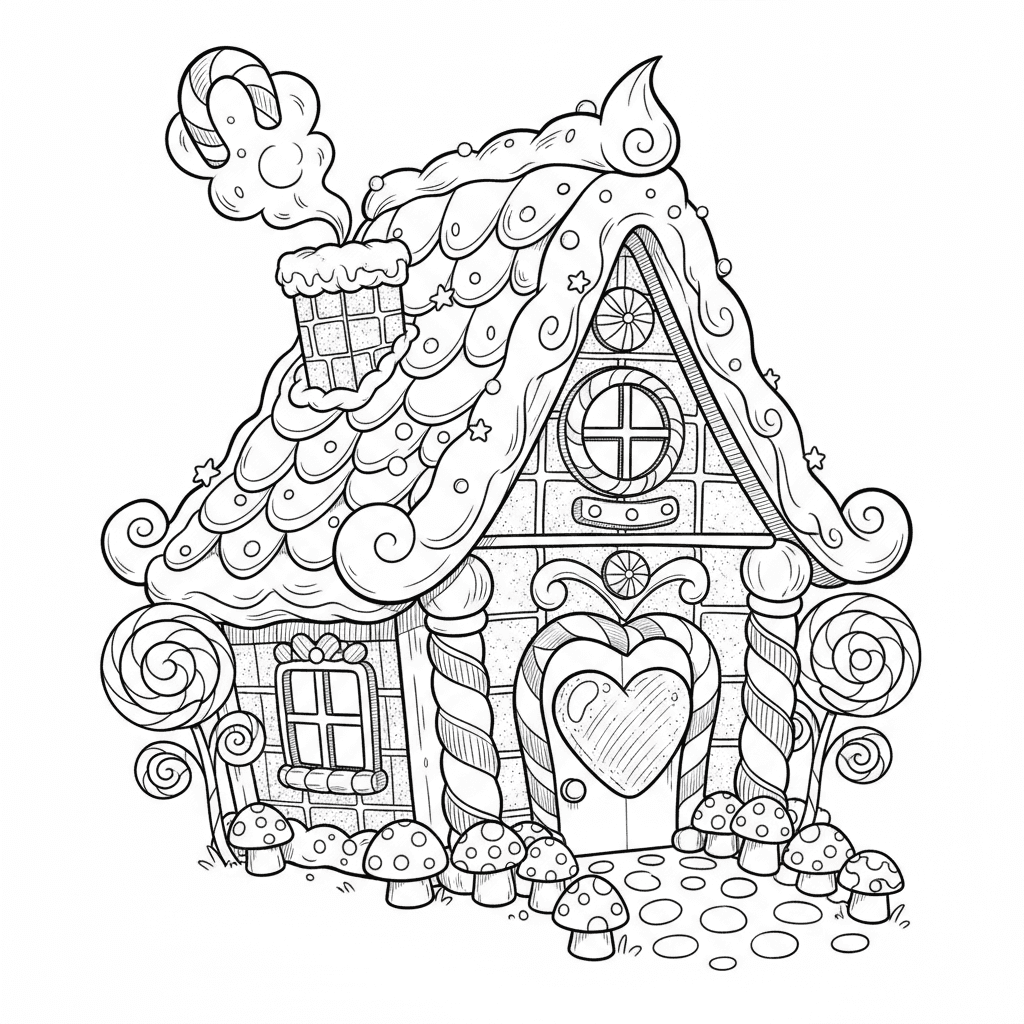
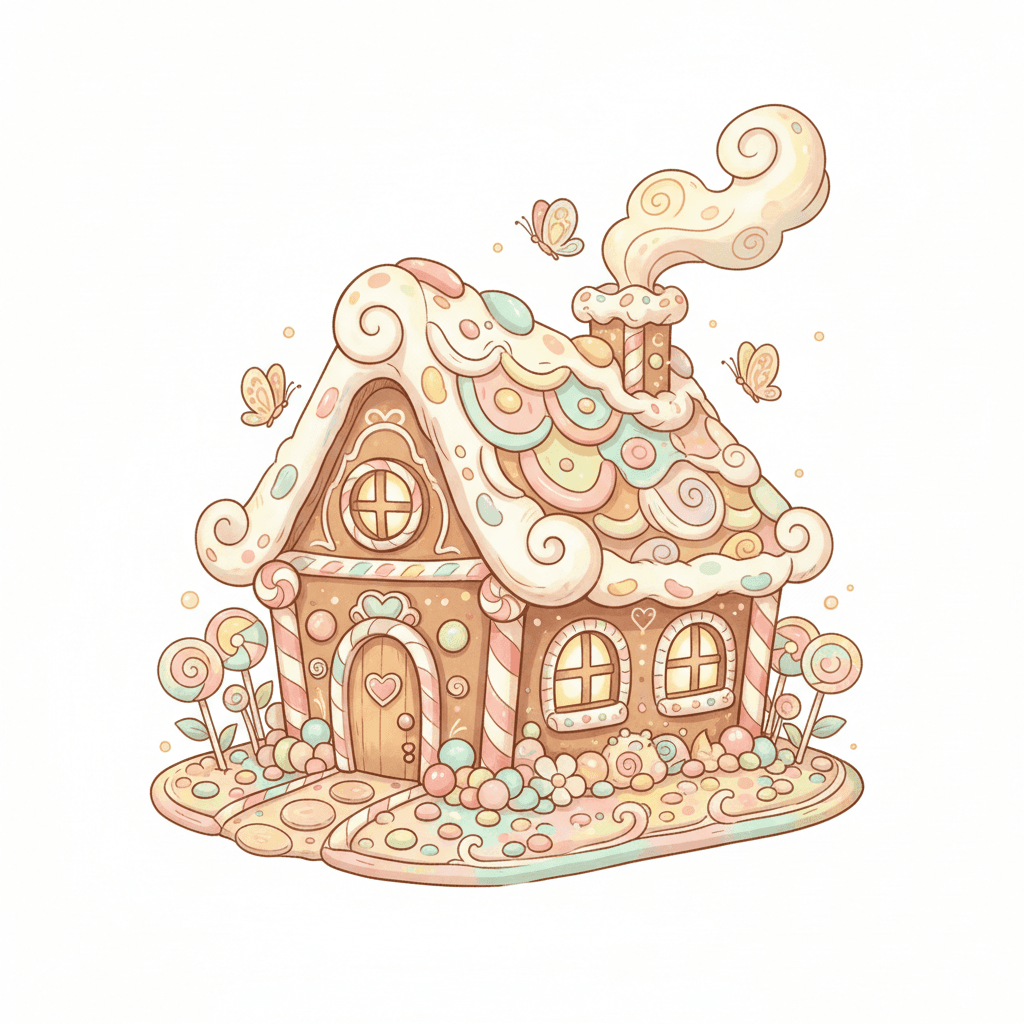

Step-by-step guide to draw a gingerbread house
How To Draw A Gingerbread House
Step 1
Lightly draw a rectangle for the front wall of your gingerbread house.
Step 2
Draw a triangle on top of the rectangle to make the roof.
Step 3
Draw a rectangle near the bottom middle for the door.
Step 4
Draw one square window on each side of the door.
Step 5
Draw a small rectangle rising from the roof for a chimney.
Step 6
Add candy shapes around the house by drawing circles for gumdrops and curved sticks for candy canes.
Step 7
Draw scalloped icing lines along the roof edges and small dots or swirls on the walls for frosting decorations.
Step 8
Use your ruler or pencil to compare and adjust the sizes of the door and windows so they look balanced.
Step 9
Trace over your final pencil lines with a black marker to make the drawing bold.
Step 10
Gently erase any extra pencil marks after the marker ink dries.
Step 11
Add shading by coloring slightly darker along the roof edge and under the eaves to make your house look 3D.
Step 12
Color the roof walls door windows and candies with bright colors and fun patterns.
Step 13
Share your finished gingerbread house artwork on DIY.org
Help!?
What can I use if I don't have a ruler or a black marker?
If you don't have a ruler or black marker, use the straight edge of a hardcover book or cereal box to make straight lines and a fine-tip black pen or dark crayon to trace your final lines.
My roof triangle looks lopsided and the marker smudged when I erased—what should I do?
If the roof triangle is lopsided, lightly redraw it using the ruler or book edge to align it with the rectangle, and to prevent marker smudges wait until the ink is fully dry before gently erasing leftover pencil marks with a soft eraser.
How can I adapt this drawing activity for younger or older kids?
For younger kids, pre-draw the rectangle, triangle, door, and windows in light pencil for them to trace and let them use candy stickers instead of drawing candies, while older kids can add a 3D cardstock chimney, more detailed icing swirls, and use the ruler to scale the door and windows precisely.
How can we personalize or enhance the finished gingerbread house before sharing on DIY.org?
Personalize it by gluing small real candies or sequins onto the drawn gumdrops and candy canes, add extra shading under the eaves as in the instructions, and photograph the marker-traced, colored artwork to share on DIY.org.
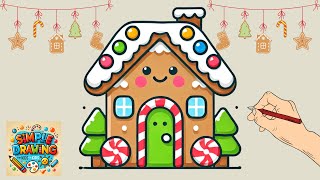
Watch videos on how to draw a gingerbread house
🏠 Learn how to draw a Gingerbread House step by step in this fun, easy-to-follow tutorial!
4 Videos

🏠 Learn how to draw a Gingerbread House step by step in this fun, easy-to-follow tutorial!

How to Draw a Gingerbread House for Kids 🍭🎄❤️💚 Gingerbread House Drawing and Coloring for Kids
How to Draw a Cute Gingerbread House - Fun & Easy for Kids!
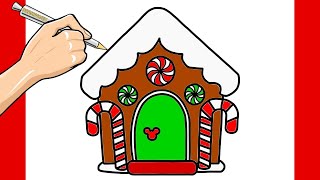
Easy Gingerbread House Drawing Tutorial for Beginners | Coloring a Gingerbread House | Step-by-Step
Facts about drawing for kids
🏠 The tradition of building and decorating gingerbread houses became popular in Germany in the early 1800s and was inspired by the Brothers Grimm story Hansel and Gretel.
🍬 Gumdrops, peppermints, and chocolate buttons are classic candies kids use to decorate gingerbread houses.
🎨 Use primary colors (red, blue, yellow) to mix bright candy hues — red + yellow = orange, blue + yellow = green, red + blue = purple.
✏️ Start your drawing with simple shapes (rectangles for walls, triangles for roofs, circles for windows) to keep proportions easy.
🍭 Royal icing acts like edible glue: it dries hard so candy decorations stay stuck on gingerbread houses.
How do I draw a gingerbread house step-by-step?
What materials do I need to draw a gingerbread house?
What ages is this drawing activity suitable for?
What are the benefits of drawing a gingerbread house and how can I vary the design?
