How to draw a fork - a free fork drawing guide
Learn to draw a simple fork step by step using pencil, ruler, and eraser, practicing shapes, proportions, and shading to make it look realistic.

Drawing Apps
Photos of fork drawing examples


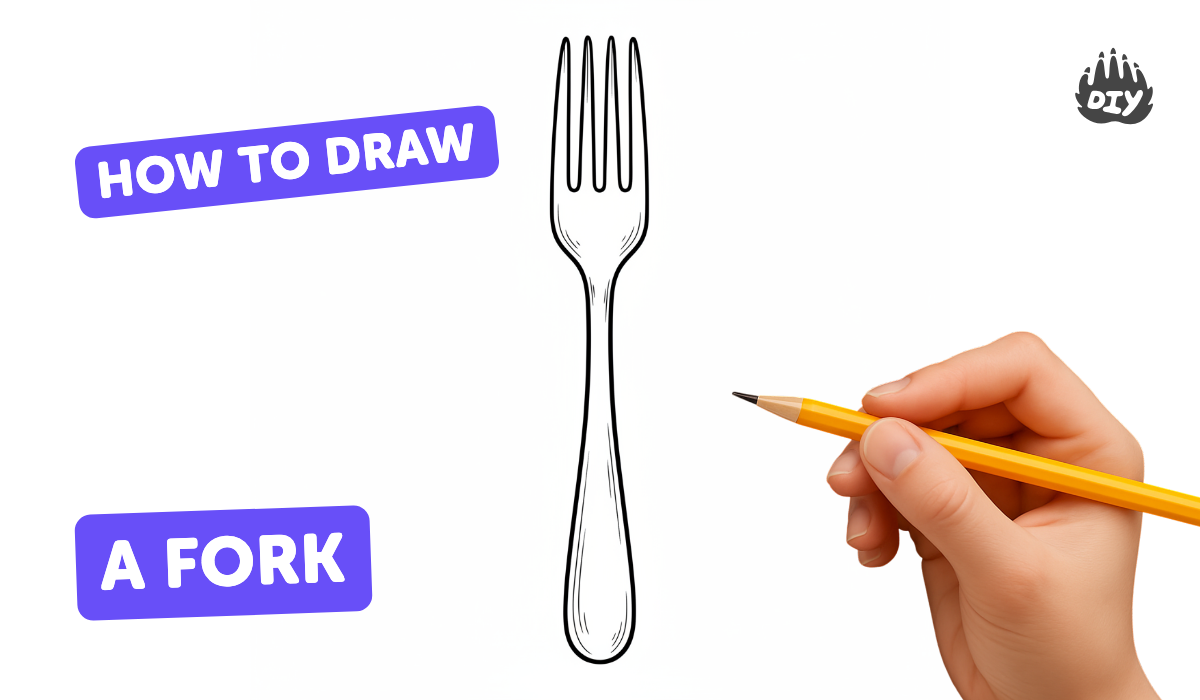
Step-by-step guide to draw a fork
how to draw a fork step by step for beginners
Step 1
Place your paper landscape (wider side across) on a flat table so you have lots of room to draw.
Step 2
Lightly draw a straight vertical center guideline down the middle of the paper with your ruler and pencil.
Step 3
Use the ruler to draw a long narrow rectangle along the guideline for the fork handle.
Step 4
Round the four corners of the handle by drawing small curved lines at each corner.
Step 5
Draw two short parallel lines at the top of the handle to mark where the fork head will begin.
Step 6
Attach a rounded rectangle to those lines to make the fork head where the tines live.
Step 7
Lightly draw three evenly spaced vertical lines inside the fork head to divide it into four tines.
Step 8
Use your eraser to remove any connecting guideline at the top so the tines are separated.
Step 9
Refine the tine tips by gently rounding each tip with your pencil so they look smooth.
Step 10
Darken the outer outlines of the handle and fork head with firmer pencil strokes to make the shape clear.
Step 11
Shade one side of the handle and the spaces between the tines with light short strokes to create shadow.
Step 12
Gently blend the shaded areas with your tissue or blending stump to smooth the tones.
Step 13
Erase a thin line along the opposite side of the handle to make a shiny highlight.
Step 14
Add small details like extra tiny reflections or light wood grain on the handle if you want.
Step 15
Take a photo of your drawing and share your finished creation on DIY.org.
Help!?
What can we use if we don't have a ruler or a blending stump?
Use a straight book edge or piece of cardboard to draw the center guideline and handle rectangle, and substitute a folded tissue or cotton swab for the blending stump to smooth the shaded areas between the tines and along the handle.
My tines look uneven or are still connected at the top — how do I fix that?
Lightly erase the connecting guideline at the top with a clean kneaded or precision eraser to separate the tines, use the ruler to re-mark three evenly spaced vertical lines inside the fork head, and re-round each tine tip with your pencil.
How can I adapt this activity for younger or older kids?
For younger children, skip the ruler and have them draw a wider handle and two big tines with crayons and simple shading, while older kids can keep the ruler for accurate center guidelines, draw four tines with precise spacing, add subtle shading between tines, blend with a stump, and erase a thin highlight line for realism.
How can we extend or personalize the fork drawing once it's finished?
Add small extras like light wood grain on the handle, stronger metallic highlights by erasing a thin line along the handle edge and adding tiny reflections between the tines, or draw matching spoon and knife to create a set then photograph and share on DIY.org.
Watch videos on how to draw a fork
How to Draw Fork, Spoon and Knife - Cute & Easy Drawing Step-By-Step for Kids
4 Videos
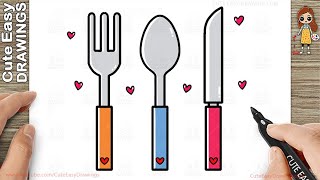
How to Draw Fork, Spoon and Knife - Cute & Easy Drawing Step-By-Step for Kids

How to Draw a Beautiful Fork - Easy Step-by-Step Tutorial #drawing #drawingtutorial
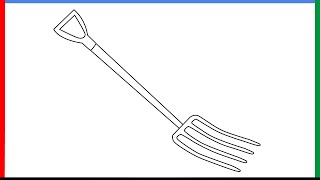
How to draw a Gardening fork step by step for beginners
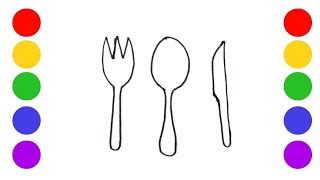
How to Draw a Spoon, Fork, and Knife | Easy Drawing for Kids
Facts about drawing basics for kids
🍴 Forks with multiple tines date back centuries, but the familiar four-tined table fork became common in Europe by the 1700s.
✏️ Pencil cores are made from graphite mixed with clay—softer B pencils leave darker, smoother strokes perfect for shading.
📏 Using a ruler or quick measuring tricks helps you keep the fork's tines evenly spaced and the handle in correct proportion.
🌓 Shading uses highlights, midtones, and shadows to turn flat pencil lines into a shiny, 3D-looking metal fork.
🎯 Practicing the same object for 10–15 minutes regularly builds observation skills and makes your drawings more accurate fast.
How do I teach my child to draw a simple fork step by step?
What materials do I need to draw a realistic fork with my child?
What ages is learning to draw a fork suitable for?
What are the benefits and safety tips for drawing a fork, and how can we vary the activity?
