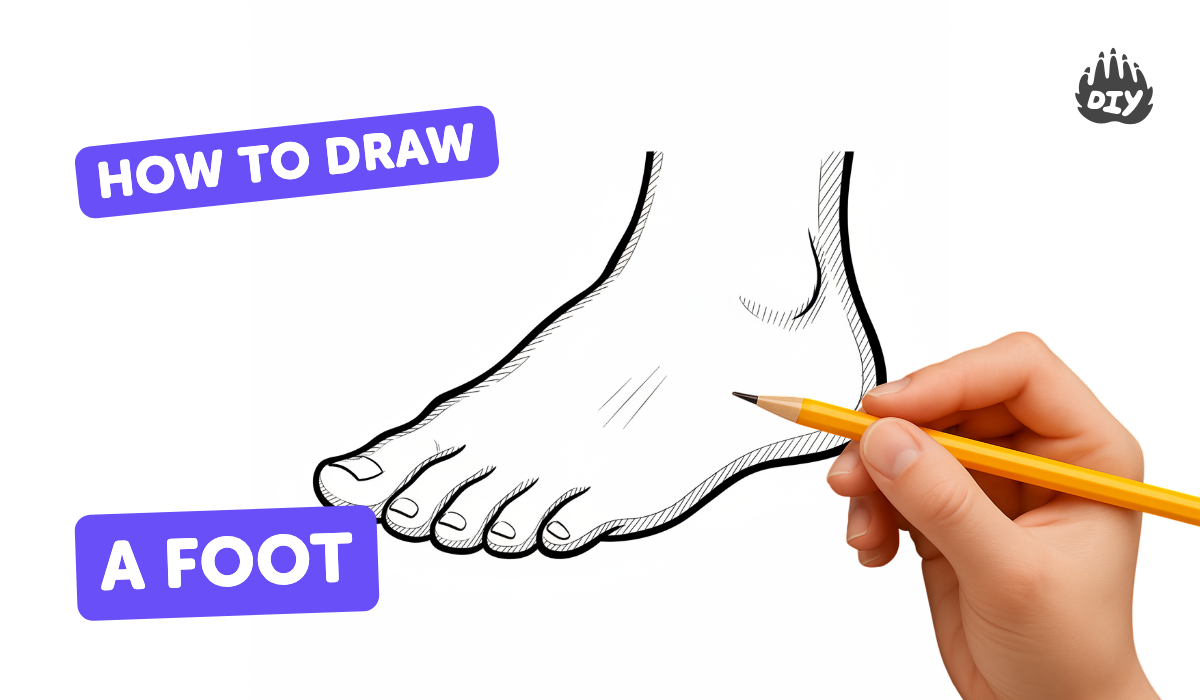
How to draw a foot - a free foot drawing guide
Draw a detailed foot step-by-step using pencil, measuring proportions and adding shading. Practice observation and proportion while refining lines and texture.

Drawing Apps
Photos of foot drawing examples


Step-by-step guide to draw a foot
How to Draw a Foot - Easy Step by Step Tutorial for Beginners
Step 1
Place your paper and your reference photo or your foot where you can see them clearly.
Step 2
Use a ruler to measure the length of the reference foot and mark the top and bottom points on your paper with light dots.
Step 3
Lightly draw an oval around the lower dot to show where the heel will be.
Step 4
Lightly draw a rounded shape around the top dot to show the toe box area.
Step 5
Draw two gentle curved lines connecting the heel and toe box to make the sides of the foot.
Step 6
Place small dots to mark the ankle and where each toe will sit.
Step 7
Refine the outer outline by smoothing the curves and adjusting sizes until the foot looks right.
Step 8
Lightly sketch simple toenail shapes on the tips of the toes.
Step 9
Lightly draw the crease lines where the toes meet the foot and across the instep.
Step 10
Erase extra construction lines so only the refined outline and light detail marks remain.
Step 11
Point to the spot on your page where the light hits the foot to decide your light source.
Step 12
Shade the opposite side of the foot from the light source using soft even pencil strokes.
Step 13
Use a tissue or blending tool to smooth the shaded areas into soft shadows.
Step 14
Use short pencil strokes to darken the deepest shadows and add small texture lines where you observed them.
Step 15
Share your finished foot drawing on DIY.org.
Help!?
What can I use instead of a ruler or a blending tool if I don't have them?
Use a straight edge like a book spine or the long edge of a cereal box to measure in step 2, and replace a blending tool or tissue (step 14) with a clean cotton ball or folded paper towel.
My foot looks too long or the toes are in the wrong place—how can I fix the proportions?
Re-check the length with your straight edge and re-mark the top and bottom dots (step 2), then adjust the heel oval and toe-box rounded shape (steps 3–4), move the ankle and toe placement dots (step 5), and refine the outline (step 7) erasing extra construction lines until it looks right.
How can I adapt this activity for different age groups?
For preschoolers, trace a real foot from step 1 and use crayons for simple outlines and toe dots (step 5), for school-age kids keep the measuring and basic shading steps, and for teens add detailed crease lines (step 11), texture with short pencil strokes (step 15), and careful blending (step 14).
How can we make the finished foot drawing more creative or challenging?
Extend the project by drawing the foot from different angles using a live model or reference photo, add colored pencils or watercolor over your refined outline, push stronger cast shadows from a chosen light source (step 12), and share the results on DIY.org as the final step.
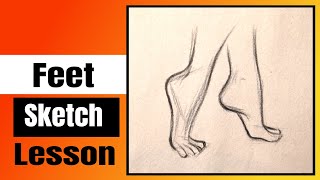
Watch videos on how to draw a foot
How to Draw Feet for Kids Easy
4 Videos
How to Draw Feet for Kids Easy
Feet Drawing Tutorial(EASY METHOD) How to draw Foot for Beginners | Basic Sketch drawing Lesson
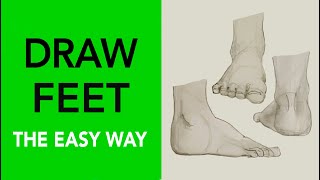
How to Draw Feet | Easy Step-by-step Drawing Tutorial

How To Draw cute foot Drawing, Painting & Coloring For Kids and Toddlers_ Child Art 🐋🌈🎨
Facts about figure drawing for kids
🦶 The human foot has 26 bones, 33 joints, and more than 100 muscles, tendons and ligaments working together!
📐 Artists often use the head as a measuring unit—an adult figure is typically drawn about 7.5–8 heads tall to keep proportions believable.
✏️ Graphite pencils come in grades from 9H (very hard, light) to 9B (very soft, dark) so you can create many tones for shading.
🔍 Observational drawing trains your eye—looking closely at shadows and contours helps you capture the foot's planes and textures.
🎨 Cross-hatching, blending, and careful erasing are classic shading tricks to build realistic volume and skin texture in pencil drawings.
How do I teach my child to draw a detailed foot step-by-step?
What materials do I need to draw a realistic foot with shading?
What ages is drawing a detailed foot suitable for?
What are the benefits of practicing drawing a foot for kids?
