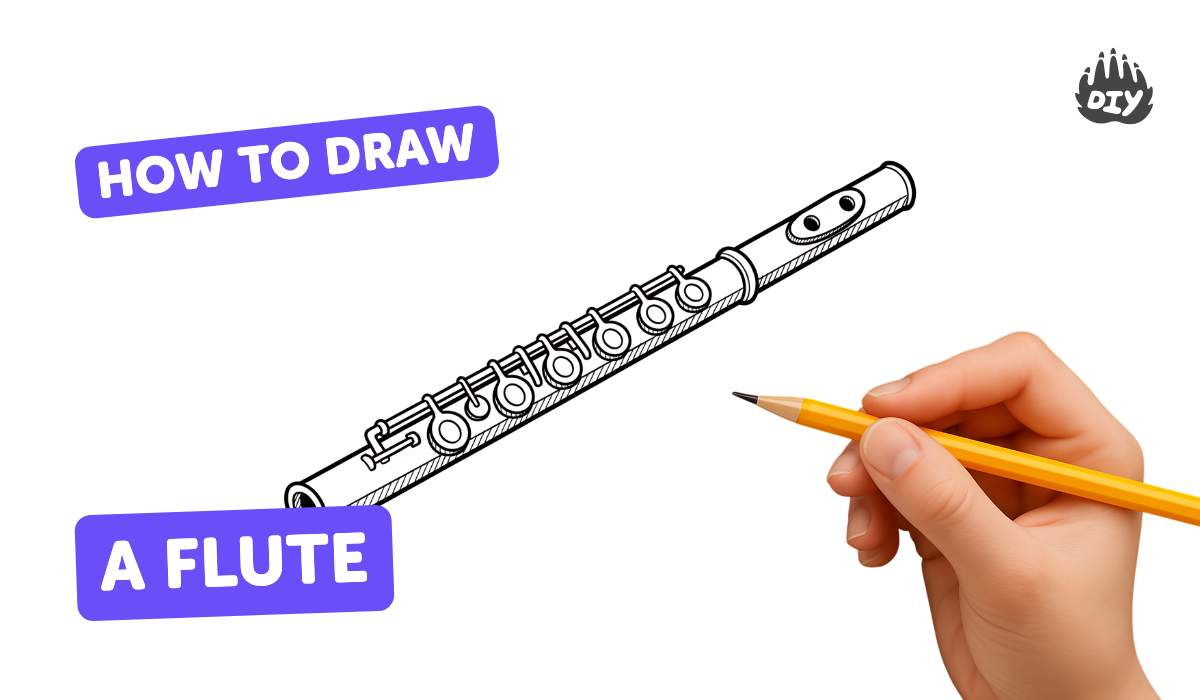
How to draw a flute - a free flute drawing guide
Draw a realistic flute using step by step shapes, proportions, and finger hole placement accurately. Practice shading and labeling parts to understand structure.

Drawing Apps
Photos of flute drawing examples


Step-by-step guide to draw a realistic flute
How to draw a flute EASY step by step for kids, beginners, children 2
Step 1
Gather all your materials and find a flat clean table to work on.
Step 2
Place your paper landscape and use the ruler to draw a light straight center line across the page.
Step 3
Measure with your ruler and mark the total flute length along the center line leaving a little margin at each end.
Step 4
Draw two light parallel lines above and below the center line to make the flute tube width using the ruler.
Step 5
Use the small round object to help draw neat rounded ends by connecting the parallel lines with semicircles.
Step 6
Measure the leftmost fifth of the tube length and draw a light vertical line to mark where the headjoint begins.
Step 7
Draw a small horizontal oval on the headjoint to make the embouchure hole and make its edges smooth.
Step 8
Divide the remaining body length into equal parts with light marks so you have spots to place keys and tone holes.
Step 9
Look at a real flute picture and transfer the key and hole positions by adjusting your light marks to match the photo.
Step 10
Draw the keys and rods as circles and thin rectangles where you marked them, keeping shapes neat and even.
Step 11
Add small details like key pads screws and the crown at the head end to make the flute look realistic.
Step 12
Pick one side of the flute as the light side and mark a faint line to show where light hits.
Step 13
Shade along the tube and under the keys with your pencil and soften with the blending stump or tissue to make the flute look round.
Step 14
Trace important lines with the fine-tip pen and erase extra pencil guide marks gently.
Step 15
Label the parts such as headjoint embouchure hole body keys and footjoint with arrows and neat writing.
Step 16
Share your finished realistic flute drawing on DIY.org
Help!?
What can we use if we don't have a ruler, small round object, or blending stump?
Use a straight book edge or cardboard strip to draw the center and parallel lines from steps 2–3, a coin or bottle cap to trace the rounded ends in step 5, and a tissue or cotton ball to soften the shading in step 13.
My tube ends or parallel lines look uneven—how can I fix them?
Lightly re-draw the center line from step 2, re-measure the tube width with your ruler or book edge as in step 3, then hold the small round object steady and trace slowly for neat semicircles in step 5.
How can I adapt this activity for younger or older children?
For younger kids, pre-draw the center line and mark key positions from steps 2 and 6 and let them stick simple round stickers for keys, while older kids should measure equal body divisions (step 8), match key placements from a real flute photo in step 9, add detailed pads and screws from step 11, and refine shading in step 13.
How could we extend or personalize the finished flute drawing?
After tracing important lines with the fine-tip pen in step 14, add metallic highlights with a silver gel pen, color or pattern the body, create a background scene, and make creative labels from step 15 before sharing on DIY.org.
Watch videos on how to draw a realistic flute
How to draw a boy playing flute EASY step by step for kids, beginners, children 1
4 Videos
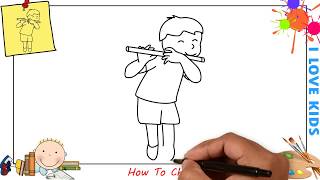
How to draw a boy playing flute EASY step by step for kids, beginners, children 1

Easy flute drawing || Drawing for beginners || easy drawing || flute drawing step by step
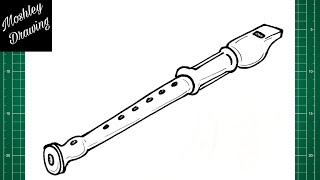
How to Draw a Flute
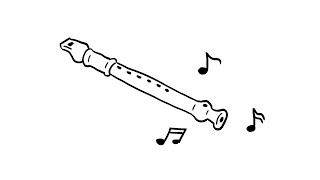
How to Draw a Simple Flute | Step-by-Step Lesson
Facts about drawing musical instruments
🎵 The modern concert flute is usually made from metals like silver or nickel, not wood — so it shines when you draw it!
📏 A flute's length controls its pitch: longer flutes play lower notes and shorter ones play higher notes.
🛠️ Theobald Boehm redesigned the flute in the 19th century and created the key system used by most modern flutes.
🎯 Tiny shifts in hole size or placement change pitch a lot — that's why accurate finger-hole placement matters when sketching or building one.
✨ Shading the tube and adding small reflections makes a drawn flute look metallic and realistic.
How do I draw a realistic flute step by step?
What materials do I need to draw a realistic flute accurately?
What ages is this flute-drawing activity suitable for?
What are the benefits of drawing a realistic flute with shading and labels?
