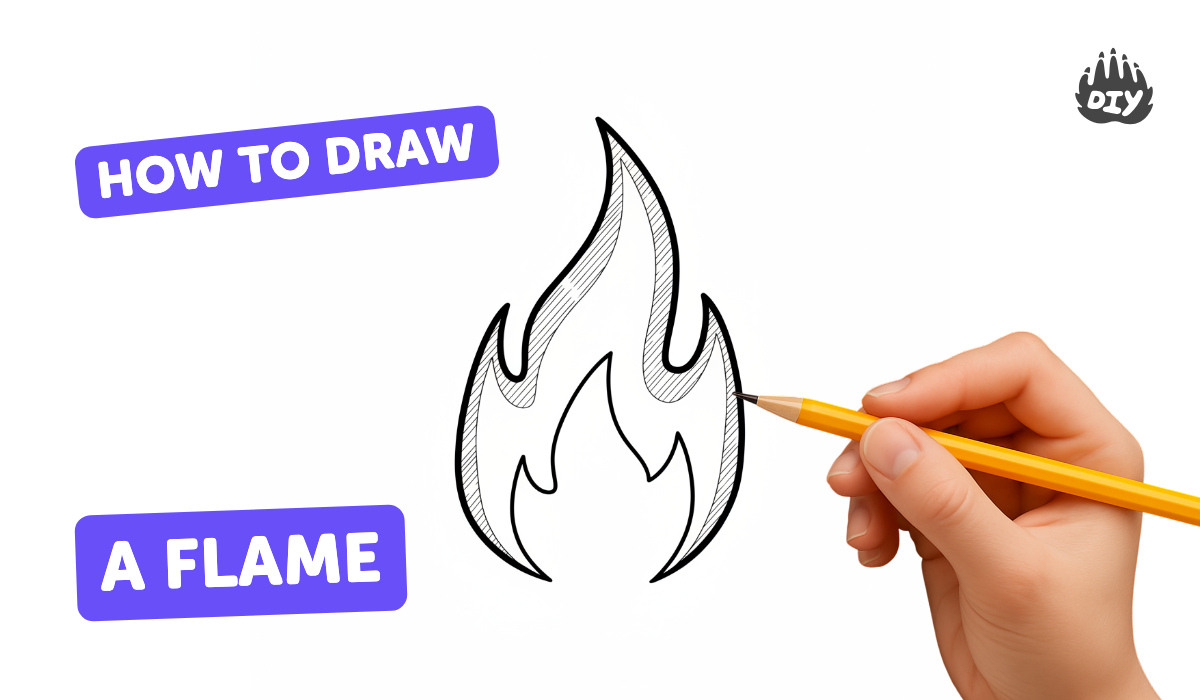
How to draw a flame - a free flame drawing guide
Draw a colorful flame with pencil and markers, learning shapes, layering, shading, and blending to create glowing fire effects. Practice steady strokes.

Drawing Apps
Photos of colorful flame drawings


Step-by-step guide to draw a colorful flame
How to Draw Flames Step by Step Easy for Beginners/Kids - Simple Flame Drawing Tutorial
Step 1
Gather your materials and sit at a clear flat workspace.
Step 2
Place your paper vertically so the flame will look tall and natural.
Step 3
Practice steady short flicking strokes on the scrap paper for one to two minutes.
Step 4
Lightly draw a large teardrop shape on the paper with your pencil for the outer flame.
Step 5
Draw two smaller teardrop tongues inside the outer shape so they sit nested toward the tip.
Step 6
Add a few small flicks and points at the top edges to make sharp flame tips.
Step 7
Choose three to five colours and lay them out from lightest to darkest on the scrap paper.
Step 8
Colour the very centre of the flame with the lightest colour using small steady strokes.
Step 9
Leave a tiny white dot at the very centre by not colouring that spot to act as a bright highlight.
Step 10
Apply the next darker colour around the light centre with short overlapping strokes to blend the edge.
Step 11
Put the darkest colour along the outer edge and on the tip flicks with quick flicking strokes to create contrast.
Step 12
Use your pencil to add gentle soft shading where colours meet using light back-and-forth strokes to smooth transitions.
Step 13
Share a photo of your finished glowing flame on DIY.org.
Help!?
What can I use if I don't have the colored pencils or the exact 'three to five colours' called for in the instructions?
Use crayons, markers, or watered-down watercolor paints arranged lightest to darkest on your scrap paper and follow the same short flicking strokes and tiny white highlight step.
My flicking strokes look messy and the colours aren't blending—what troubleshooting steps should I try?
Practice the steady short flicking strokes on scrap paper for another minute, apply the next darker colour with short overlapping strokes, and smooth joins with the pencil's light back-and-forth shading as instructed.
How can I adapt this activity for a preschooler versus an older child or teen?
For younger kids simplify by drawing one large teardrop and letting them fill it with one or two colours using crayons, while older kids can add the two nested teardrop tongues, extra sharp flicked tips, and refined pencil shading from the steps.
What are easy ways to enhance or personalize the finished flame before sharing it on DIY.org?
Add a dark background wash behind the vertically placed paper to boost glow contrast, include extra tiny white highlights with a gel pen, and sign and date the corner before photographing.
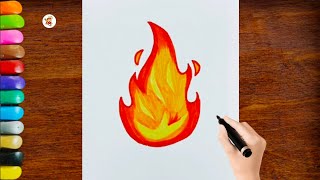
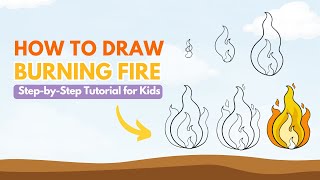
Watch videos on how to draw a colorful flame
how to draw a flame simple and quick step by step
4 Videos
how to draw a flame simple and quick step by step
How to Draw Fire 🔥 | Easy Flame Drawing Tutorial for Beginners
How to Draw Fire - A Step by Step Guide 🔥
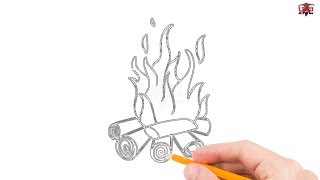
How to Draw Fire Step by Step Easy for Beginners/Kids - Simple Fire Drawing Tutorial
Facts about drawing techniques and color blending
🔥 A flame's color can tell its temperature — blue flames are usually hotter than yellow or orange ones.
🎨 Artists often draw a bright white or yellow core and then add orange and red layers to make a flame look like it's glowing.
✏️ Pencil grades matter: H pencils make lighter lines while B pencils are softer and darker for rich shading.
🖊️ Alcohol-based markers blend smoothly by layering colors, so testing combos on scrap paper helps avoid surprises.
💪 Steady, confident strokes give cleaner flame shapes — practice slow, relaxed lines and short controlled motions.
How do I draw a colorful flame step-by-step with pencil and markers?
What materials do I need to draw a colorful flame with pencils and markers?
What ages is this flame drawing activity suitable for?
What are the benefits, variations, and safety tips for drawing colorful flames?
