How to draw a fireplace - a free fireplace drawing guide
Draw a cozy fireplace step by step using pencil, eraser, and colored pencils; add bricks, a mantel, glowing flames, and simple shading techniques.

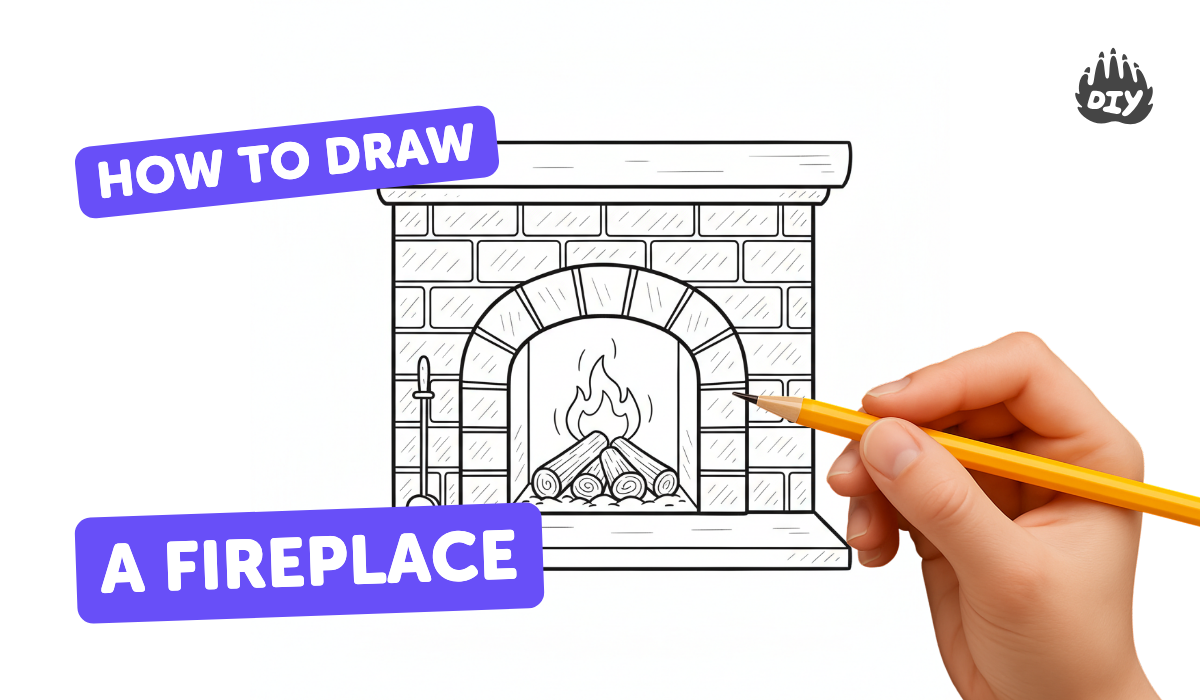
Step-by-step guide to draw a cozy fireplace
How to Draw a Fireplace Step by Step
Step 1
Place your paper on a flat surface and hold your pencil ready.
Step 2
Lightly draw a large rectangle in the center of the paper for the fireplace frame.
Step 3
Inside the lower part of the rectangle draw a smaller rectangle for the firebox opening.
Step 4
Draw a horizontal rectangle across the top of the main rectangle to make the mantel shelf.
Step 5
Draw a low rectangle that sticks out slightly at the bottom front to make the hearth base.
Step 6
Draw two or three evenly spaced horizontal lines across the fireplace frame to mark brick rows.
Step 7
Draw short vertical lines in a staggered pattern between the horizontal lines to form individual bricks.
Step 8
Use your eraser to gently remove any extra guideline lines you do not want to keep.
Step 9
Inside the firebox draw three wavy flame shapes rising from the bottom.
Step 10
Draw two short curved logs at the base of the flames inside the firebox.
Step 11
Add light diagonal hatching on the sides of the bricks and under the mantel to show simple shading and depth.
Step 12
Use colored pencils to color the bricks red or brown and color the mantel hearth and logs a warm wood color.
Step 13
Color the flames with yellow then add orange and red toward the edges to make them look glowing.
Step 14
Share your finished fireplace drawing on DIY.org.
Help!?
What can I use instead of colored pencils if I don't have any?
Use crayons, markers, watercolor paints, or colored paper cutouts to color the bricks, mantel, hearth, logs, and flames described in the coloring steps.
My brick rows look messy—how can I make the staggered bricks neater?
Lightly pencil the horizontal lines, mark small vertical guide dots for the staggered pattern with a ruler, then connect the dots and erase the guides so the individual bricks are even as in the instructions.
How can I change this activity for younger or older kids?
For younger kids pre-draw the large rectangle, firebox, and mantel for them to trace and color, while older kids can add extra diagonal hatching, detailed brick texture, and layered flame colors as suggested in the steps.
How can we personalize or extend the fireplace drawing once it's finished?
Add stocking shapes or a framed picture on the mantel, create glowing embers with a white gel pen or watercolor wash behind the flames, or turn the finished drawing into a winter card to share on DIY.org as the final step.
Watch videos on how to draw a cozy fireplace
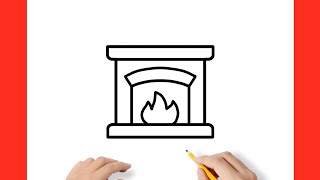
How to draw a Fireplace Real Easy
4 Videos

How to draw a Fireplace Real Easy
How to draw a FIREPLACE step by step / drawing hearth easy
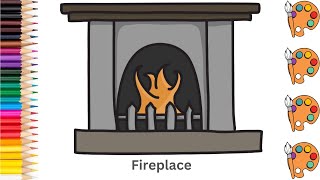
Fireplace - Sketch Art and Paint | Step by step tutorial | Pencil to Palette
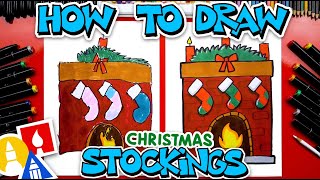
How To Draw Stockings Hung By The Fireplace
Facts about drawing and shading for kids
🔥 For centuries, the fireplace was the heart of the home—used for heating, cooking, and gathering before central heating existed.
🧱 Bricks have been used as a building material for over 5,000 years—drawing simple brick patterns can instantly make a fireplace look real.
🪵 Mantelpieces became decorative focal points in homes during the 17th–18th centuries, so adding decorations in your drawing tells a story.
🔵 Flames show different colors: blue flames are hotter and often at the base, while orange and yellow show cooler, glowing parts—use color to show heat.
✏️ Easy shading tricks like hatching, cross-hatching, and light blending with a colored pencil help make bricks, shadows, and glowing flames pop.
How do I draw a cozy fireplace step by step?
What materials do I need to draw a cozy fireplace?
What ages is this fireplace drawing activity suitable for?
What are some fun variations when drawing a fireplace?
