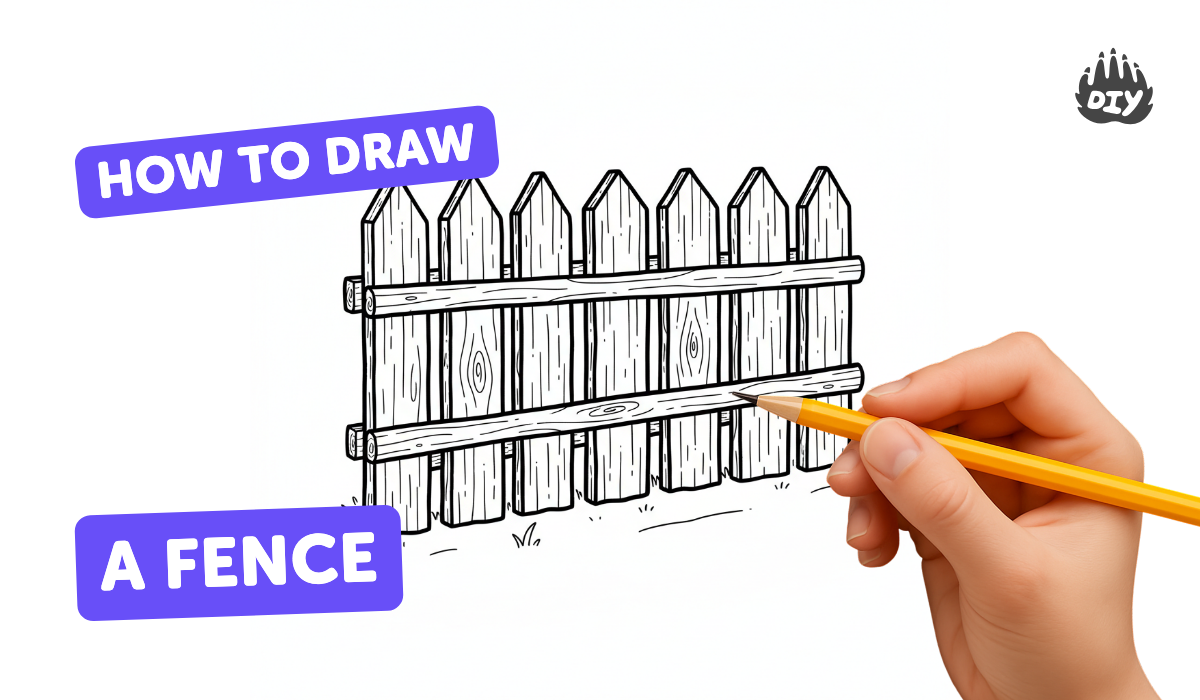
How to draw a fence - a free fence drawing guide
Learn to draw a wooden fence step by step using simple shapes, rulers, and shading to practice proportions, lines, and basic perspective.

Step-by-step guide to draw a wooden fence
How to draw a fence
Step 1
Place your paper in landscape orientation on a flat surface.
Step 2
Lightly draw a horizontal horizon line across the middle of the paper.
Step 3
Mark a small dot on the horizon line a little left of center as your vanishing point.
Step 4
Near the left edge draw a tall rectangle with your ruler to make the nearest fence post.
Step 5
Use the ruler to draw two straight lines from the left post toward the vanishing point to make the top and bottom rails.
Step 6
Draw vertical pickets between the rails by sketching rectangles that get a bit narrower as they move toward the vanishing point.
Step 7
Add a small triangle centered on top of each picket to make pointed tops.
Step 8
Draw a second and third post along the rail line using the ruler and make them smaller as they go toward the vanishing point.
Step 9
Erase any extra guide lines outside the fence shape so the fence looks clean.
Step 10
Add wood grain by drawing light curved lines and little knots on each picket.
Step 11
Decide where the light comes from and shade the side of each picket away from the light with your pencil.
Step 12
Darken the main outlines with a marker or darker pencil and gently blend shaded areas with a tissue or blending stump.
Step 13
Colour the fence and the ground sky around it using your colouring materials and then share your finished creation on DIY.org.
Help!?
I don’t have a ruler or a blending stump—what can I use instead so my rails stay straight and my shading blends well?
Use the straight edge of a book or cereal box as a ruler for the top and bottom rails and substitute a rolled-up tissue or cotton swab to gently blend shaded sides of the pickets in place of a blending stump.
My rails don’t seem to meet at the vanishing point and the pickets aren’t getting narrower—how can I fix that?
Double-check that the small dot on the horizon line is visible, then align your ruler so each rail edge goes exactly to that vanishing-point dot and lightly sketch vertical picket guides before erasing extras and darkening outlines.
How can I change this activity to suit different ages or skill levels?
For younger children, pre-draw the horizon, vanishing point, and left post and have them trace the rails and add a few large pickets with markers, while older kids can measure precise post sizes, add detailed wood grain and careful shading with a blending stump or tissue.
What are simple ways to extend or personalize my finished fence drawing?
Add a gate, flowers, a house or distant trees behind the fence, experiment with watercolour or coloured pencils for different wood finishes, and then photograph and share the final coloured piece on DIY.org as suggested.
Watch videos on how to draw a wooden fence
Easy Drawing : Fence | How to Draw A Fence | @KalakritArtStudiobyKanika
3 Videos

Easy Drawing : Fence | How to Draw A Fence | @KalakritArtStudiobyKanika
How to Draw a Fence in a Few Easy Steps: Drawing Tutorial for Beginner Artists
How to Draw Fencing: Easy Step by Step Drawing Tutorial for Beginners
Facts about basic drawing and perspective
📏 Rulers help artists draw perfectly straight posts and rails — even tiny rulers make big improvements!
🪵 Many fences are made of wood; adding simple wood-grain lines makes drawn boards look realistic.
🔭 Linear perspective uses a vanishing point so parallel fence rails appear to meet far away, adding depth.
✏️ Shading with hatching or cross-hatching gives flat boards shadow and texture with just a few lines.
🧠 Drawing repeating fence posts is awesome practice for learning proportions and even spacing.
How do I teach my child to draw a wooden fence step by step?
What materials do I need to draw a wooden fence with my child?
What ages is learning to draw a wooden fence suitable for?
What are the benefits and creative variations of drawing a fence?
