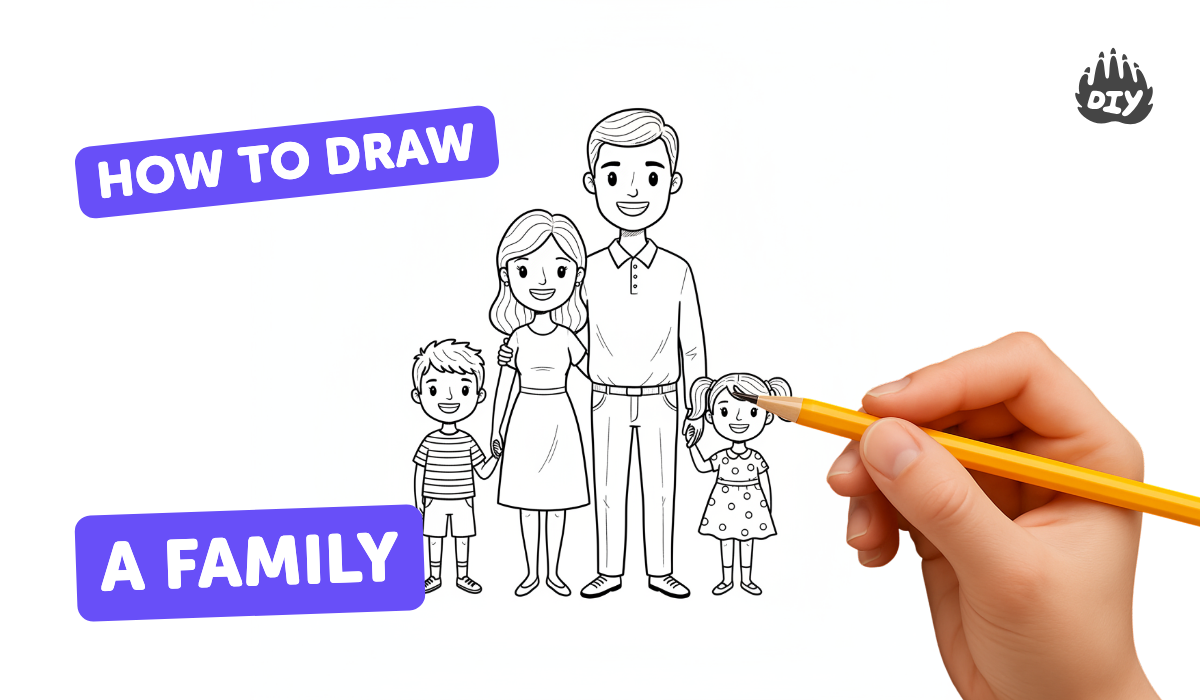
How to draw a family - a free family drawing guide
Draw a family portrait showing each person's face, body, and clothes. Practice proportions, expressions, and simple perspective using pencil and color.

Drawing Apps
Photos of family portrait examples


Step-by-step guide to draw a family portrait
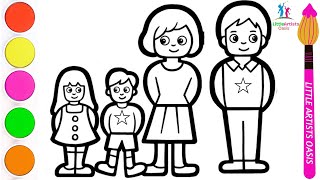
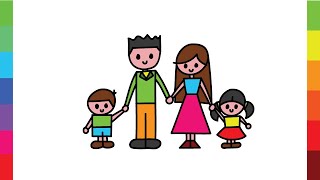
Easy Family Drawing for Kids | Step-by-Step Drawing of Mom, Dad, Son & Daughter
Step 1
Gather your materials and place them on a flat table.
Step 2
Choose which family members to include in your portrait.
Step 3
Pick one photo or look at each person for reference.
Step 4
Lightly draw a straight horizontal horizon line and a ground line with your ruler.
Step 5
Lightly draw small circles where each head will go using bigger circles for closer people and smaller circles for people farther away.
Step 6
Use your pencil to measure one head height and mark how many head-heights tall each person will be using about six heads for an adult and about four heads for a child.
Step 7
Draw necks and simple torso shapes down from each head mark to the body height marks.
Step 8
Add simple arm and leg shapes to each figure to match their poses.
Step 9
Draw a light guideline across each head halfway down for the eyes and another guideline between eyes and chin for the nose and mouth.
Step 10
Sketch eyes nose and mouth on each face following the guidelines to create different expressions.
Step 11
Add hair clothing and small details that show each person’s style.
Step 12
Erase extra guidelines and darken the final lines you want to keep.
Step 13
Colour your portrait and add simple ground shadows or overlap figures a little to show who is in front.
Step 14
Share your finished family portrait on DIY.org
Help!?
What can we use if we don't have a ruler, photos, or markers?
Use a straight book edge or a credit card as a ruler to lightly draw the horizon line and ground line, look at each person in the room or use a single family photo for reference, and swap markers for crayons, colored pencils, or watercolors when you colour your portrait.
My people look flat or too big/small—how do we fix proportions and placement?
Lightly erase and adjust the small circles you drew for each head, then use your pencil or ruler to measure one head height and mark how many head-heights tall each person will be (about six for an adult and four for a child) before redrawing necks, torsos, and limbs so they line up on the horizon and ground lines.
How can I adapt this activity for younger or older children?
For younger kids, simplify by drawing big circles for heads and stick limbs and using chunky crayons, while older kids can follow full steps like measuring head-heights, adding eye/nose/mouth guidelines, overlapping figures, and adding hair, clothing, and shading.
How can we make the family portrait more personal or challenging?
Personalize by adding favorite clothing, props, or patterned backgrounds when you colour your portrait, experiment with overlapping figures and simple ground shadows to show depth, or use mixed media like cut paper or fabric before erasing guidelines and darkening final lines to share on DIY.org.
Watch videos on how to draw a family portrait
Easy Family Drawing Tutorial for Beginners ✏️ | Draw a Family in Minutes
4 Videos

Easy Family Drawing Tutorial for Beginners ✏️ | Draw a Family in Minutes
Easy Family Drawing step by step | Colorful Family Drawing for Beginners 👨👩👧👦

How to draw cute FAMILY with simple shapes | Very easy | Beginners tutorial
How to draw cute FAMILY with simple shapes | Very easy | Beginners tutorial
Facts about portrait and figure drawing for kids
🎨 Leonardo da Vinci's Vitruvian Man is a famous study of ideal human proportions that artists still learn from today.
🙂 People can recognize basic facial expressions like happiness or surprise in well under a second.
📏 A handy drawing rule: an adult figure is usually about 7.5–8 heads tall for realistic proportions.
✏️ Artists pick pencil grades for different jobs — H pencils for fine light lines, B pencils for dark shading.
🔭 Linear perspective, popularized during the Renaissance, uses vanishing points to make scenes look 3D on paper.
How do I teach my child to draw a family portrait step by step?
What materials do I need to draw a family portrait with my child?
What ages is drawing a family portrait suitable for?
What are the benefits of drawing family portraits and fun variations we can try?
