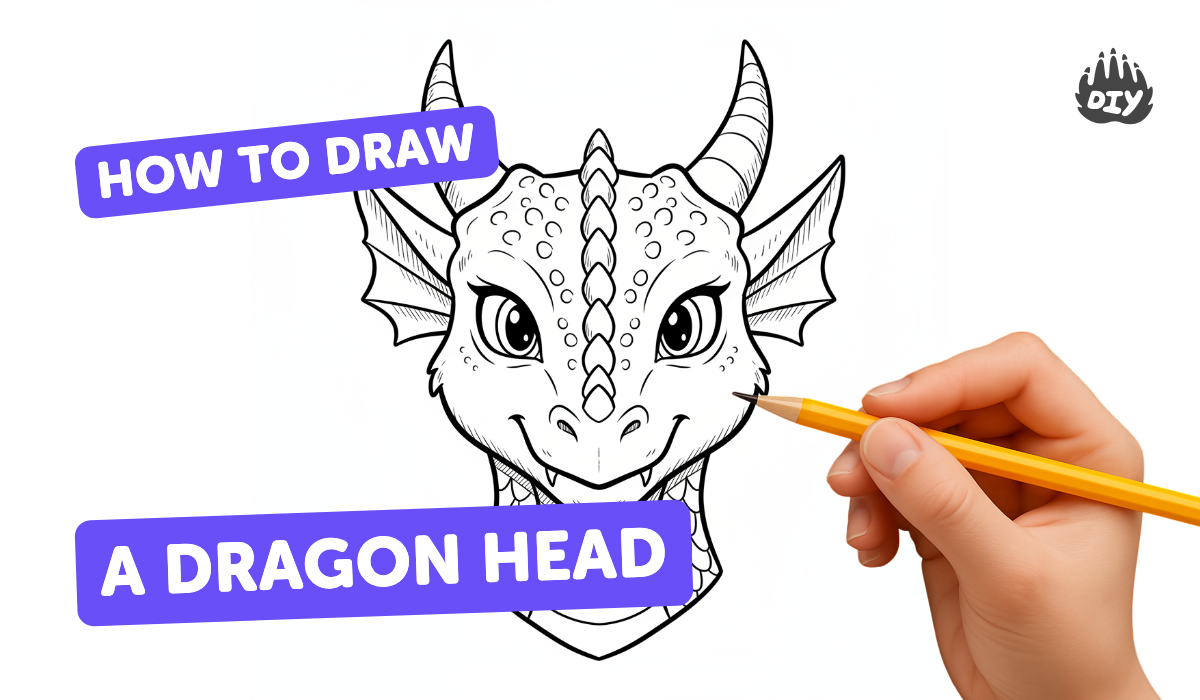
How to draw a dragon head - a free dragon head drawing guide
Draw a dragon head step by step using simple shapes, lines, shading, and texture. Practice proportion and creative detail while following clear instructions.

Drawing Apps
Photos of dragon head examples


Step-by-step guide to draw a dragon head
How To Draw A Dragon (For Super Young Artists)
Step 1
Place your paper in front of you and lightly draw a large circle for the main shape of the dragon's head.
Step 2
Draw a slightly stretched oval overlapping the front of the circle to form the snout.
Step 3
Add a curved line from the bottom of the oval back into the circle to make the lower jaw.
Step 4
Draw a short curved line down from the back of the jaw to show the start of the neck.
Step 5
Lightly draw a horizontal guideline across the upper third of the circle to mark where the eye will go.
Step 6
Draw an almond-shaped eye on the guideline and add a vertical slit for the pupil.
Step 7
Sketch a small curved mark near the front of the snout to make the nostril.
Step 8
Draw a smooth curved line from the snout to the jaw to create the mouth line.
Step 9
Add small sharp triangular teeth along the top and bottom edges of the mouth.
Step 10
Draw one or two large horns on top of the head using curved cone shapes.
Step 11
Add a row of small pointed spikes or plates along the back of the head and down the neck.
Step 12
Fill the cheek and neck with simple overlapping semicircles to suggest scales.
Step 13
Gently erase the guide lines and darken the main outline you like to make the dragon look clean.
Step 14
Add light shading under the jaw behind the eye and inside the mouth and then color your dragon any way you like.
Step 15
Take a photo of your finished dragon head and share your creation on DIY.org
Help!?
What can I use if I don't have a pencil, eraser, colored pencils, or a smartphone to take the photo?
Use a hard mechanical pencil or 2H pencil to keep your guide lines light and easy to erase, a soft rubber or kneaded eraser for cleaning the guidelines before you darken the main outline, swap colored pencils for markers, crayons, or watercolor when you color your dragon, and if you can't take a photo use a flatbed scanner or ask an adult to photograph the finished drawing for sharing on DIY.org.
My circle and snout look off or the jaw doesn't match the head—how can I fix that without starting over?
Keep your initial circle and stretched oval very light, gently erase only the misaligned sections and redraw the curved jaw line and the short neck line until the lower jaw connects smoothly to the circle before darkening the main outline.
How can I change the steps to suit younger children or older kids?
For younger children simplify by tracing a large circle and oval and letting them use thick markers to add an almond-shaped eye, nostril, mouth line and big triangular teeth, while older kids can add extra horns, a detailed row of pointed spikes, overlapping semicircle scales and the light shading under the jaw and inside the mouth for more depth.
What are some easy ways to enhance or personalize the dragon head after finishing the basic drawing?
Personalize by experimenting with different horn shapes and spike patterns along the back of the head and neck, inventing color schemes when you color your dragon, adding textured scales in the cheek and neck semicircles, or creating a background and taking the shading step further to make the head look three-dimensional.
Watch videos on how to draw a dragon head
How To Draw A Dragon
4 Videos
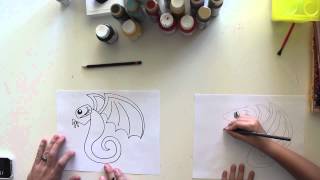
How To Draw A Dragon
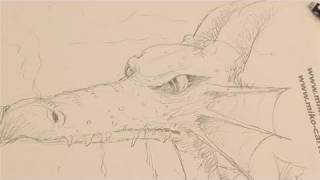
How To Do A Dragon Head Drawing
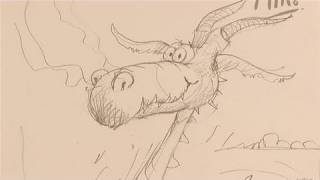
How To Draw A Dragon
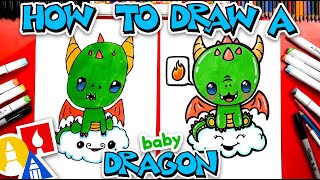
How To Draw A Baby Dragon
Facts about drawing for kids
🐉 Legends of dragons appear in cultures worldwide — Europe, Asia, Africa and the Americas all have their own winged or serpentine beasts.
🐲 Chinese dragons are friendly symbols of power, luck, and weather and often have long, whiskered heads with antler-like horns.
🦎 The Komodo dragon is a real lizard that can grow over 3 meters (10 feet) long — great real-life reference for scales and jaw structure.
✏️ Many artists build complex heads from simple shapes first: circles, ovals, and triangles help plan proportion and pose.
🎨 Cross-hatching and changing pencil pressure are classic tricks to make scales, shadows, and shiny horns look three-dimensional.
How do I teach my child to draw a dragon head step by step?
What materials do I need to draw a dragon head with my child?
What ages is drawing a dragon head suitable for?
What are the benefits of drawing a dragon head for children?
