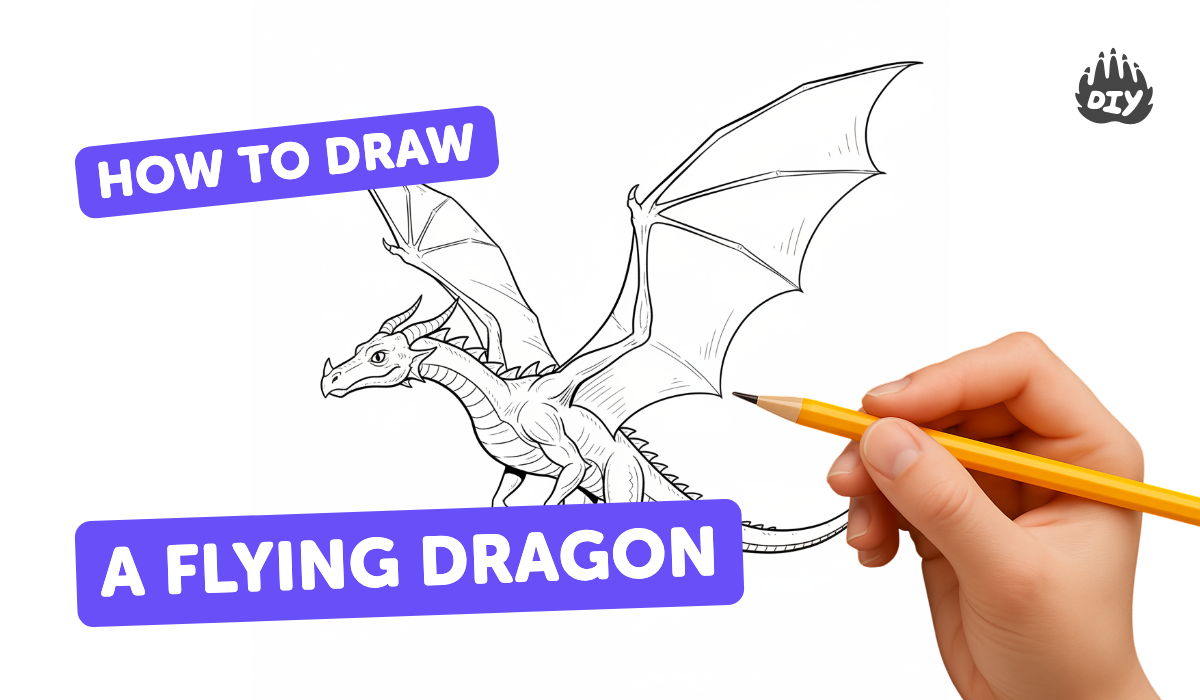
How to draw a dragon flying - a free dragon flying drawing guide
Draw a flying dragon step-by-step using simple shapes, perspective, and wing motion lines. Practice shading and tail curves to show flight.

Drawing Apps
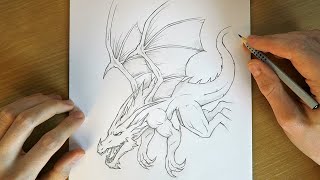
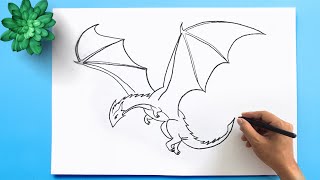
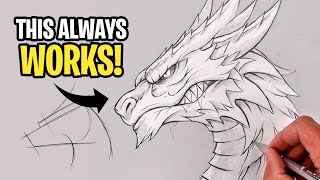
Photos of flying dragon drawings


Step-by-step guide to draw a flying dragon
How to Draw a Flying Dragon: Easy Step by Step Drawing Tutorial for Beginners
Step 1
Lightly draw a horizon line across your paper to show where the sky meets the ground.
Step 2
Put a small dot above the horizon to mark the vanishing point for the dragon to fly toward.
Step 3
Draw a small circle for the dragon's head facing the vanishing point.
Step 4
Draw a long oval for the dragon's body angled toward the vanishing point and touching the head.
Step 5
Draw one long curving line out of the back of the body to set the tail path.
Step 6
Draw a second curved line beside the first tail line to give the tail some width.
Step 7
Connect the two tail lines at the tip with a small pointed shape to finish the tail end.
Step 8
Draw two large curved triangular wing frames attached to each side of the body.
Step 9
Add straight or slightly curved lines from the wing frames to the body to form the wing bones.
Step 10
Draw quick curved motion lines behind each wing to show flapping and movement.
Step 11
Draw two small ovals under the body for the tucked legs.
Step 12
Draw a round eye on the head to give your dragon expression.
Step 13
Draw a small nostril and a smiling mouth and add one or two small horns on the head.
Step 14
Add rows of small curved scales along the body and thin lines on the wing membranes for texture.
Step 15
Shade the underside of the body the wings and the tail with light pencil strokes to show depth and flight then share your finished creation on DIY.org.
Help!?
What can I use instead of a pencil for the light sketching and shading steps if I don't have one?
If you don't have a pencil, use a soft charcoal stick or the side of a crayon to lightly sketch the horizon line, vanishing point, head circle and body oval and then smudge or layer for the underside shading of the body, wings and tail.
My dragon doesn't look like it's flying toward the vanishing point — how can I fix the perspective?
Make the horizon line and small vanishing-point dot your first light marks, then redraw the small circle for the head and realign the long oval body so its long axis points to the vanishing point, erasing and re-sketching lightly until the pose reads correctly.
How can I simplify or make the drawing activity harder for different age groups?
For younger children skip small curved scales, thin wing membrane lines and detailed shading and keep just the wing frames, motion lines and tucked-leg ovals, while older kids can add rows of curved scales, foreshortened wings, detailed wing-bone lines and stronger underside shading on the body, wings and tail.
What are some ways to personalize or extend the finished dragon before sharing it on DIY.org?
Personalize by adding patterns or colors on the wing membranes, a background scene below your horizon line, smoke from the nostril or extra horns and then photograph the shaded drawing to upload to DIY.org.
Watch videos on how to draw a flying dragon
How to Draw a Flying Dragon | Easy & Realistic Fantasy Art Drawing Tutorial 🐉✍️
4 Videos
How to Draw a Flying Dragon | Easy & Realistic Fantasy Art Drawing Tutorial 🐉✍️
How to draw a Dragon | Flying Dragon Drawing lesson
How To Draw a DRAGON | Step By Step Sketch Tutorial
How to draw a DRAGON in 5 MINUTES for KIDS (EASY!)
Facts about drawing techniques and perspective for kids
🐉 Many cultures draw dragons differently—Chinese dragons often fly without wings while Western dragons usually have big, bat-like wings.
🐦 Real bird and bat wings have 'elbow' and 'wrist' bends; copying those joints helps dragon wings look natural and strong.
🎨 Artists often start with simple shapes (circles, ovals, cylinders) to block in form and keep perspective accurate.
💨 A few curved motion lines behind wings and tail can make a dragon look like it's zooming through the sky.
🌪️ A twisting tail line plus gradual shading (light to dark) gives the dragon a sense of rotation and 3D depth.
How do you draw a flying dragon step-by-step?
What materials do I need to draw a flying dragon with my child?
What ages is this flying dragon drawing activity suitable for?
What are the benefits of drawing a flying dragon for kids?
