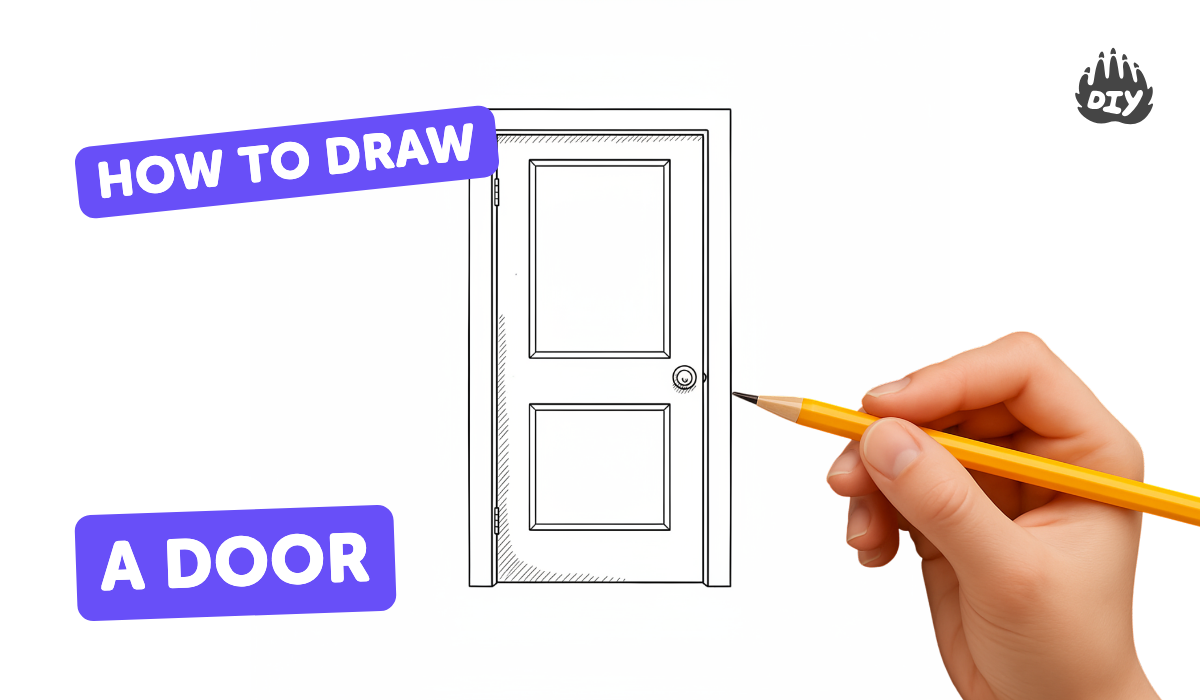
How to draw a door - a free door drawing guide
Draw a realistic door step by step using simple shapes, perspective, and shading. Practice measuring proportions and adding details like handles and panels.

Drawing Apps
Photos of realistic door drawings


Step-by-step guide to draw a realistic door
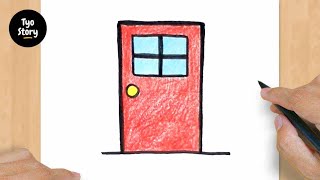
How to draw a door step by step for kids | Coloring Book Page and Drawing Learn Colors For Kids
Step 1
Put a sheet of paper in a portrait (vertical) position on your table.
Step 2
Use your pencil and ruler to draw a light large rectangle in the middle of the paper for the outer door shape.
Step 3
Draw a slightly smaller rectangle inside the first one to make the door frame with even space all around.
Step 4
Decide whether your door will face you straight on or sit at a slight angle and remember your choice.
Step 5
If you chose an angled view mark a tiny vanishing point dot on the paper to the left or right; if straight-on skip this step.
Step 6
Show the door’s thickness: if straight-on draw a thin vertical edge line on one side; if angled draw two faint diagonal lines from the door edge toward the vanishing point and connect them with a short vertical line.
Step 7
Measure the door height with your ruler and lightly mark equal sections where you want panels to go.
Step 8
Draw the panel lines with your ruler to create rectangular or square panels on the door surface.
Step 9
Measure about one-third up from the bottom and sketch a handle shape (oval or lever) on one side of the door.
Step 10
Add a small keyhole and draw tiny rectangle hinge shapes along the door edge.
Step 11
Draw thin lines or small loops to suggest wood grain and trim around each panel for extra detail.
Step 12
Mark a small dot where the light will come from so you know which side gets lighter and which gets darker.
Step 13
Shade the opposite side of the light dot with soft pencil strokes and blend gently with your tissue to make the door look three-dimensional.
Step 14
Darken the final important lines erase stray sketch marks and then share your finished door drawing on DIY.org
Help!?
What can we use if we don't have a ruler, pencil, or tissue for this door drawing?
Use the straight edge of a book or cereal box to draw your light large rectangle and panel lines instead of a ruler, a sharpened colored pencil or mechanical pencil in place of a regular pencil, and a folded napkin, cotton swab, or your fingertip to blend the shading where the instructions call for a tissue.
My door panels look uneven or the angled view looks wrong—what should I check or redo?
Double-check Step 2 by remeasuring with your ruler or straight edge and lightly mark equal sections for panels as in Step 10, and if using an angled view make sure your tiny vanishing point and the faint diagonal thickness lines from Step 5 align toward that dot before darkening lines.
How can I change the steps to make this activity easier for younger kids or more challenging for older kids?
For younger children simplify by doing a straight-on view with pre-drawn outer and inner rectangles and sticker handles, while older kids can add the angled vanishing point, detailed wood grain from Step 12, more precise shading and blending in Step 14, and multiple-panel designs.
What are simple ways to personalize or extend the finished door drawing?
Personalize it by adding painted colors or textures after Step 14, designing a unique handle and keyhole shape in Step 11, adding a nameplate or window above the panels, or drawing different lighting dots and re-shading to practice how light changes the door's three-dimensional look before sharing on DIY.org.
Watch videos on how to draw a realistic door
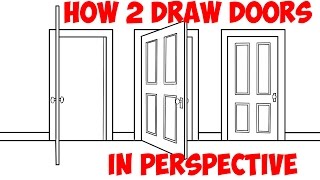
#455 How to Draw a Door - Easy Drawing Tutorial
4 Videos
#455 How to Draw a Door - Easy Drawing Tutorial
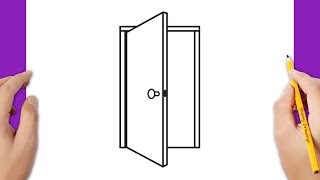
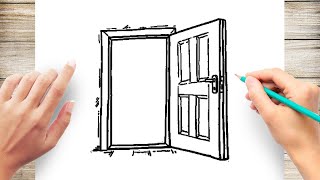
How to draw an open door
How to Draw an Open Door (Opening Doors) in 2 Point Perspective Easy Step by Step Drawing Tutorial
How To Draw Opening Door Step by Step
Facts about drawing and perspective
🚪 A standard interior door in many countries is about 80 inches tall (around 2 meters) — a handy size to remember when drawing to scale.
🔭 One-point perspective (where parallel lines meet at a single vanishing point) became famous with Renaissance artists like Filippo Brunelleschi.
✏️ Shading tricks like hatching and cross-hatching use lines to turn flat shapes into believable 3D forms.
📐 Artists often use simple grids or divide a door into thirds to measure proportions quickly and accurately.
🪄 Tiny details — like placing a doorknob about 36 inches (≈91 cm) from the floor — make a drawn door look realistic and convincing.
How do you draw a realistic door step by step?
What materials do I need to draw a realistic door with my child?
What ages is drawing a realistic door suitable for?
What are the benefits, safety tips, and variations for drawing doors?
