How to draw a dollar bill - a free dollar bill drawing guide
Draw a detailed paper dollar bill using pencil, ruler, and colored pencils. Practice symmetry, measurement, and shading to improve drawing skills.

Drawing Apps
Photos of dollar bill drawing examples


Step-by-step guide to draw a dollar bill
How to Draw Dollar Bill Easy for Kids | Cute Little Drawings
Step 1
Place your paper flat on a table and turn it sideways so the long side is horizontal.
Step 2
Use your ruler and pencil to draw a neat rectangle about 16 cm by 7.5 cm to make the outer edge of the bill.
Step 3
Draw a second rectangle 1 cm inside the first rectangle to create the inner border.
Step 4
Lightly draw a straight vertical center line down the middle of the inner rectangle to help with symmetry.
Step 5
Draw a medium-sized oval centered on the center line where the portrait will go.
Step 6
Draw a light horizontal guideline across the middle of the oval to mark where the eyes will sit.
Step 7
Lightly sketch the portrait’s eyes nose and mouth inside the oval using the guidelines.
Step 8
Draw repeating decorative shapes along the top and bottom inside the inner border to make a patterned frame.
Step 9
Write the denomination numbers neatly in each corner of the inner rectangle.
Step 10
Write the bill’s name (like ONE DOLLAR) and a fake serial number in neat block letters somewhere on the bill.
Step 11
Shade the portrait and the surrounding background using small pencil strokes and gentle crosshatching so the portrait stands out.
Step 12
Add color with your colored pencils using mainly green and gray tones and layer lightly for smooth color.
Step 13
Erase any stray guidelines and pencil marks so the drawing looks clean.
Step 14
Darken the most important outlines and the numbers with firmer pencil pressure so they pop.
Step 15
Share your finished dollar bill drawing on DIY.org
Help!?
What can I use if I don't have a ruler or colored pencils?
If you don't have a ruler use a straight-edged card or the long edge of a cereal box to mark the 16 cm by 7.5 cm outer rectangle and the 1 cm inner border, and substitute crayons or markers for colored pencils while layering lightly to mimic the green-and-gray tones.
My portrait looks uneven or my shading is messy—how can I fix it?
If the portrait is uneven or shading is messy, recheck and use the vertical center line and the horizontal eye guideline to realign features, erase only the stray guidelines, and build shading slowly with small crosshatch strokes so the portrait stands out.
How can I adapt this drawing for younger or older kids?
For younger kids pre-draw the outer and inner rectangles and the center oval so they can add simple eyes, nose, patterned borders, and color with crayons, while older kids should refine the portrait using the center guidelines, practice crosshatching for shading, and write a neat fake serial number and block-letter denomination.
How can we make the dollar bill drawing more creative or realistic?
To enhance the activity, have the child invent a country name and serial number, design the back of the bill with landmarks, add a light shaded 'watermark' symbol in the portrait area before erasing guidelines, and finish with green and gray colored pencils plus a silver gel pen for highlights.
Watch videos on how to draw a dollar bill
How To Draw Money - One Hundred Dollar Bill
4 Videos
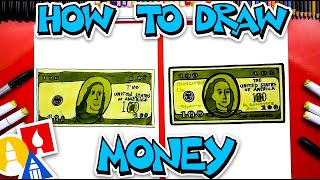
How To Draw Money - One Hundred Dollar Bill
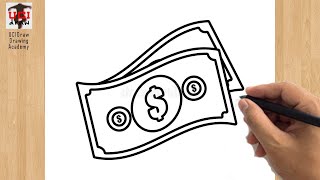
Money Drawing | How to Draw Dollar Bill Easy Sketch Step by Step for Beginners | Money's Art
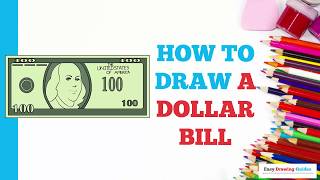
How to Draw a Dollar Bill in a Few Easy Steps: Drawing Tutorial for Beginner Artists
How to Draw a 100 Dollar Bill | Step by Step Simple and Easy
Facts about drawing and illustration for kids
🟩 The U.S. one-dollar bill is often called a “greenback” because of the green ink used on the back.
📏 Modern U.S. bills measure exactly 6.14 × 2.61 inches (156 × 66 mm) — a handy real-world size to copy when drawing!
✏️ Intaglio engraving used on many banknotes creates raised lines you can feel; artists mimic that texture with careful shading.
🔁 Many banknotes use bilateral symmetry and mirrored patterns to help with alignment and to make counterfeiting harder.
🎨 Rulers, grids, and technical drawing techniques are used by currency designers to keep tiny details precise — great tools for a detailed dollar drawing.
How do you draw a detailed paper dollar bill?
What materials do I need to draw a paper dollar bill?
What ages is drawing a detailed dollar bill suitable for?
What are the benefits of drawing a detailed dollar bill?
