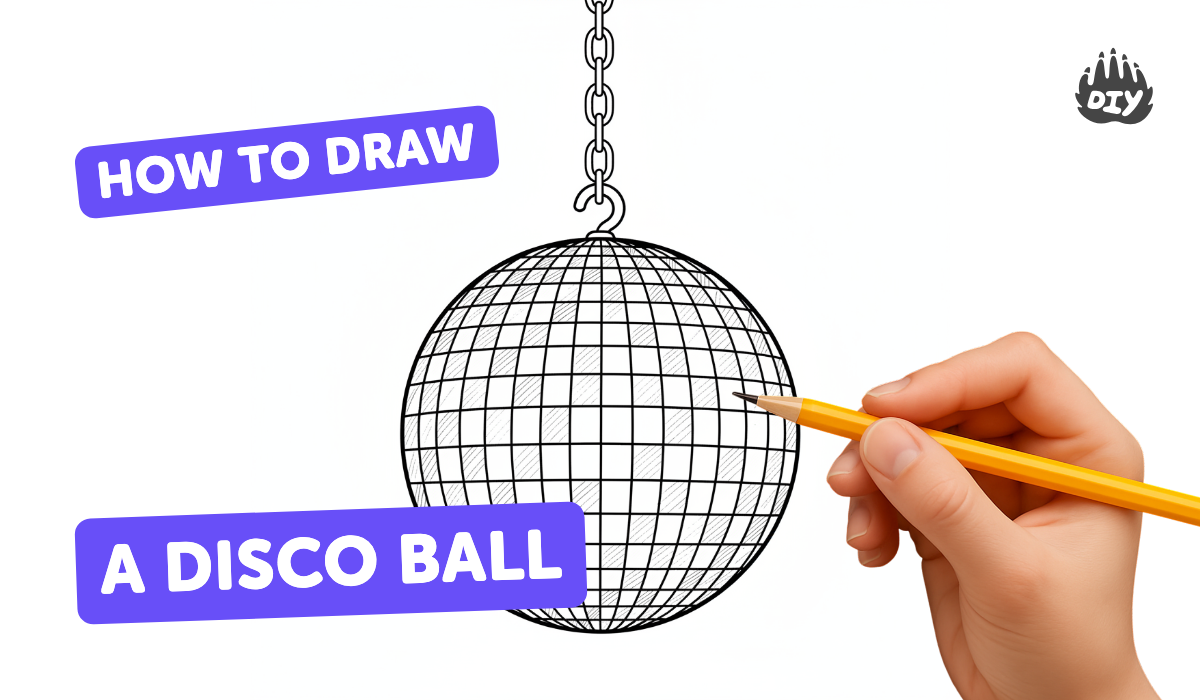
How to draw a disco ball - a free disco ball drawing guide
Draw a disco ball using circle guides, a grid of mirrored tiles, pencil outlines, and shading to simulate reflections. Practice symmetry and shading.

Drawing Apps
Photos of disco ball drawing examples


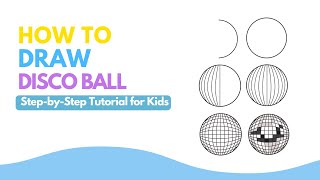
Step-by-step guide to draw a disco ball
Let's Draw a Disco Ball!
Step 1
Put your paper flat and use the compass or circular object to trace one big circle for the disco ball.
Step 2
Mark the exact center of the circle with a small dot so you can keep your drawing symmetric.
Step 3
Draw a straight vertical line through the center from top to bottom to make the first symmetry guide.
Step 4
Draw a straight horizontal line through the center from left to right to make the second symmetry guide.
Step 5
Use the ruler to draw several evenly spaced vertical lines across the circle to start the mirror-tile grid.
Step 6
Use the ruler to draw several evenly spaced horizontal lines across the circle so the lines meet and form square tiles.
Step 7
Erase any grid lines that stick out beyond the circle so the tiles only fill the round disco ball.
Step 8
Lightly trace over the edges of each tile with your pencil so each mirrored tile is clear and neat.
Step 9
Shade the tiles with the soft pencil using short strokes and make a pattern of light and dark areas, repeating shapes symmetrically around the center to show reflections.
Step 10
Add small bright highlights by gently erasing tiny spots or using a white colored pencil on a few tiles to make them sparkle.
Step 11
Darken the outer rim of the circle slightly to make the ball look round and check that the light and dark balance feels right.
Step 12
Share your finished disco ball on DIY.org
Help!?
What can we use instead of a compass, ruler, or white colored pencil if we don't have them?
If you don't have a compass or white colored pencil, trace a cup or lid for the big circle, use a book or card edge as a ruler for the symmetry and grid lines, and swap the white colored pencil highlights for tiny erased spots with your eraser.
My tiles look uneven or some lines extend outside the circle—how can I fix that?
If your grid lines are uneven or stick out past the circle, lightly mark equal tick-spaces with the ruler before drawing the vertical and horizontal lines, draw them lightly so you can erase, and then carefully erase any grid lines that stick out beyond the circle as the instructions say.
How can I adapt this disco ball drawing for younger or older children?
For preschoolers pre-draw the big circle and a few thick grid lines for them to shade and add highlights with a soft eraser, while older kids can add finer tile divisions, more detailed symmetric shading with the soft pencil, and use a white colored pencil for small bright highlights and a darker rim.
How can we make the finished disco ball more special or advanced?
To enhance it, color some tiles with metallic or colored pencils for a rainbow disco effect, glue a small loop to the back and hang it, or add tiny glued glitter spots on the highlighted tiles and then share your finished disco ball on DIY.org.
Watch videos on how to draw a disco ball
How to Draw: Disco Ball
3 Videos
How to Draw: Disco Ball
Shine Bright! Disco Ball Drawing Made Fun & Easy 🪩

"How To Draw A Disco Ball"🔮Easy Art Drawing Idea-Paper DIY
Facts about drawing and shading
🪩 Disco balls are also called mirror balls and are covered in many tiny mirrors to scatter light in every direction.
✨ A single medium disco ball can have hundreds to thousands of mirrored tiles, each making its own sparkling dot of light.
🎨 When you shade a sphere in drawing, the bright spot is the highlight, the darkest area is the core shadow, and a softer reflected light helps sell roundness.
🔁 A sphere has infinitely many planes of symmetry, which is why circular guides help keep the disco ball perfectly balanced.
📐 Artists often draw a light grid of tiles and use symmetry lines so each mirror tile lines up and the pattern looks even.
How do I draw a disco ball step by step?
What materials do I need to draw a disco ball?
What ages is drawing a disco ball suitable for?
What are the benefits and variations of drawing a disco ball?
