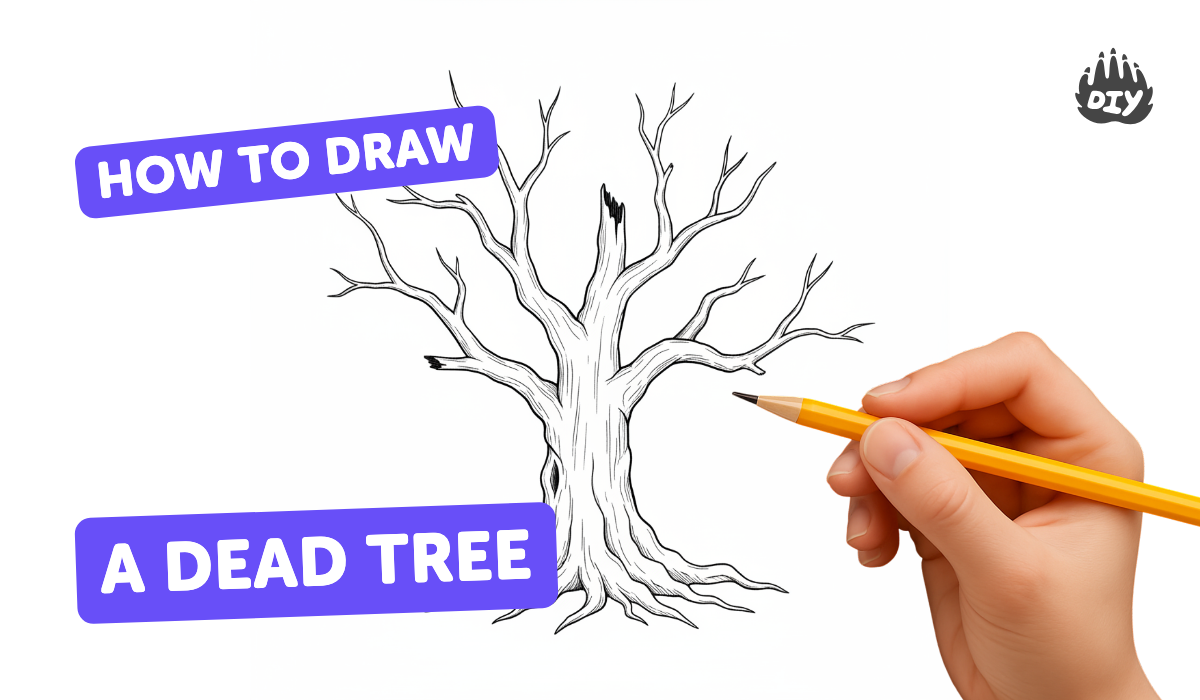
How to draw a dead tree - a free dead tree drawing guide
Draw a detailed dead tree using pencil and shading to create branches, texture, and contrast. Practice observation and step by step drawing skills.

Drawing Apps
Photos of dead tree drawings


Step-by-step guide to draw a dead tree
How to Draw a Dead Tree in a Few Easy Steps: Drawing Tutorial for Beginner Artists
Step 1
Sit at a flat surface and place your paper in front of you.
Step 2
Choose a light source direction and imagine where the light will hit your tree.
Step 3
Lightly draw a vertical guideline for the center of the trunk.
Step 4
Sketch the basic trunk shape with two slightly curved lines following the guideline.
Step 5
Draw three or four main thick branches that fork outward from the trunk.
Step 6
Add thinner secondary branches branching off each main branch.
Step 7
Draw tiny jagged twigs at the ends of the branches using short irregular strokes.
Step 8
Add bark texture on the trunk with short vertical and diagonal pencil marks.
Step 9
Shade the side of the trunk and branches opposite your light source using a 2B pencil.
Step 10
Darken deep shadow areas under branches and in cracks with a 4B pencil.
Step 11
Gently blend shaded areas with a blending stump or tissue to smooth transitions.
Step 12
Use an eraser to lift small highlights on the trunk and branches for contrast.
Step 13
Sign your drawing neatly in a corner.
Step 14
Share your finished creation on DIY.org.
Help!?
What can we use if we don't have a 4B pencil or a blending stump?
If you don't have a 4B pencil, use a soft charcoal pencil or layer extra strokes with your 2B to deepen shadows, and substitute a blending stump with a folded tissue, cotton swab, or fingertip to gently blend shaded areas.
My tree looks flat or my highlights disappeared—how can I fix the shading and highlights?
Build tones gradually by shading the side opposite your chosen light source with the 2B, reserve darker strokes (or a 4B/charcoal) for deep shadows under branches and in cracks, blend gently with a stump or tissue for smooth transitions, and lift small highlights using your eraser where the light would hit the trunk and branches.
How can I adapt the steps for different age groups?
For preschoolers simplify to a single trunk and two main branches with jagged twigs, school-age kids (6–11) add secondary branches, bark marks, and basic 2B shading, and teens can follow all steps including 4B deep shadows, blending stump smoothing, eraser highlights, and a neat signature before sharing on DIY.org.
How can we extend or personalize the dead tree drawing once it's finished?
Personalize your piece by adding a background like a moonlit sky or barren field with colored pencils or charcoal, placing a silhouetted crow on a branch, intensifying contrast with the 4B and blending stump as in steps 8–9, then sign in a corner and photograph to share on DIY.org.
Watch videos on how to draw a dead tree
How to Draw Easy dead tree
4 Videos
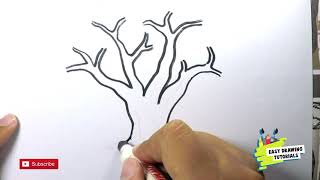
How to Draw Easy dead tree
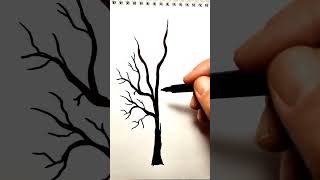
How to Draw Dead Tree Easy Simple Tutorial Art Illustration Idea part 7
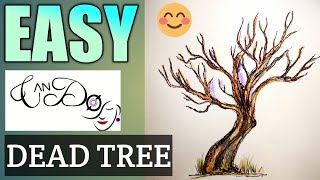
How To Draw An Old Tree Step By Step For Beginners | Dead Tree Drawing Tutorial | Easy Tree Drawing
How to Draw a Tree Easy for Beginners | Step-by-Step Tutorial 🌳
Facts about pencil drawing and shading
🌳 Many dead standing trees are called "snags" and become cozy homes for birds, bats, and bugs.
✏️ Graphite pencils are graded from H (hard/light) to B (black/soft); artists often use 2B–6B for rich, dark shading.
🌓 Chiaroscuro is an old art word meaning "light-dark" — it's how shading makes a flat drawing look 3D.
🪵 Tree bark textures are super varied — smooth, flaky, or deeply furrowed — great details to copy in a drawing.
✖️ Cross-hatching (overlapping sets of lines) builds value and texture without heavy smudging.
How do I draw a detailed dead tree step by step?
What materials do I need to draw a detailed dead tree?
What ages is drawing a detailed dead tree suitable for?
What are the benefits of drawing dead trees with pencil and shading?
