How to draw a cylinder - a free cylinder drawing guide
Draw a 3D cylinder by sketching ellipses, joining parallel sides, and adding shading to show form. Practice proportions and light placement.

Drawing Apps
Photos of 3D cylinder drawings


Step-by-step guide to draw a 3D cylinder
How to Draw a CYLINDER - Simple Easy Step By Step - Beginner
Step 1
Put your paper on a flat surface and get your pencil ready.
Step 2
Draw a light straight horizontal line near the bottom of the paper to show the ground level.
Step 3
Sketch a light horizontal ellipse above the ground line to be the top of your cylinder.
Step 4
Measure the widest width of your top ellipse with your ruler and remember that length for the height.
Step 5
Mark a point below the center of the ellipse at about the measured height to set the bottom of the cylinder.
Step 6
From the left and right widest edges of the top ellipse draw two straight vertical parallel lines down to the height mark.
Step 7
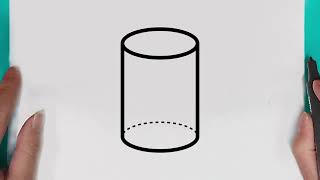
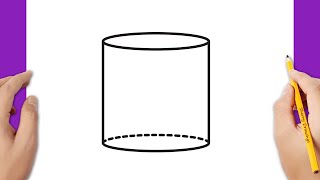
Draw a matching bottom ellipse between the two vertical lines so it sits on the height mark and looks slightly flatter than the top ellipse.
Step 8
Lightly erase any construction marks you do not need so the cylinder shape is clear.
Step 9
Decide where the light is coming from and mark a small arrow or sun outside the cylinder to show the light direction.
Step 10
Shade the side of the cylinder that faces away from the light with even light strokes using the side of your pencil.
Step 11
Add a darker band of shading along the edge opposite the light to show the core shadow.
Step 12
Use your tissue to gently blend the pencil strokes so the shading looks smooth from dark to light.
Step 13
Draw a cast shadow on the ground on the side opposite the light and darken it nearer the base of the cylinder.
Step 14
Refine the rim of the top ellipse and erase any remaining stray lines to finish your cylinder.
Step 15
Share a photo of your finished 3D cylinder on DIY.org.
Help!?
What can I use instead of a ruler or tissue if I don't have them?
If you don't have a ruler, use a straight book edge, credit card, or smartphone side to measure the top ellipse width and draw the vertical lines, and if you don't have a tissue use a cotton swab, a folded napkin, or your clean fingertip to gently blend the pencil shading.
My cylinder looks crooked or the top and bottom ellipses don't line up — how do I fix it?
Lightly redraw the centerline, re-measure the top ellipse width, mark the height point directly below the ellipse center, then use a ruler or book edge to draw the two vertical parallel lines so the bottom ellipse sits between them as shown in the instructions.
How can I adapt this activity for different ages?
For preschoolers skip measuring and let them trace a cup for the top ellipse and color the shaded side with crayon, for elementary kids keep the measuring and simple tissue blending, and for teens add multiple pencil grades, refine the core shadow and rim, and photograph the finished cylinder to share on DIY.org.
How can we make the cylinder drawing more creative or challenging?
Make it more interesting by drawing two overlapping cylinders with different light directions, adding surface textures or patterns to the cylinder, using colored pencils for highlights, and refining the cast shadow and rim before sharing the photo on DIY.org.
Watch videos on how to draw a 3D cylinder
How to draw a CYLINDER easy for beginners drawing cute CYLINDER
4 Videos
How to draw a CYLINDER easy for beginners drawing cute CYLINDER

Cylinder Drawing and Coloring for Kids 🛢️ | Easy Step-by-Step Tutorial | Magic Art
How to draw a cylinder

Learn to Draw a Gas Cylinder | Step by Step for Kids
Facts about drawing fundamentals
🔵 An ellipse you draw for a cylinder's top is actually a circle seen at an angle — it's the same shape in 3D, just foreshortened on the page.
💡 Shading a cylinder usually has four parts: highlight, core shadow, reflected light, and the cast shadow — use them to sell roundness.
🎯 If the rim of a circular top lines up with the horizon (eye level), the ellipse flattens until it becomes a straight line edge-on.
✏️ Artists often sketch a center axis and a bounding box first so both ellipses line up and the cylinder's sides stay perfectly parallel.
🧠 Our brains read tiny changes in light and shadow as depth — even a faint shadow can make a flat ellipse look convincingly 3D.
How do I teach my child to draw a 3D cylinder step by step?
What materials do I need to draw a 3D cylinder with my child?
What ages is drawing a 3D cylinder suitable for?
What are the benefits of practicing cylinder drawing for kids?
