How to draw a cornucopia - a free cornucopia drawing guide
Follow simple steps to draw a cornucopia filled with fruits and leaves, practicing shapes, shading, and composition for a seasonal art project.

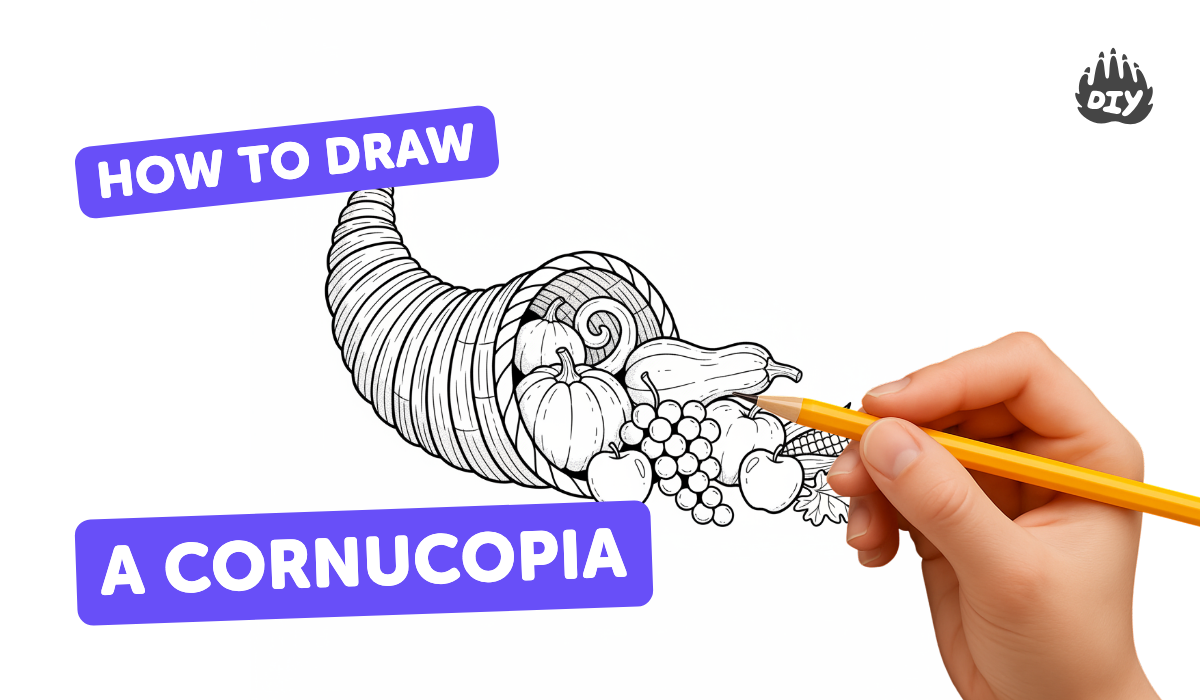
Step-by-step guide to draw a cornucopia
How To Draw A Cornucopia
Step 1
Place your paper flat on the table.
Step 2
Lightly draw a large curved horn shape like a stretched letter "C" for the cornucopia body.
Step 3
Draw a wide oval at the open end of the horn to show the basket opening.
Step 4
Create a basket weave texture by drawing curved parallel lines along the horn and then adding light diagonal crossing lines.
Step 5
Sketch simple fruit shapes inside the oval such as a circle for an apple a teardrop for a pear small circles for grapes a curved banana shape and a round pumpkin shape.
Step 6
Add stems and leaf shapes to each fruit.
Step 7
Erase extra sketch lines and smooth the cornucopia and fruit outlines.
Step 8
Choose a direction for the light (for example top-left) so you know where shadows will fall.
Step 9
Lightly shade the opposite sides of the cornucopia and fruits with your pencil to make shadows.
Step 10
Trace the final outlines with a black marker if you want bold lines.
Step 11
Colour the cornucopia and fruits using base colours evenly.
Step 12
Add darker colours or press harder where you shaded to deepen the shadows.
Step 13
Add small highlights by leaving tiny uncoloured spots or using a lighter colour for shine and draw a simple table line and a few seasonal leaves around the cornucopia.
Step 14
Sign your picture and share a photo of your finished cornucopia on DIY.org.
Help!?
I don't have a black marker or coloured pencils — what can I use instead?
If you don't have a black marker, trace the final outlines with a sharpened dark pencil or thin pen, and replace coloured pencils with crayons, watercolour paint, or cut paper to colour the cornucopia and fruits.
My basket weave looks messy and my fruits look wonky; how can I fix them?
If the curved parallel lines for the basket weave or the fruit shapes look messy, lightly erase extra sketch lines, smooth the cornucopia and fruit outlines as instructed, then redraw the horn, oval opening, and light diagonal crossing lines with gentle pencil strokes before tracing.
How can I adapt this cornucopia drawing for younger or older kids?
For younger children, simplify the activity to drawing the large 'C' horn, the wide oval opening, and basic fruit shapes to colour with crayons, while older kids can add the basket weave texture, choose a light direction and do careful pencil shading and marker tracing.
Any ideas to make the drawing more special or challenging?
To enhance the picture, add decorative patterns on the fruits, glue real dried leaves around the cornucopia, deepen shadows by pressing harder where you shaded, or paint a detailed table and seasonal leaves before signing and sharing the photo on DIY.org.
Watch videos on how to draw a cornucopia
How To Draw A Cornucopia | Kids Thanksgiving Videos
3 Videos
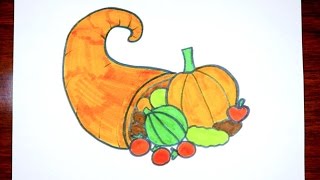
How To Draw A Cornucopia | Kids Thanksgiving Videos
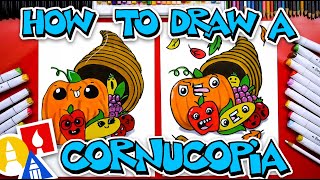
How To Draw A Funny Cornucopia
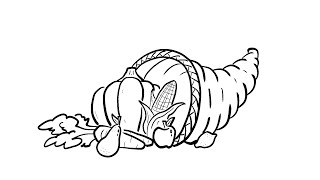
How to Draw a Simple Cornucopia | Step-by-Step Lesson
Facts about drawing and shading techniques for kids
🐐 The cornucopia (horn of plenty) comes from Greek and Roman myths and was often linked to a magical goat that provided food.
🍎 Still life paintings of fruit and objects became a major genre in 17th-century Dutch art, prized for their detail and symbolism.
✏️ Artists often start drawings by breaking complex objects into simple shapes—ovals for apples, cones for horns—then refine details.
🎨 Using a single light source for shading makes a drawing look three-dimensional; even soft shadows give strong depth clues.
🍂 The cornucopia is a classic autumn symbol, commonly filled with pumpkins, apples, grapes, and colorful leaves for harvest festivals.
How do I draw a cornucopia filled with fruits and leaves?
What materials do I need to draw a cornucopia?
What ages is this cornucopia drawing suitable for?
What are the benefits of drawing a cornucopia for kids?
