How to draw a cookie - a free cookie drawing guide
Draw a realistic cookie with chocolate chips, shading, and a bite mark. Practice shapes, texture, shadows, and simple proportions to improve drawing skills.


Drawing Apps
Photos of realistic cookie drawing examples


Step-by-step guide to draw a realistic cookie
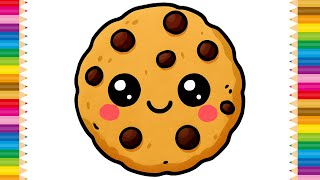
How to Draw a Cute Chocolate chip cookie Simple & Easy for Kids
Step 1
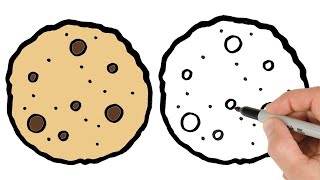
Lightly draw a big circle for the cookie outline using your pencil.
Step 2
Draw a small semicircle notch on the edge of the circle to make a bite mark.
Step 3
Draw a jagged inner line along the bite notch to show torn cookie crumb edges.
Step 4
Lightly sketch several oval and round shapes across the cookie for chocolate chips.
Step 5
Add tiny uneven dots and short strokes on the cookie surface to show crumbly texture.
Step 6
Draw a small arrow outside the cookie to mark where the light is coming from.
Step 7
Shade the side of the cookie opposite the light with soft pencil strokes to create form.
Step 8
Shade a soft shadow beneath the cookie to show it sitting on a surface.
Step 9
Darken the areas near the bite edge and the bases of some chips to add depth.
Step 10
Gently blend the shaded areas with a tissue or cotton swab to smooth transitions.
Step 11
Use the eraser to lift tiny highlights on the chips and along the light edge of the cookie.
Step 12
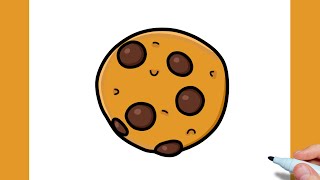
Colour the cookie body and chocolate chips with coloured pencils or crayons to finish.
Step 13
Share your finished cookie drawing on DIY.org.
Help!?
What can we use instead of the tissue, cotton swab, or coloured pencils listed in the instructions?
If you don't have a tissue or cotton swab for blending, use a clean fingertip or folded paper towel, and if you don't have coloured pencils or crayons try light marker strokes or diluted watercolor to colour the cookie body and chocolate chips.
My bite mark looks weird or my shading is flat—how do I fix those parts?
If the bite notch looks stiff, lightly erase and redraw the jagged inner line with short varied pencil strokes for crumbly edges, then darken near the bite and bases of chips and gently blend with a tissue to build depth as shown in the steps.
How can I adapt this drawing for different ages and skill levels?
For preschoolers, simplify by tracing a big circle and using round stickers for chips after 'Lightly draw a big circle' while older kids can refine form by shading the side opposite the light and lifting tiny highlights with an eraser as instructed.
What are some ways to extend or personalise the cookie drawing once it's finished?
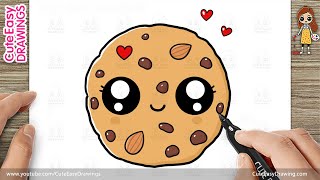
To enhance the drawing, add sprinkles or different coloured chips when you colour the cookie body and chocolate chips, draw a patterned napkin under the shadow from 'Shade a soft shadow beneath the cookie', and then share your version on DIY.org.
Watch videos on how to draw a realistic cookie
How to Draw Cookie | Super Easy Step-by-Step Tutorial!
4 Videos
How to Draw Cookie | Super Easy Step-by-Step Tutorial!
🍪 How to Draw a Cute Kawaii Cookie | Easy Drawing for Kids
How to Draw a Cute Chocolate Chip Biscuit / Cookies - Easy Step-by-Step Drawing for Kids & Toddlers
How to draw a COOKIE easy / Drawing Chocolate Chip Cookie step by step
Facts about drawing techniques for kids
🍪 The chocolate chip cookie was accidentally invented in 1938 by Ruth Wakefield at the Toll House Inn.
🎨 'Chiaroscuro' means 'light–dark' in Italian and artists use it to create strong 3D effects with shading.
🧁 Tiny specks, crumbs, and uneven edges make a drawn cookie read as crunchy and realistic.
☀️ A single light source keeps shadows consistent—soft shadows mean diffused light, hard shadows mean direct light.
😋 A bite mark reveals interior texture: jagged edges, crumb shading, and shifted chips sell the 'just bitten' look.
How do you draw a realistic chocolate chip cookie with a bite mark?
What materials do I need to draw a realistic cookie?
What ages is this cookie drawing activity suitable for?
What are the benefits of drawing a realistic cookie?
