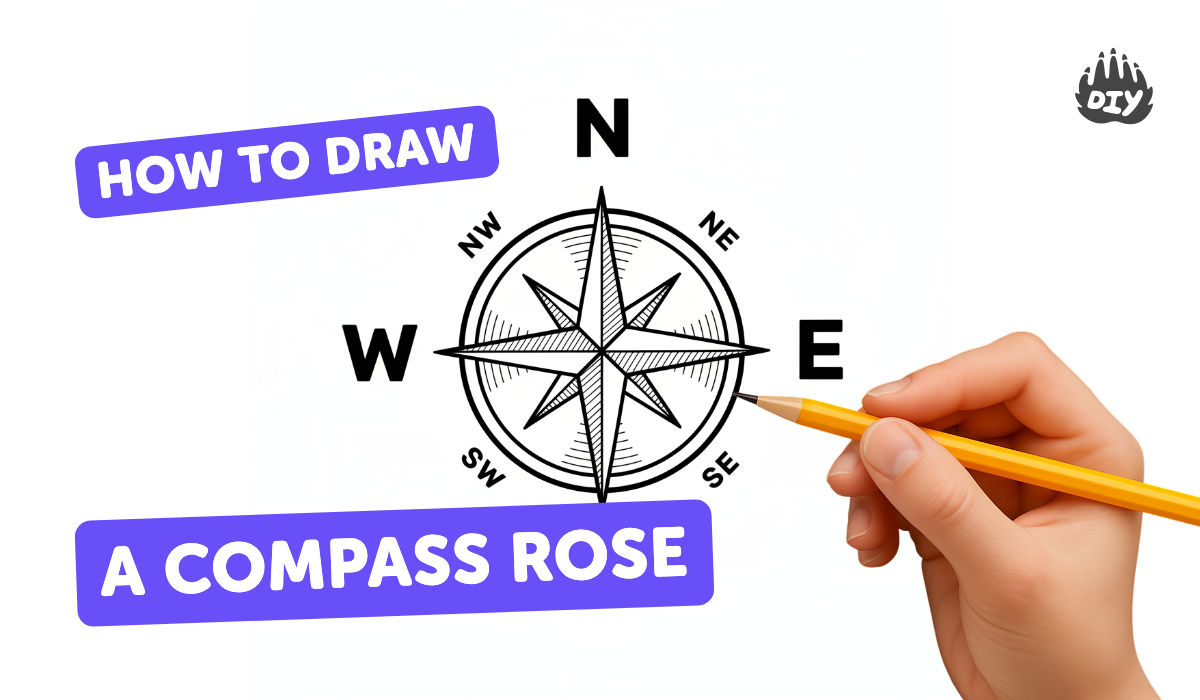
How to draw a compass rose - a free compass rose drawing guide
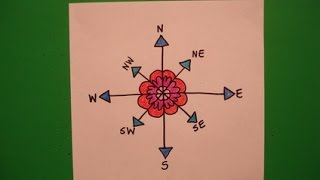
Draw a compass rose showing N, S, E, W and intermediate points with labeled degrees and decorative petals. Practice symmetry and basic map reading.

Step-by-step guide to draw a compass rose
How to Draw a Compass Rose in a Few Easy Steps: Drawing Tutorial for Beginner Artists
Step 1
Gather all your materials and find a flat table to work on.
Step 2
Fold the paper in half lengthwise and press a clear crease.
Step 3
Fold the paper in half crosswise and press a clear crease.
Step 4
Open the paper and put a small dot where the two creases cross to mark the center.
Step 5
Place your round object or set your drawing compass on the center dot and trace a neat circle.
Step 6
Put the protractor with its center at the center dot and mark points at 0° 45° 90° 135° 180° 225° 270° and 315° around the circle.
Step 7
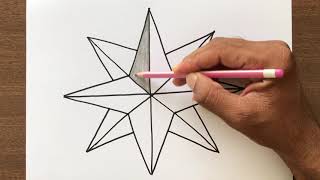
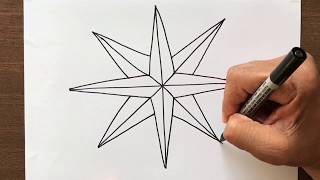
Use the ruler to draw straight lines from the center to each marked point to make eight equal spokes.
Step 8
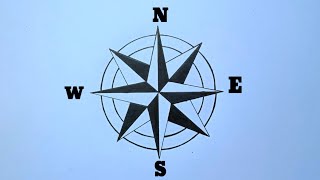
At the tip of the top spoke write N and at the right bottom and left tips write E S and W for the main directions.
Step 9
Write the matching degree numbers next to each spoke tip: 0° at N then 45° 90° 135° 180° 225° 270° and 315° going clockwise.
Step 10
Draw a petal shape in each space between neighboring spokes so each petal matches the others for symmetry.
Step 11
Choose colors and color the petals and direction tips, making opposite petals the same color to practice symmetry.
Step 12
Trace your final compass lines and letters with the marker to make them bold and easy to read.
Step 13
Gently erase any remaining pencil construction marks and fold creases if you want a cleaner look.
Step 14
Take a photo or upload a picture and share your finished compass rose on DIY.org.
Help!?
I don't have a protractor or a round object — what can I use instead?
Use a printable protractor or the folded-paper plus ruler method to mark the 0°–315° points and trace a circle with a cup, jar lid, or small plate instead of the round object.
My spokes don't line up or look uneven — what should I check?
Make sure the protractor (or printable protractor) is perfectly centered on the center dot when you mark 0° 45° 90° 135° 180° 225° 270° and 315°, then draw each spoke with a ruler from the center to each marked point to correct uneven lines.
How can I adapt this activity for different ages?
For younger kids, fold only twice and draw four spokes for N, E, S, W with big petals and crayons, while older kids can use the drawing compass and protractor to mark all eight degree points, refine petal symmetry, and add NE/SE/NW/SW labels.
How can we extend or personalize the compass rose once it's finished?
Follow the step to make opposite petals the same color for symmetry, then personalize by adding initials or a decorative border, tracing final lines with marker, laminating the page, and taking the photo to upload to DIY.org.
Watch videos on how to draw a compass rose
How To Draw Compass Rose For Beginners Easy Steps (art video)
4 Videos
How To Draw Compass Rose For Beginners Easy Steps (art video)
How to Draw a Compass Rose Step-by-step for Beginners in Easy Way
How to Draw a Compass Rose Step by Step
Let's Draw a Compass Rose!
Photos of compass rose examples


Facts about map reading and navigation for kids
🧭 A circle has 360°, so the compass shows N = 0°/360°, E = 90°, S = 180°, and W = 270° — great for learning angles!
🌊 Mariners used compass roses on portolan charts as early as the 13th–14th centuries to help navigate the seas.
🌟 Traditional compass roses often mark north with a red petal or a fleur-de-lis — a cool decorative detail to copy.
🔢 Compass roses can show 4, 8, 16, or 32 points — try drawing 8 or 16 petals to practice symmetry.
🌍 A magnetic compass points to magnetic north, not true north; the difference (magnetic declination) varies by location.
How do I teach a child to draw a compass rose with N, S, E, W, intermediate points, labeled degrees, and decorative petals?
What materials do I need to draw a compass rose?
What ages is drawing a compass rose suitable for?
What are the benefits of drawing a compass rose?
