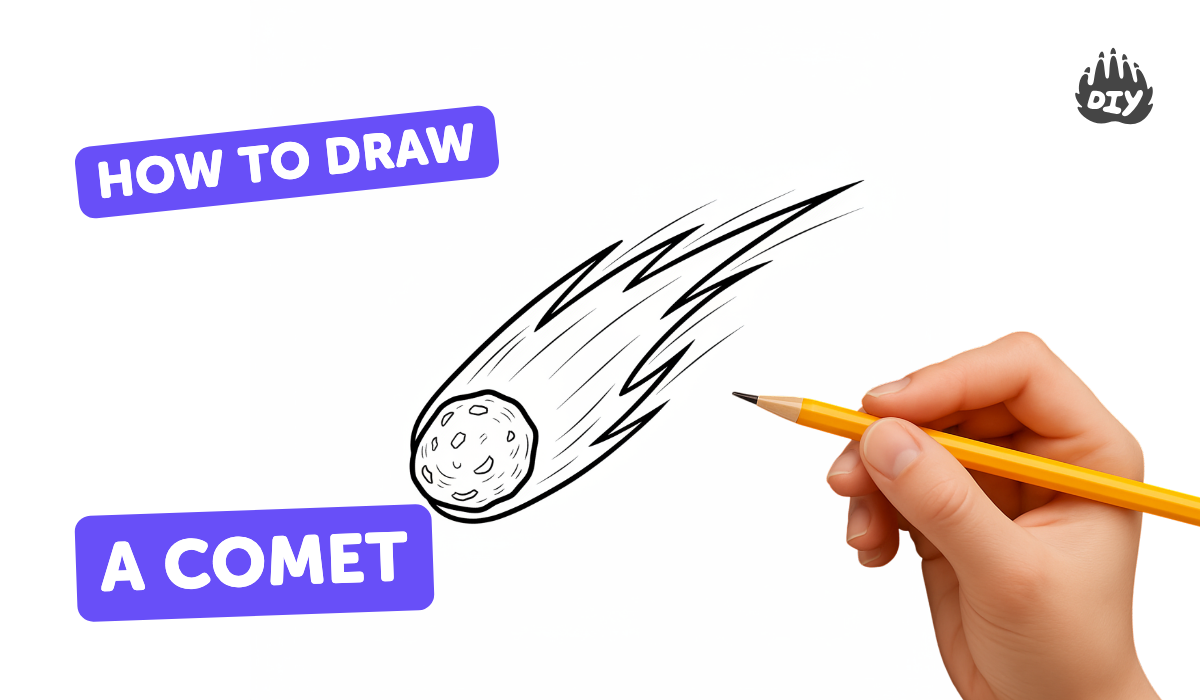
How to draw a comet - a free comet drawing guide
Learn to draw a comet step by step using simple shapes, shading, and motion lines; practice sketching tails and glowing heads with colored pencils.

Step-by-step guide to draw a comet
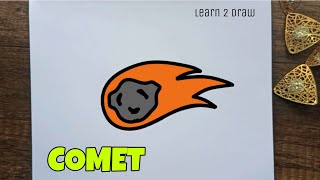
How To Draw A Comet (Easy Drawing Tutorial)
Step 1
Place your paper and colouring materials on a flat table.
Step 2
Draw a small circle near the left side of the paper to be the comet’s glowing head.
Step 3
Draw a soft halo around the circle using light pencil strokes.
Step 4
From the circle, sketch one long curved line sweeping across the page to form the main tail.
Step 5
Add two or three parallel curved lines beside the first line to widen the tail shape.
Step 6
Draw short motion lines behind the tail to show the comet is zooming.
Step 7
Add a few tiny sparks or little stars around the tail for extra sparkle.
Step 8
Shade the comet head lightly with pencil using small circular strokes.
Step 9
Use the eraser to lift a tiny spot on the head to make a bright glowing highlight.
Step 10
Colour the comet head with a bright colour, pressing a bit harder in the centre.
Step 11
Layer two or three colours along the tail using strokes that follow the tail’s curve.
Step 12
Blend the tail colours by going over them lightly with a lighter colour.
Step 13
Erase any extra guide lines to tidy your drawing.
Step 14
Share your finished comet drawing on DIY.org.
Help!?
What can I use if I don't have coloured pencils?
Use crayons, washable markers, or oil pastels on your paper and layer two or three colours along the tail, then blend the tail colours by going over them lightly with a tissue or lighter crayon following the tail's curve.
My long curved tail keeps wobbling — how can I make it smoother?
Sketch the long curved line lightly first as a guide, then confidently draw the main tail and the two or three parallel curved lines with firmer strokes and erase any extra guide lines to tidy your drawing.
How can I adapt this comet drawing for younger or older kids?
For younger children use a large sheet and chunky crayons to draw a simple big circle and one or two tail strokes (skip tiny motion lines), while older kids can add layered colours along the tail, detailed shading of the comet head with small circular pencil strokes, and lift a precise highlight with the eraser.
How can we personalize or enhance the finished comet?
Paint or colour a dark night-sky background, add extra tiny sparks with a white gel pen or glitter glue around the tail, and photocopy or photograph the finished comet to make variations before sharing it on DIY.org.
Watch videos on how to draw a comet
How to Draw a Comet in a Few Easy Steps: Drawing Tutorial for Beginner Artists
4 Videos

How to Draw a Comet in a Few Easy Steps: Drawing Tutorial for Beginner Artists
COMET ☄️- How to draw a Comet - Easy Drawing videos for all
How to Draw a Comet Step by Step - Timelapse
Stars⭐ , Comet & Moon 🌛 Drawing for Kids, Toddlers | Easy Drawing Tutorial
Facts about drawing and sketching
🧊 Comets are often called "dirty snowballs" because they're made of ice, dust, and rock.
🌟 A comet's glowing head (coma) forms when sunlight turns its ices into gas, creating a fuzzy, luminous envelope.
🌬️ Comet tails can stretch millions of kilometers and always point away from the Sun, pushed by sunlight and the solar wind.
⏳ Halley's Comet visits the inner Solar System about every 76 years — people have recorded sightings for thousands of years.
🎨 Some comets look green or blue because gases like carbon and cyanide glow in different colors, great for colored-pencil shading ideas.
How do I teach my child to draw a comet step by step?
What materials are needed to draw a comet with colored pencils?
What ages is this comet drawing activity suitable for?
What are some fun variations and benefits of drawing comets?
