How to draw a collared shirt - a free collared shirt drawing guide
Draw a collared shirt step by step: sketch the torso, add collar, sleeves, buttons, and folds; practice proportions, symmetry, and shading.


Drawing Apps
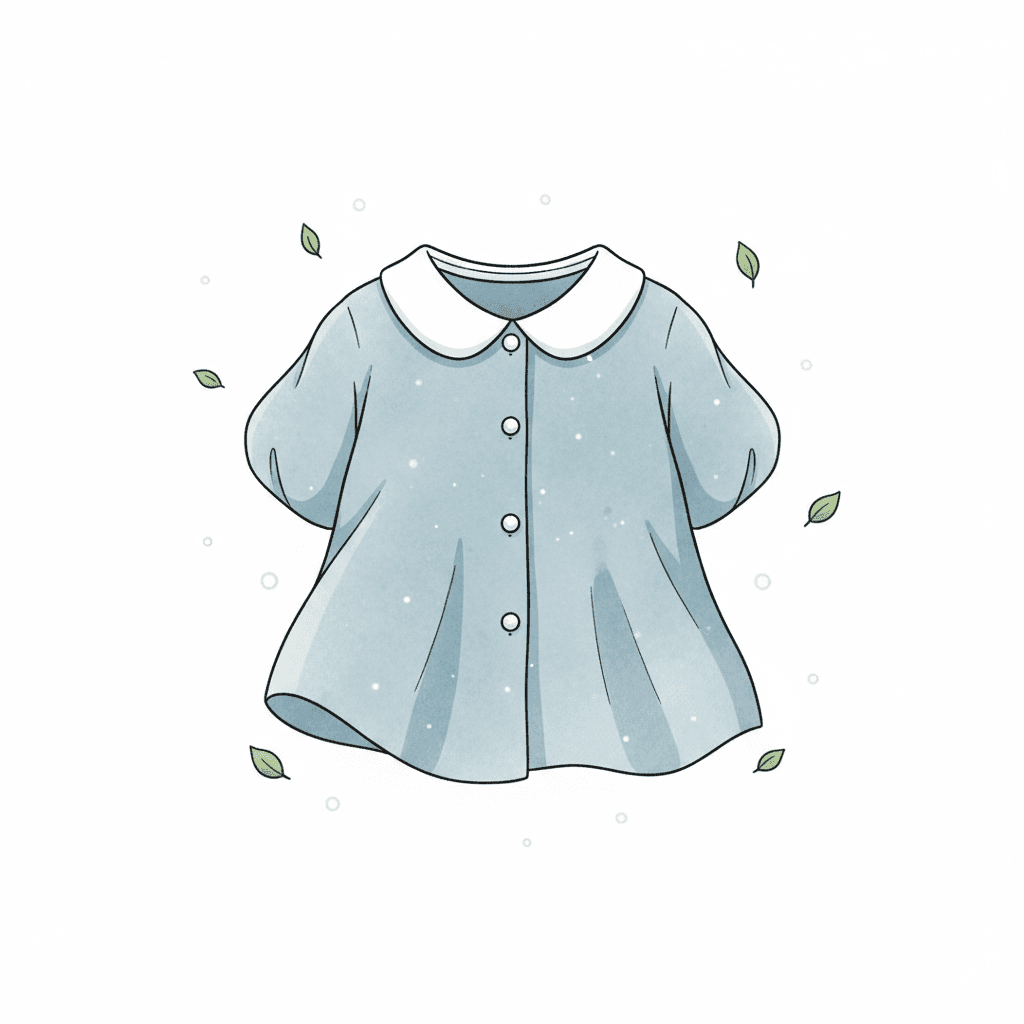
Photos of collared shirt drawings
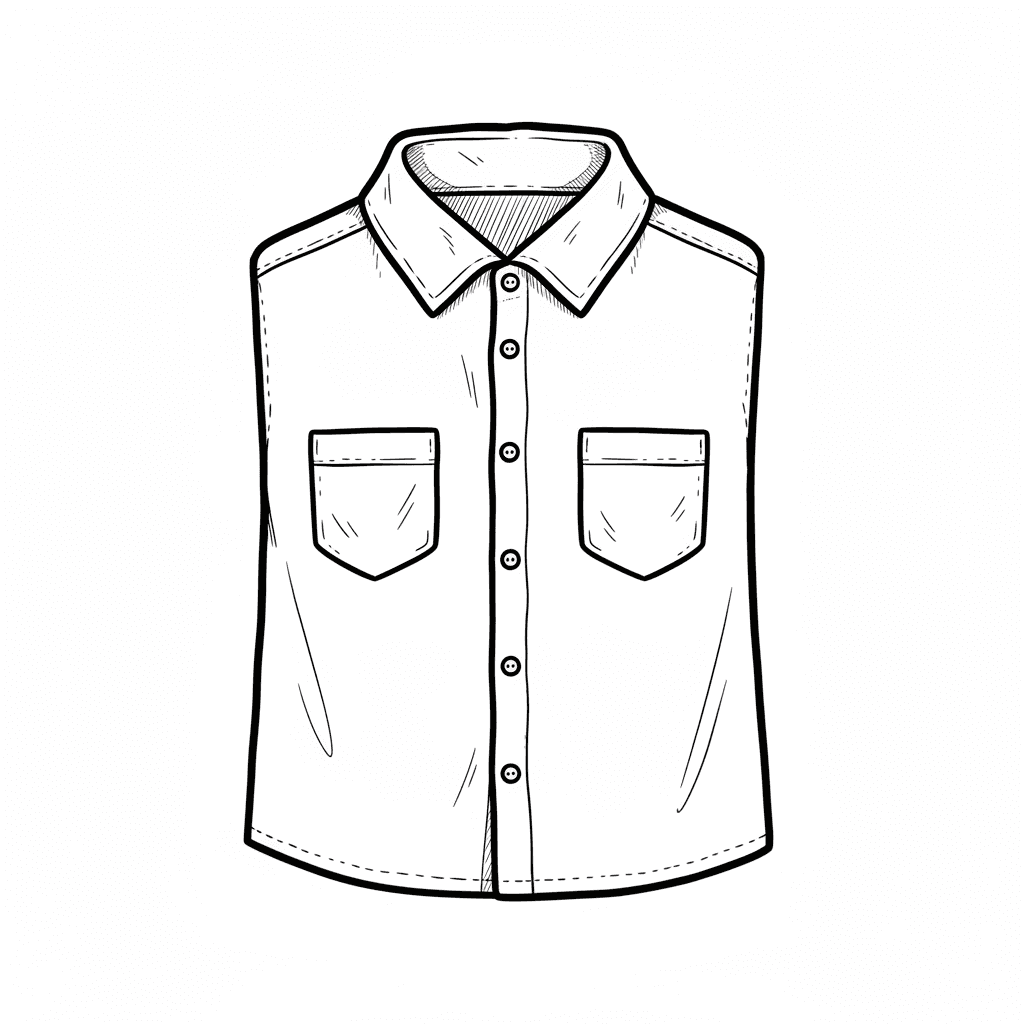

Step-by-step guide to draw a collared shirt
How To Draw Collars ♥ Fashion Illustration Tutorial | How To Draw Clothes
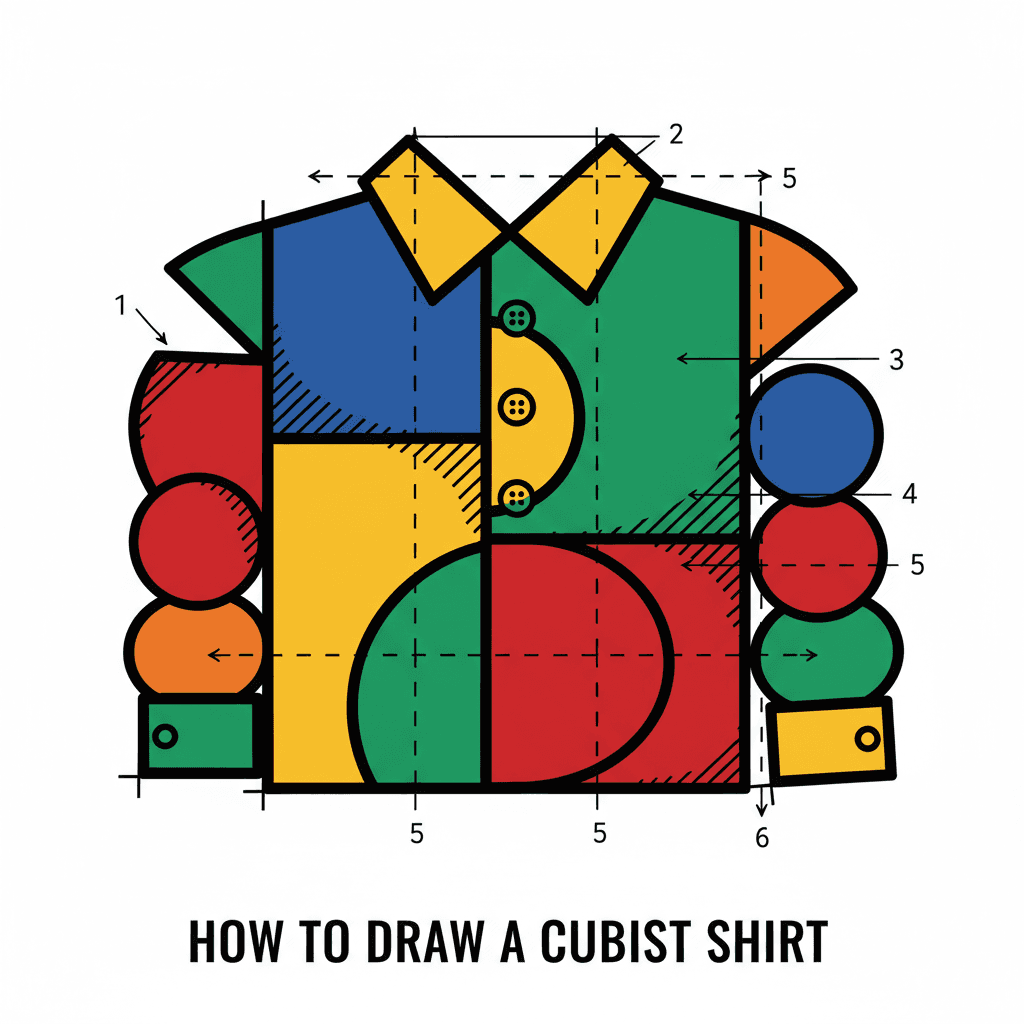
Step 1
Gather your paper pencil eraser ruler and coloring materials so everything is ready.
Step 2
Place your paper in portrait orientation on a flat surface so you have room to draw.
Step 3
Lightly draw a vertical centerline down the middle to help keep your shirt symmetrical.
Step 4
Sketch the torso shape as a gently tapered rectangle or oval centered on the centerline for the body of the shirt.
Step 5
Add shoulder slope lines and a small curved neck opening at the top to show where the collar will sit.
Step 6
Draw two collar flaps as triangular shapes that sit on the shoulders and point toward the centerline.
Step 7
Sketch sleeves by drawing lines from the shoulder slopes to create short or long sleeves.
Step 8
Draw a straight vertical line along the centerline for the button placket.
Step 9
Add evenly spaced small circles along the placket for buttons to keep them symmetrical.
Step 10
Lightly sketch curved fold lines near the sleeves under the arms and then choose a light source side and shade the fold areas opposite the light to add depth.
Step 11
Erase extra guidelines carefully darken the final lines and color your shirt with your coloring materials.
Step 12
Share your finished creation on DIY.org
Help!?
What can I use instead of a ruler, pencil, or special coloring materials listed in the instructions?
Use the straight edge of a hardcover book or a credit card to draw the vertical centerline and button placket, a light-colored crayon or erasable colored pencil in place of a pencil, and markers or cut paper scraps if you don't have traditional coloring materials.
My collar flaps or buttons look uneven — what should I try to fix this?
Fold the paper along the lightly sketched vertical centerline to check symmetry, then use your ruler (or book edge) to mark evenly spaced button spots before redrawing and erasing extra guidelines.
How can I change this activity for different age groups?
For younger children, pre-draw the torso, collar flaps, and placket for them to trace and color big button circles, while older kids can use the ruler, add sleeve variations, and practice the shading step opposite a chosen light source for depth.
How can we extend or personalize the collared shirt drawing after finishing the basic steps?
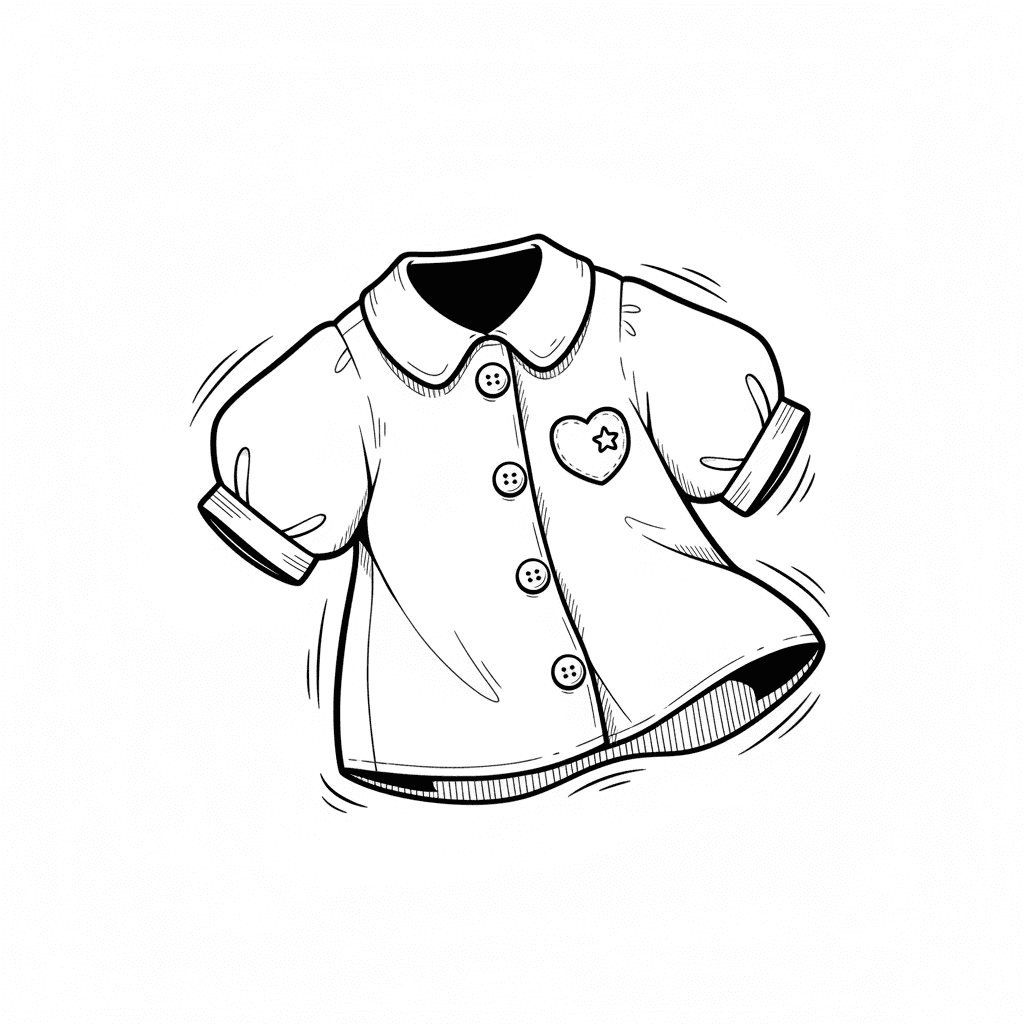
Add a pocket, patterned sleeves, stitched seam lines, or glue small fabric swatches after you erase guidelines and darken final lines, then color and photograph your finished shirt to share on DIY.org.
Watch videos on how to draw a collared shirt
How to draw a shirt easy for beginners #drawing #art
4 Videos

How to draw a shirt easy for beginners #drawing #art
How to Draw a Shirt Step by Step for Kids | Shirt Drawing Easy for Kids | #shorts #viral #shirts
How to draw a T-shirt step by step | T-Shirt drawing Lesson
How to draw a T-Shirt Step by Step | T-Shirt Drawing Lesson for kids beginners and toddlers baby
Facts about drawing clothing
👕 Shirts are one of the oldest garments—people have been wearing tunics and simple shirts for thousands of years!
👔 A shirt's collar frames the face: different collar shapes can change how long or short a neck looks in a drawing.
✂️ Buttons have been used on clothing for centuries—drawing a tiny highlight on a button makes it look shiny and real.
🎨 Shading techniques like hatching, cross-hatching, and smooth blending turn flat sketches into believable fabric folds.
📏 Artists often use 'head' measurements to keep proportions accurate—it's an easy trick to place collars, shoulders, and buttons.
How do you draw a collared shirt step by step?
What materials do I need to draw a collared shirt?
What ages is drawing a collared shirt suitable for?
What are the benefits and creative variations of drawing a collared shirt?


