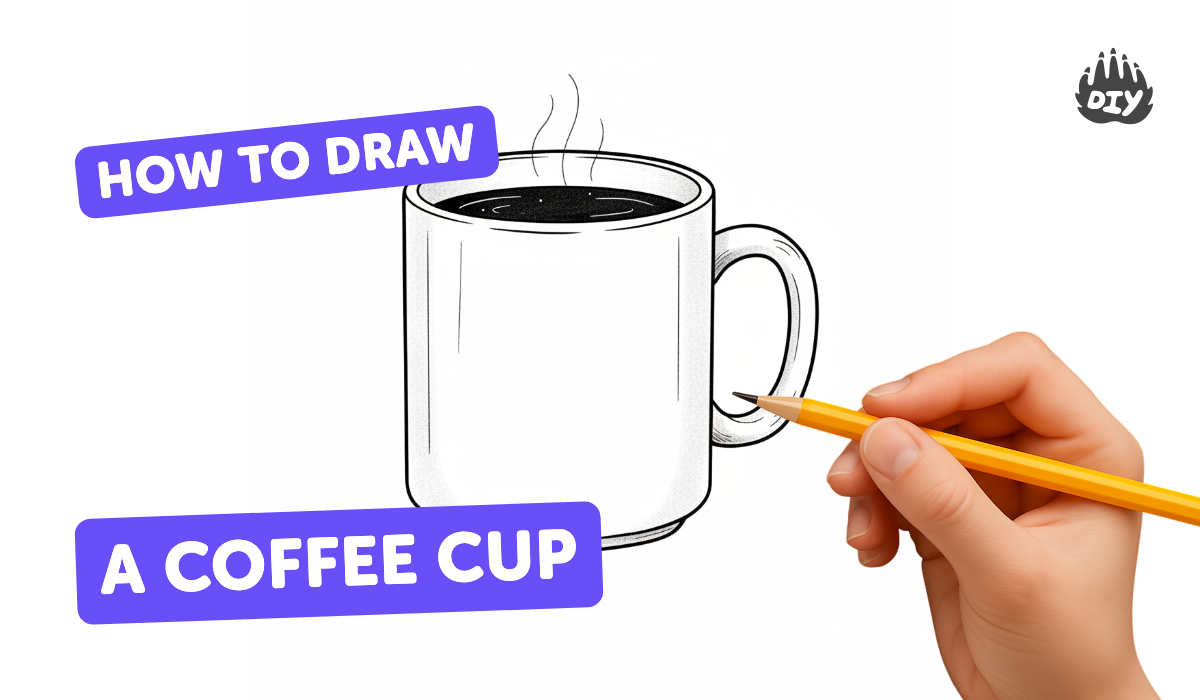
How to draw a coffee cup - a free coffee cup drawing guide
Draw a simple coffee cup step by step using pencil and eraser, add shading and steam. Practice proportions, curved line control, and texture.

Drawing Apps
Photos of coffee cup drawing examples


Step-by-step guide to draw a coffee cup
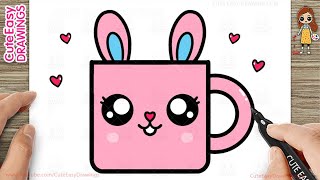
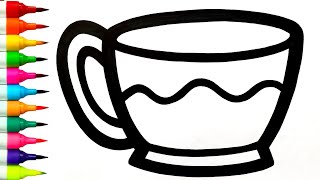
How to Draw a Cute Easy Coffee Cup for Kids Step by Step
Step 1
Place your paper on a flat surface and sit comfortably so your hand can move freely.
Step 2
Lightly draw a horizontal oval near the top third of the paper to make the cup rim.
Step 3
Draw a slightly smaller oval inside the rim to show the coffee surface.
Step 4
Draw two slightly curved vertical lines down from the rim to form the cup sides.
Step 5
Connect the bottoms of those lines with a shallow curved line to close the cup base.
Step 6
Draw a large C-shaped outline on one side of the cup to make the handle.
Step 7
Draw a parallel inner curve inside the C to give the handle thickness.
Step 8
Lightly shade the coffee surface with short even pencil strokes to add tone.
Step 9
Add curved pencil strokes on one side of the cup to create a darker shadow area.
Step 10
Use soft light strokes on the opposite side of the cup to keep that side lighter as a highlight.
Step 11
Gently smudge the shaded areas with a tissue or blending stump to smooth the texture.
Step 12
Erase any extra construction lines with your eraser to clean up the drawing.
Step 13
Use the eraser to lift a tiny thin highlight along the rim or handle where light would hit.
Step 14
Draw two or three soft wavy vertical lines rising from the coffee to show steam.
Step 15
Share your finished coffee cup drawing on DIY.org.
Help!?
What can we use instead of a blending stump or tissue to smudge the shaded areas?
If you don't have a blending stump or tissue, gently use a clean fingertip, a folded piece of tissue, or a cotton swab to smudge the shaded areas when you smooth the coffee surface and cup shadows.
My cup rim oval looks lopsided — how can I fix it when drawing the horizontal oval near the top third?
If the rim oval looks uneven, rotate the paper and redraw the horizontal oval lightly in short, steady wrist strokes or trace a small round lid to get an even rim before adding the inner coffee surface oval.
How can I adapt this activity for younger or older kids?
For younger kids, pre-draw the rim and cup sides and let them color the coffee surface and steam with crayons or markers, while older kids can refine the short pencil shading strokes, smudge with a blending stump, and lift thin highlights with the eraser for more realism.
What are simple ways to enhance or personalize the finished coffee cup drawing?
Add latte-art lines on the coffee surface, draw a saucer under the shallow curved base, vary the curved pencil shadow strokes to show different light directions, and sign it before sharing on DIY.org.
Watch videos on how to draw a coffee cup
How to Draw a Cute Cup Simple & Easy for Kids
4 Videos
How to Draw a Cute Cup Simple & Easy for Kids
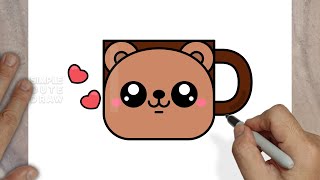
How to Draw a Cute Coffee Mug | Cute Bear Cup - Easy Drawing Tutorial for Kids & Beginners
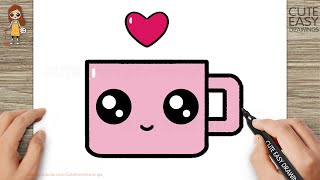
How to Draw a Cute Cup Easy for Kids and Toddlers
TEACUP & TEAPOT Drawing || How To Draw A Coffee Cup Step by Step | Cup Drawing ☕ 🫖
Facts about basic drawing techniques for kids
☕️ A typical coffee cup holds about 240 ml (8 fl oz) — a handy size to imagine when practicing cup proportions.
✏️ Pencils are graded from hard (H) to soft (B); artists often use HB for outlines and 2B–6B for smooth, darker shading.
🎨 Many artists think of shading in three zones — highlights, midtones, and shadows — to make a flat shape look 3D.
🌀 Drawing smooth curved lines (like a cup rim) is easier when you move your whole arm from the shoulder, not just your wrist.
🌫️ Steam looks wispy because it's hot vapor that cools into tiny droplets; that changing shape makes it fun to sketch!
How do you draw a simple coffee cup step by step?
What materials do I need to draw a simple coffee cup?
What ages is this drawing activity suitable for?
What are the benefits of drawing a coffee cup for kids?
