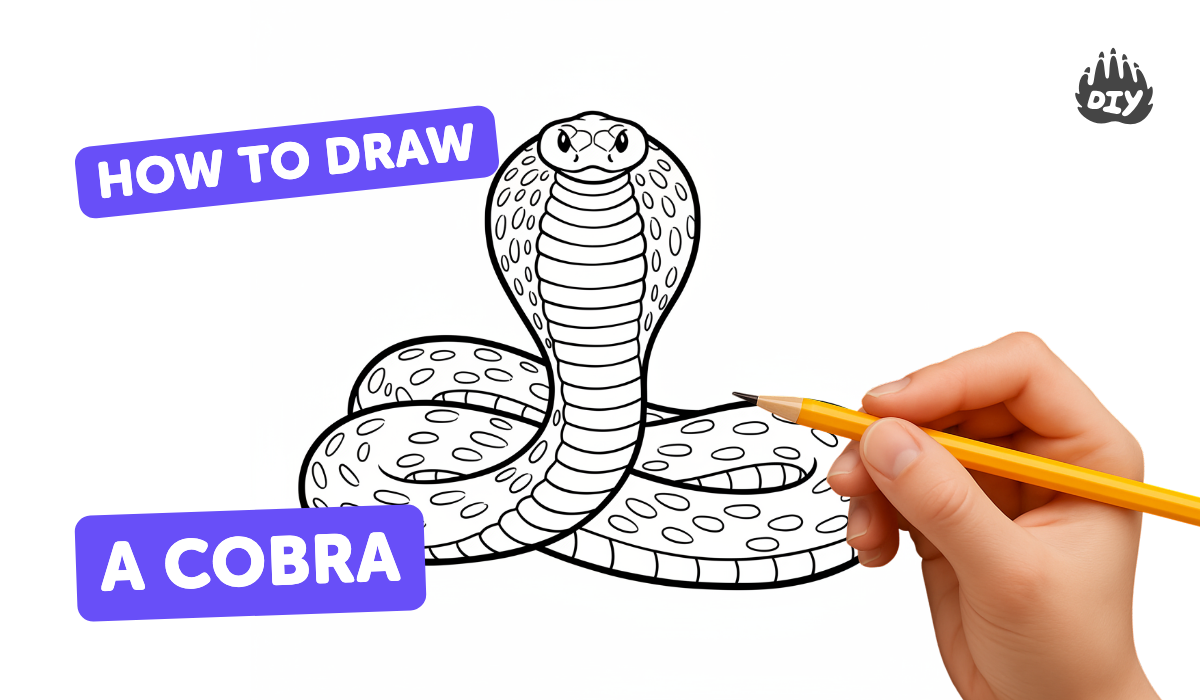
How to draw a cobra - a free cobra drawing guide
Draw a realistic cobra head and hood step-by-step using simple shapes, lines, and shading. Practice observation, proportions, and smooth line work.

Drawing Apps
Photos of cobra head and hood drawings


Step-by-step guide to draw a cobra head and hood
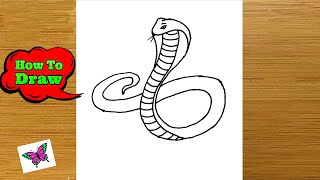
How to Draw a Cobra Snake Easy Step by Step | King Cobra Drawing for Kids & Beginners
Step 1
Place your paper flat and put your pencil eraser and blending tool where you can reach them.
Step 2
Lightly draw a small vertical oval for the cobra's head near the bottom center of the page.
Step 3
Draw a large wide curved hood behind the oval like an open shield that frames the head.
Step 4
Draw a light centerline from the top of the hood through the head to keep both sides even.
Step 5
Draw a short curved line at the front of the oval for the mouth.
Step 6
Draw almond-shaped eyes on each side of the centerline.
Step 7
Put a small dark dot or circle in each eye to make the pupils.
Step 8
Add tiny nostril dots near the front top of the head.
Step 9
Sketch simple curved lines radiating out from the head across the hood to suggest scales and add a few larger scales on the head.
Step 10
Trace over your best lines with firmer smooth strokes to create the final outline of the head mouth and hood.
Step 11
Erase the light guide lines gently so only your clean drawing remains.
Step 12
Shade the underside of the hood the lower jaw and areas around the eyes with soft pencil strokes and blend with a tissue or blending stump to make the cobra look three dimensional.
Step 13
Add darker markings on the hood and deepen shadows in the eyes and mouth to finish the details.
Step 14
Share your finished cobra head and hood on DIY.org
Help!?
What can we use instead of a blending stump if we don't have one?
If you don't have a blending stump, use a clean tissue, a cotton swab, or your fingertip to blend the soft pencil strokes when shading the underside of the hood and jaw in step 12.
My cobra hood looks uneven—how can I fix symmetry while drawing?
Keep the light centerline from the top of the hood through the head (step 4) and check that the almond-shaped eyes and hood curves are the same distance from that line before tracing your final outline in step 11.
How can I adapt this activity for different ages?
For younger kids, simplify steps 2–3 by pre-drawing the small oval and wide hood for them to trace and use crayons instead of blending, while older kids can add detailed scales in step 9 and stronger shading in steps 12–13 to practice texture and form.
How can we extend or personalize the finished cobra drawing?
Personalize it by creating unique hood markings, adding color with colored pencils or watercolors after step 13, drawing a jungle background or a full-body cobra, and then share your finished cobra head and hood on DIY.org as in the final step.
Watch videos on how to draw a cobra head and hood
How To Draw A Snake (Cobra) | Step By Step
4 Videos
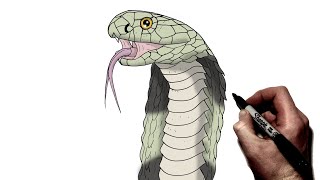
How To Draw A Snake (Cobra) | Step By Step
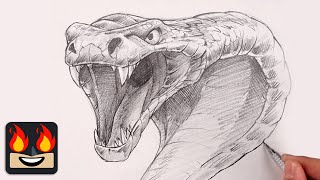
How To Draw a Cobra | Sketch Tutorial
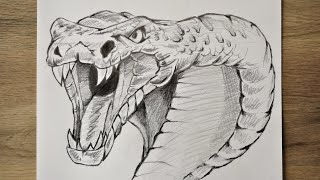
How To Draw a Cobra Snake | Sketch Tutorial step by step for beginners
How To Draw Snake Easy Step By Step | King Cobra Simple Drawing
Facts about animal drawing for kids
🐍 Cobras flare their hood by spreading elongated ribs behind their head to look bigger when threatened.
👀 Some cobras, like the king cobra, have surprisingly good vision and use it to judge distance.
🎨 The king cobra is the longest venomous snake and can grow up to about 18 feet (5.5 meters) — handy to know for scale.
🔍 Cobra scales create tiny highlights and shadows, so studying scale patterns helps make realistic shading.
⚠️ Most cobras are venomous, but the strength of venom varies by species — the hood is often a warning display.
How do you draw a realistic cobra head and hood step-by-step?
What materials do I need to draw a realistic cobra head and hood with my child?
What ages is drawing a realistic cobra head and hood suitable for?
What are the benefits of practicing cobra head and hood drawing with my child?
