How to draw a chocolate bar - a free chocolate bar drawing guide
Draw a chocolate bar with foil wrapper, broken square, and realistic shading. Practice proportions, texture, perspective, and coloring techniques step by step.

Drawing Apps
Photos of chocolate bar drawing examples with foil wrapper and broken square


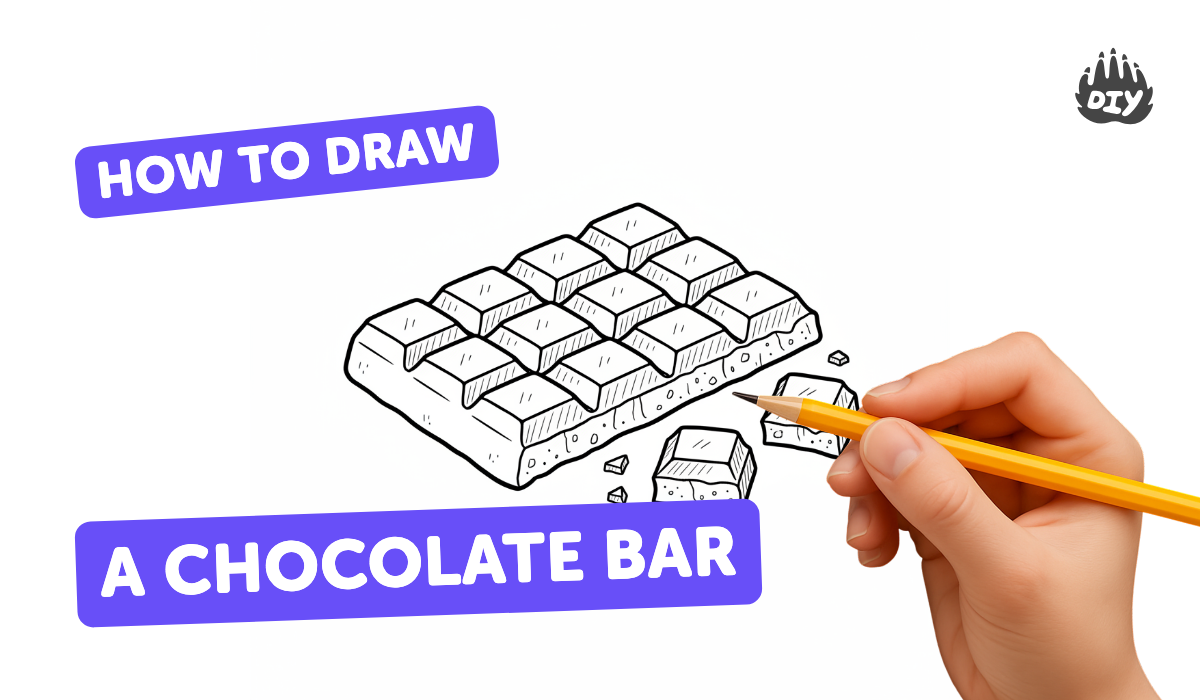
Step-by-step guide to draw a chocolate bar with foil wrapper, broken square, and realistic shading
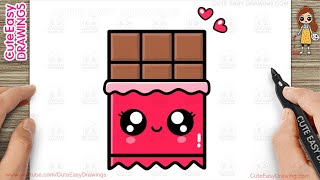
How to Draw a Cute Easy Chocolate Bar - Tutorial for Kids 🍫✨
Step 1
Lay your paper flat on the table in landscape (wide) orientation.
Step 2
Lightly draw a rectangle in the center about twice as wide as it is tall using your pencil and ruler.
Step 3
Divide the rectangle into 3 columns and 4 rows by drawing faint evenly spaced lines to make 12 squares.
Step 4
Sketch a jagged missing chunk in one corner square to show a broken square or bite.
Step 5
Draw two curved foil flaps folding away from the broken corner to show the wrapper peeled back.
Step 6
Add thin inner lines around each square to show the raised edges of the chocolate pieces.
Step 7
Mark the direction of the light source with a small arrow so you know where highlights and shadows go.
Step 8
Shade the faces of the chocolate that are opposite the light by pressing slightly harder with your pencil.
Step 9
Add short curved strokes and tiny dots inside the broken area to show a crumbly rough interior and darken it more.
Step 10
Draw quick sharp lines on the foil flaps to indicate shiny creases while leaving some thin strips unshaded for highlights.
Step 11
Gently blend the shaded chocolate faces with a blending stump or a clean tissue to smooth tones.
Step 12
Erase any faint construction lines and tidy stray marks while keeping your shading and highlights.
Step 13
Colour the chocolate with brown tones and the foil with silver or grey, keeping highlight strips bright and clean.
Step 14
Share your finished chocolate bar drawing on DIY.org
Help!?
What can I use if I don't have a ruler or a blending stump for the chocolate bar drawing?
Use the straight edge of a book or a credit card to draw the rectangle and evenly space the 3 columns and 4 rows, and use a clean tissue or your fingertip to gently blend the shaded chocolate faces instead of a blending stump.
My 12 squares look uneven and my shading is blotchy—how do I fix those problems?
Lightly mark equal spacing along the rectangle edges with your ruler or book before drawing the faint grid lines, keep your pencil strokes light when shading the faces opposite the small arrow, then build up pressure gradually and blend with a tissue to smooth tones.
How can I adapt this activity for different ages or skill levels?
For younger kids skip dividing into 3 columns and 4 rows and draw a simpler 2x3 bar with one folded foil flap, while older kids can follow every step, refine the jagged broken square and crumbly interior, and practice sharper foil creases and layered shading.
What are some ways to make the drawing more interesting or personal?
Add a small logo or wrapper pattern on the foil, use a white gel pen or leave thin unshaded strips for brighter highlights, and try metallic paint or coloured pencils when you colour the foil silvery-grey and the chocolate brown.
Watch videos on how to draw a chocolate bar with a foil wrapper, broken square, and realistic shading
How to Draw a Cute Chocolate Bar Simple & Easy for Kids
4 Videos
How to Draw a Cute Chocolate Bar Simple & Easy for Kids
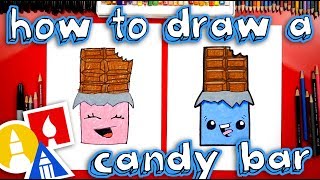
How To Draw A Chocolate Candy Bar
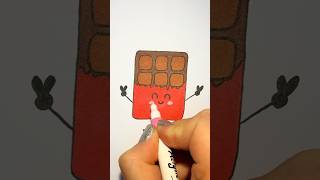
How to draw a chocolate bar 🍫 Step by step drawing for kids
How to Draw a Cute Simple Chocolate Bar - Easy for Kids
Facts about drawing and shading techniques for realistic objects
🍫 Many chocolate bars are molded into small squares or segments so you can snap off just one piece at a time.
🪙 Aluminium foil has a shiny and a dull side — the shiny side reflects light, which is why foil wrappers look glossy.
✏️ Hatching and cross-hatching are simple line techniques artists use to build up realistic shading with pencils.
🍬 Drawing a broken square in a chocolate bar instantly tells a tiny story — someone’s already enjoyed a bite!
📐 One-point perspective uses a single vanishing point to make flat drawings look like they have depth.
How do I draw a realistic chocolate bar with a foil wrapper and a broken square step by step?
What materials do I need to draw a chocolate bar with foil and realistic shading?
What ages is drawing a realistic chocolate bar with foil and a broken square suitable for?
What are the benefits, safety tips, or fun variations for this chocolate bar drawing activity?
