How to draw a cherry - a free cherry drawing guide
Learn to draw a realistic cherry step by step using simple shapes, shading, and color to practice observation, proportion, and light.

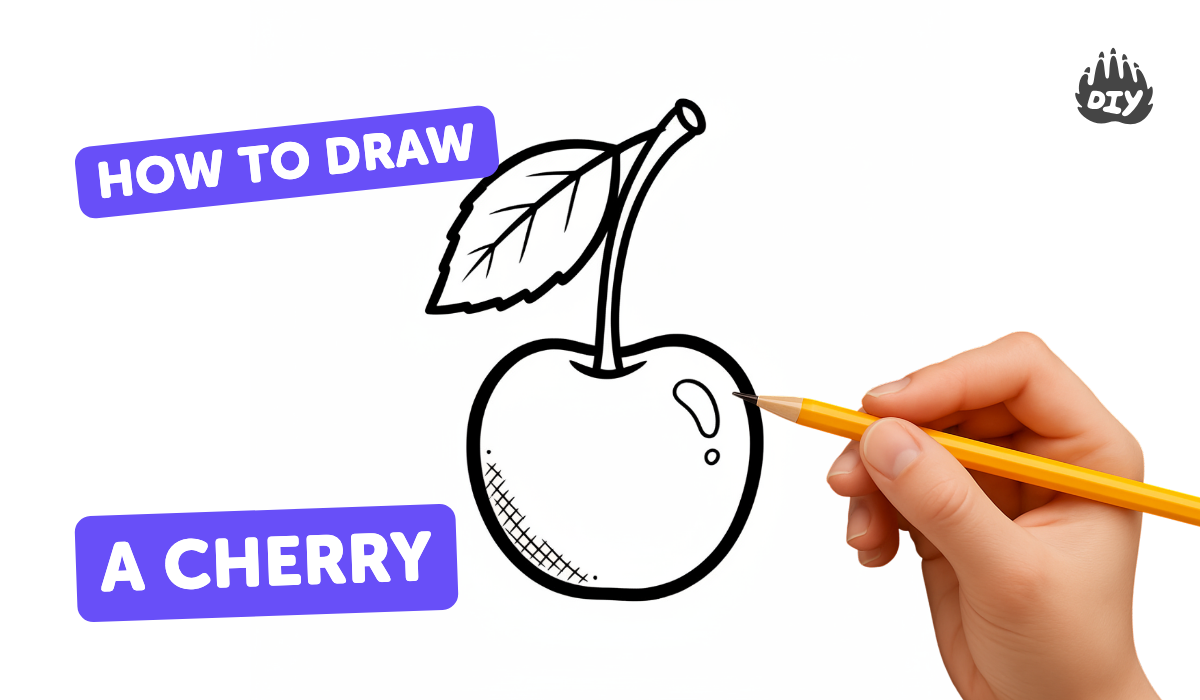
Step-by-step guide to draw a realistic cherry
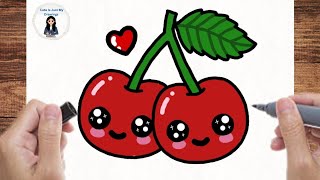
How to Draw a Cute Cherry Easy for Kids
Step 1
Find a real cherry or a clear photo of a cherry to look at closely.
Step 2
Decide which side the light comes from and remember where the bright spot falls on the cherry.
Step 3
Lightly draw a round circle for the body of the cherry using gentle pencil lines.
Step 4
Add a small inward curve at the top of the circle to show the dimple where the stem connects.
Step 5
Draw the stem by sketching two thin parallel curved lines that meet and bend slightly at the top.
Step 6
Mark the highlight by drawing a small oval where the light hits and keep that area clean without shading.
Step 7
Shade the cherry’s side opposite the light using soft pencil strokes to make the edge darker.
Step 8
Smooth the pencil shading with a tissue or cotton swab to make the cherry look round and shiny.
Step 9
Draw a soft flattened oval shadow under the cherry and shade it darker near the fruit and lighter outward.
Step 10
Color the cherry with red colouring materials and layer a darker red or brown on the shadowed side.
Step 11
Colour the stem with green and add a little brown to the side away from the light for depth.
Step 12
Darken the outer edge of the cherry and stem gently with pencil or a darker colour to define their shapes.
Step 13
Lightly erase the highlight oval if needed to make it crisp and make any small cleanups of stray lines.
Step 14
Take a photo of your finished cherry and share your creation on DIY.org
Help!?
What can we use if we don't have a real cherry, red colouring pencils, or cotton swabs?
Use a clear printed photo or a small red toy as your reference instead of a real cherry, swap red colouring materials for crayons or markers, and smooth shading with a tissue corner or your fingertip in place of a cotton swab.
My highlight isn't crisp and my shading looks muddy — how can I fix it?
Gently lift graphite from the small oval highlight with a kneaded eraser to sharpen it, re-smooth the shaded side with a tissue or cotton swab, and reapply soft pencil strokes on the opposite side to regain the darker edge as described in the shading and smoothing steps.
How can I adapt this drawing activity for younger or older children?
For younger kids, draw a larger circle and use chunky crayons to block in the red and flattened shadow, while older kids can refine the stem with two thin parallel curved lines, add reflected light, and layer darker red or brown for deeper shading.
How can we extend or personalize the finished cherry drawing?
Turn it into two cherries with joined stems, darken the outer edge and add a soft background wash or patterned paper, then take a photo of your finished cherry to share on DIY.org as suggested in the final step.
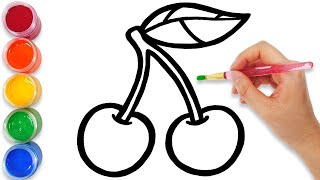
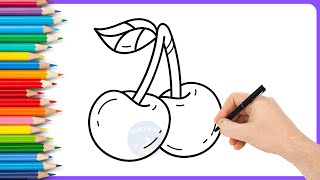
Watch videos on how to draw a realistic cherry
How to Draw a Cherry Easy Step by Step | Drawing Cherries for Kids
4 Videos
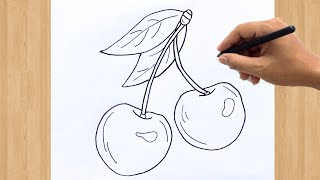
How to Draw a Cherry Easy Step by Step | Drawing Cherries for Kids
Step-by-Step Cherry Drawing Tutorial for Children
How to draw cherry Drawing for Beginners | Easy and Cute Step by Step 🐬 | Color's Artbox
How To Draw A Cute Cherry Step By Step
Facts about drawing and shading for kids
🍒 A cherry is a type of drupe (a stone fruit) — it has a single hard pit inside its juicy flesh.
🎨 Chiaroscuro is an Italian art term meaning 'light-dark' and artists use it to make flat shapes look three-dimensional.
✏️ Many artists begin with simple shapes (like circles and ovals) to get the cherry's proportion right before adding details.
☀️ A tiny bright highlight on a cherry is what makes it look shiny — highlights show where the light hits the surface directly.
🧠 Practicing quick observational sketches for 10–15 minutes a day helps your eye notice subtle shapes and shadows much faster.
How do I teach my child to draw a realistic cherry step by step?
What materials do I need to draw a realistic cherry with my child?
What ages is learning to draw a realistic cherry suitable for?
What are the benefits, safety tips, or variations for drawing cherries with kids?
