How to draw a cheetah - a free cheetah drawing guide
Draw a cheetah step by step using simple shapes, add facial details, spots, and shading to make a realistic animal picture.

Drawing Apps
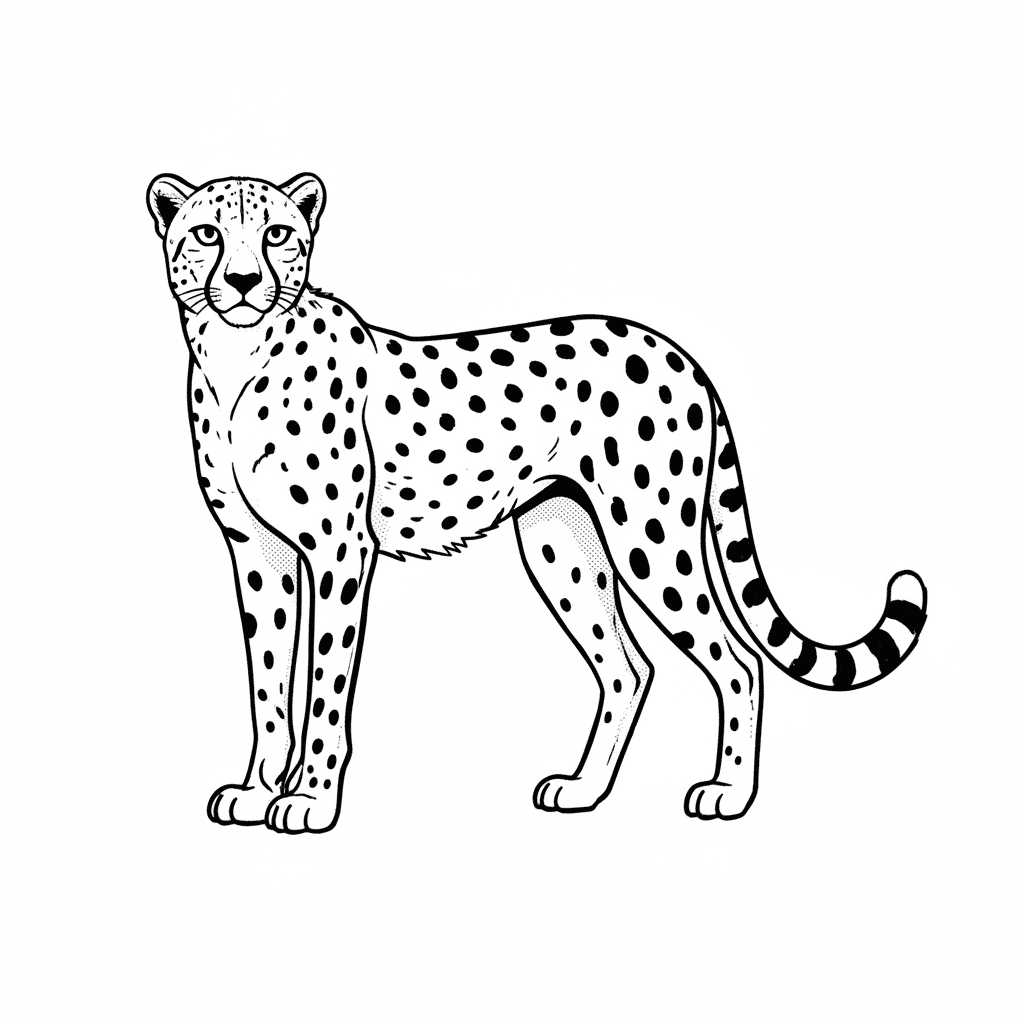
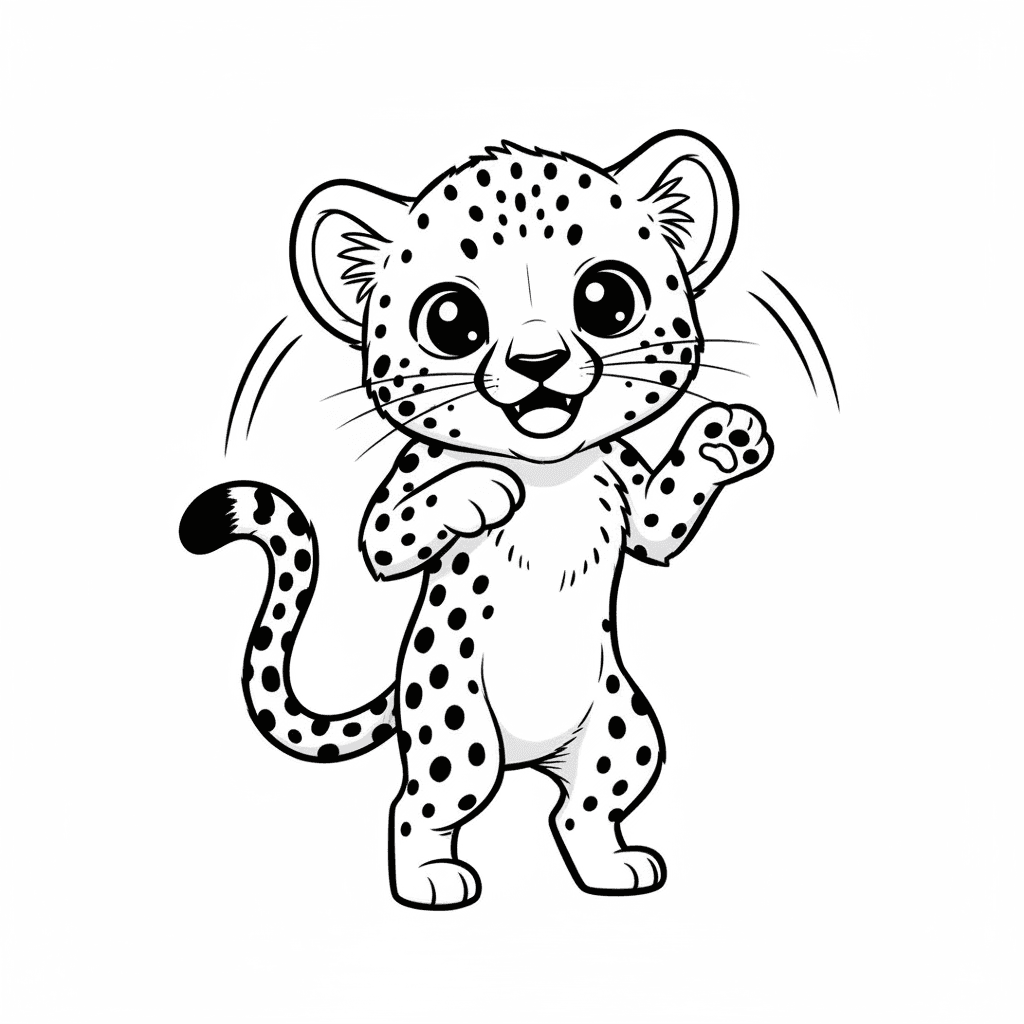
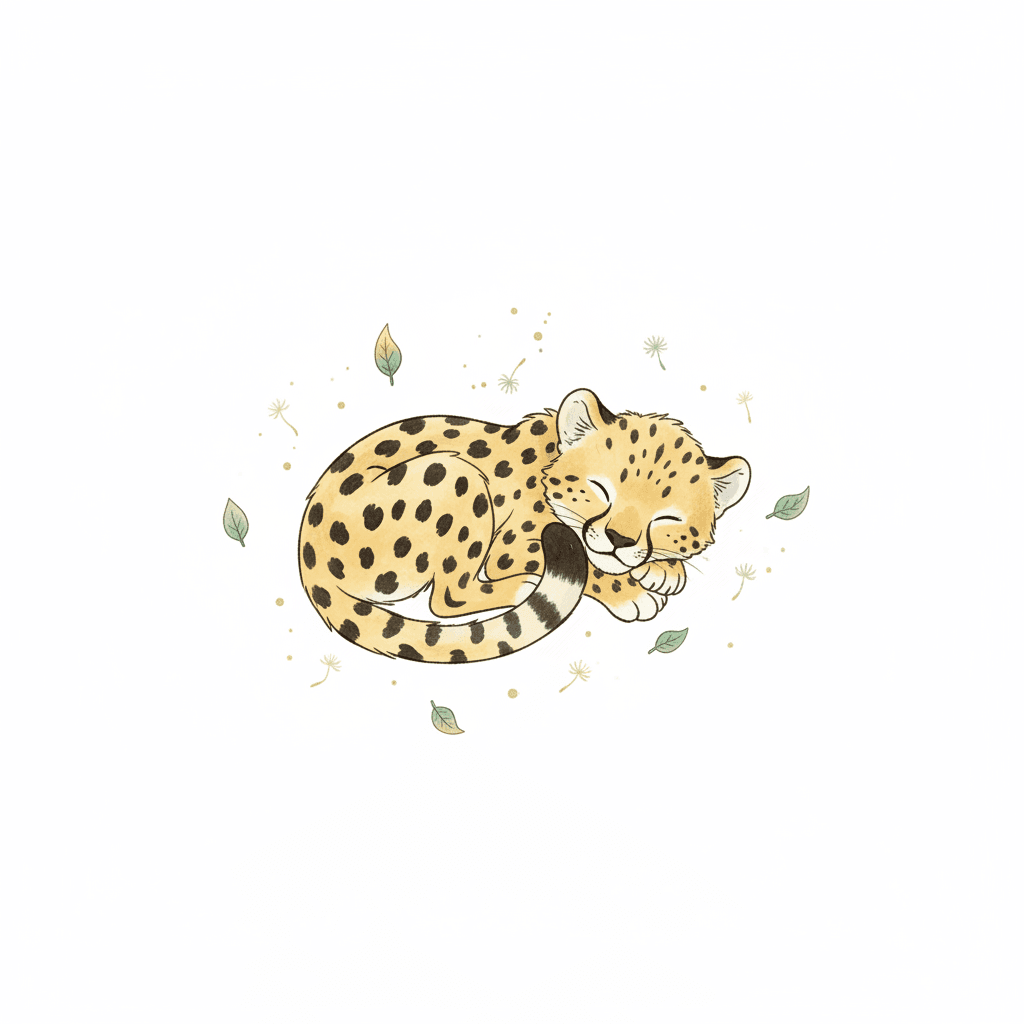
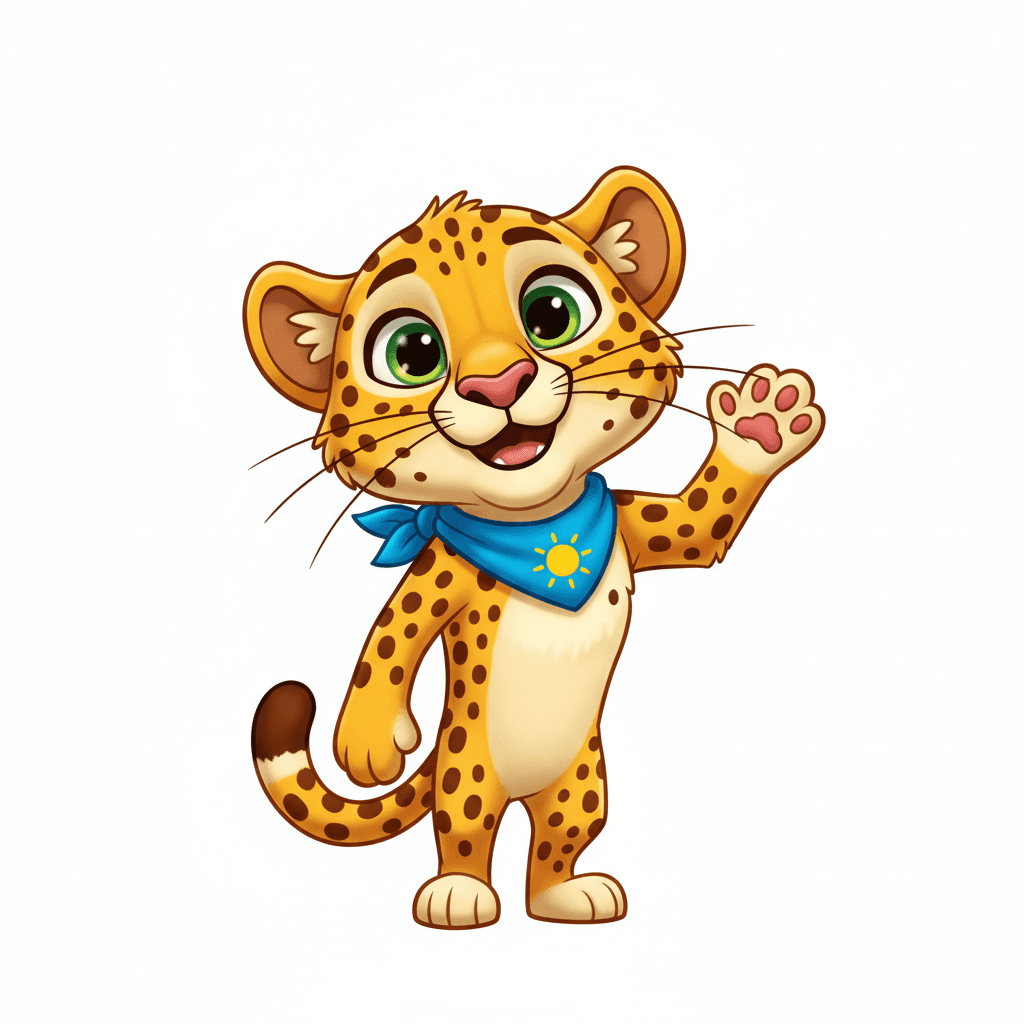
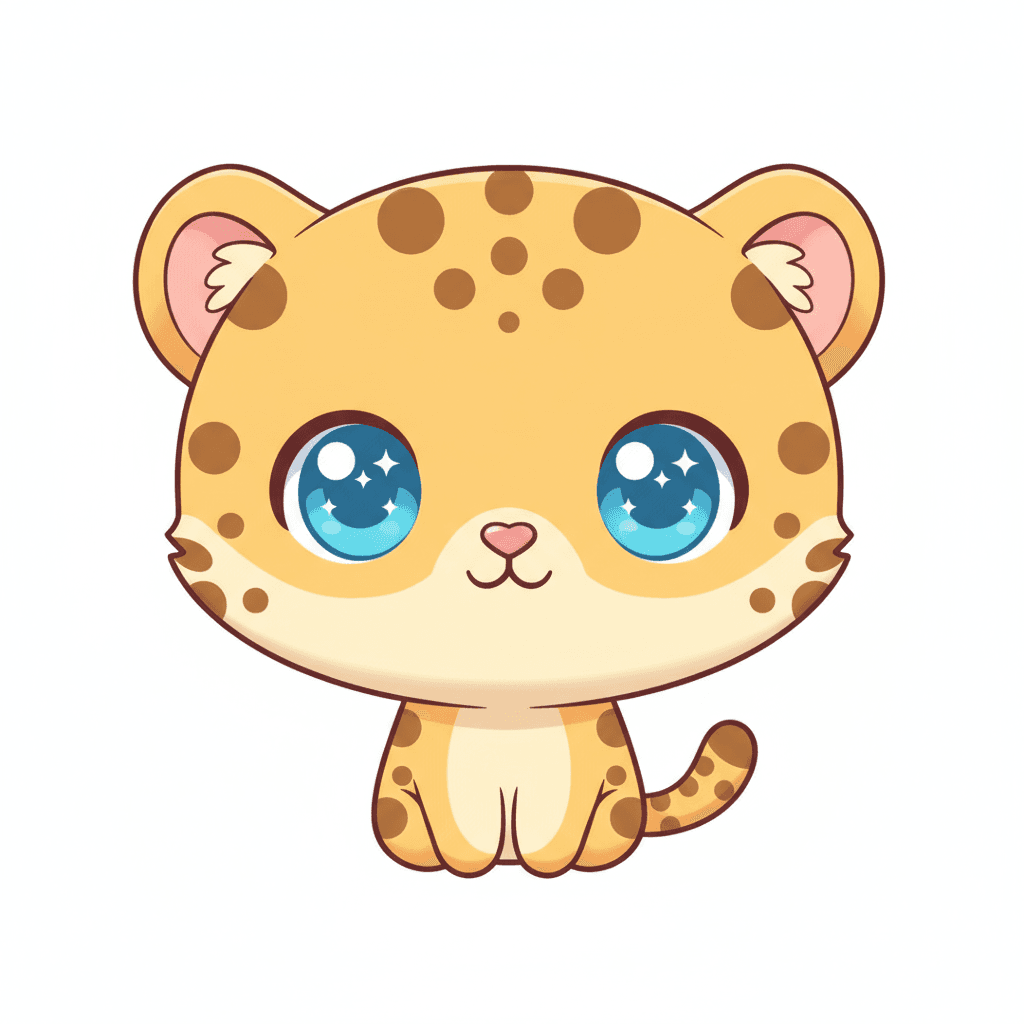
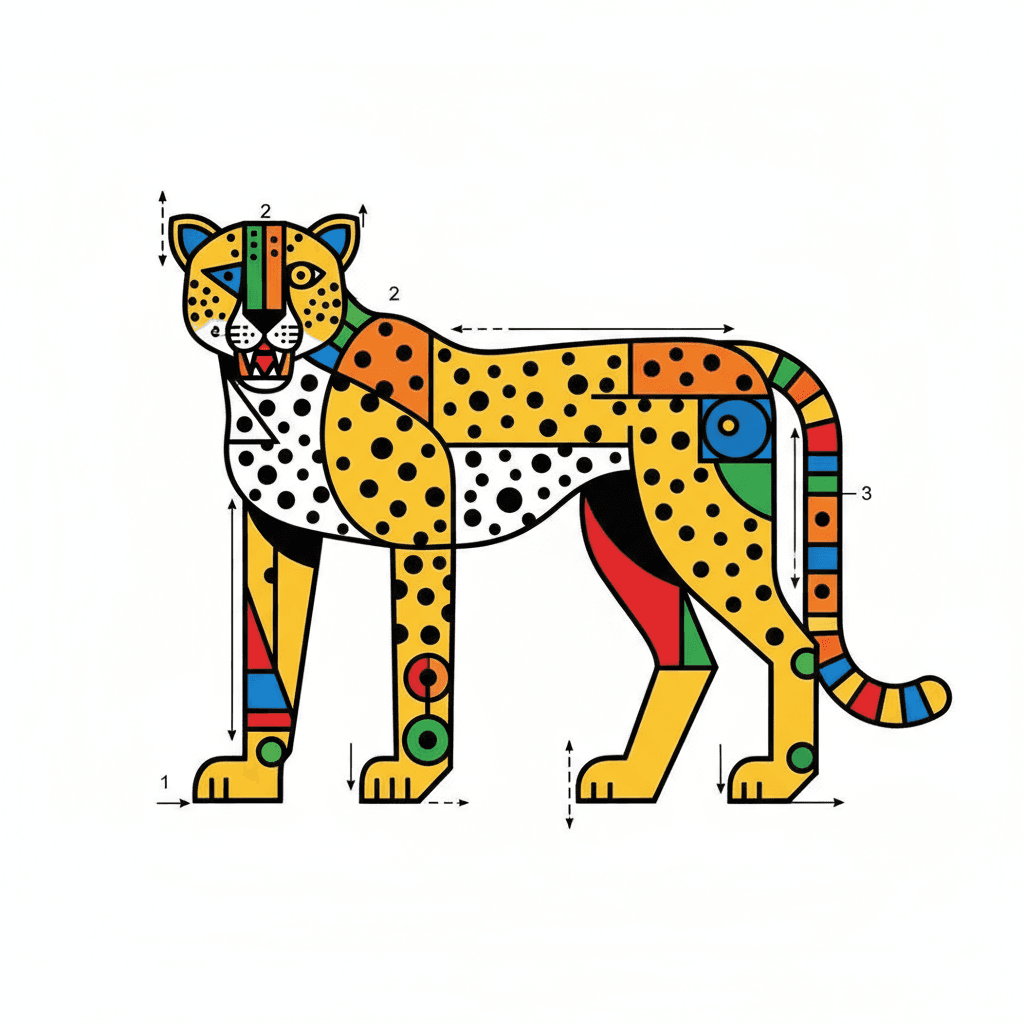
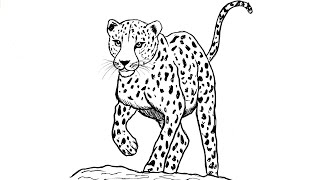
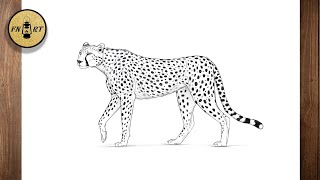
Photos of cheetah drawing examples
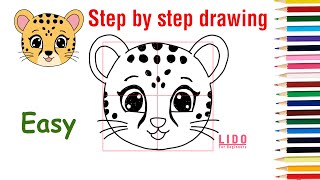
Step-by-step guide to draw a cheetah
Cheetah Drawing Tutorial 🐆 | Easy Step by Step for Beginners & Kids
Step 1
Gather your materials and find a comfy flat place to draw.
Step 2
Lightly draw a medium circle for the head and a long oval for the cheetah body.
Step 3
Draw a smooth curved line along the top of the body from the head to the back to show the cheetah’s spine.
Step 4
Draw a long thin curved line extending from the back for the tail.
Step 5
Add four long thin ovals under the body to mark where each leg will go.
Step 6
Add small rounded ovals at the ends of the leg shapes to mark the paws.
Step 7
Draw a short curved line connecting the head circle to the body to make the neck.
Step 8
Add two small rounded triangle ears on top of the head and a small oval at the front of the head for the muzzle.
Step 9
Draw the face: two almond eyes with small tear lines toward the nose a small triangle nose and a simple mouth with whisker dots.
Step 10
Smooth and connect your shapes into a cheetah outline by drawing curved lines around the body head neck legs and tail.
Step 11
Add spots across the body and smaller spots on the face and tail tip using different sizes and shapes.
Step 12
Lightly erase the original guide shapes and stray pencil lines to clean up your drawing.
Step 13
Trace the final clean outline with a black marker if you like and let the ink dry.
Step 14
Colour the cheetah with golden yellow or tan and use darker brown or black for the spots and tear lines.
Step 15
Share your finished cheetah drawing on DIY.org.
Help!?
What can we use instead of a black marker or special colouring pencils if we don't have them?
If you don't have a black marker to trace the final outline (step 13), use a dark pencil, gel pen, or fine-tip brown marker and let any ink dry before erasing pencil lines.
My cheetah looks awkward when I connect the shapes — how can I fix that?
If the cheetah looks stiff when you smooth and connect your shapes into a cheetah outline (step 9), redraw the curves with light, continuous strokes and use a kneaded eraser to gently lift guide lines so the final outline stays flowing.
How can I change the activity for younger or older kids?
For younger children, simplify by using pre-drawn circle and oval templates for the head and body (steps 2–3) and sticker spots for step 11, while older kids can add detailed tear lines, varied spot sizes (step 11), shading, and ink textures during tracing and colouring (steps 13–15).
What are fun ways to improve or personalize our cheetah drawing?
To extend the activity, after tracing the final clean outline with a black marker and letting it dry (steps 13–14), add a painted savannah background, collage fur textures, name or collar details, then colour (step 15) and share the finished cheetah on DIY.org (final step).
Watch videos on how to draw a cheetah
Easy Cheetah Drawing Step by Step Fun & Simple for Kids! How to draw Cheetah #Lidoartworks
4 Videos
Easy Cheetah Drawing Step by Step Fun & Simple for Kids! How to draw Cheetah #Lidoartworks
🐆 How to Draw a Cheetah - Step by Step Tutorial! 🎨 #howtodraw #drawingtutorial #artforkids
How to Draw a Cheetah Step by Step - Easy Animal Drawing for Beginners
How to draw a cheetah full body easy step by step
Facts about drawing animals for kids
🐆 Cheetahs are the fastest land animals, reaching speeds up to about 112 km/h (70 mph) in short sprints.
🔍 Each cheetah's spots are unique—scientists can identify individuals by their spot patterns like fingerprints.
🦴 A cheetah's long tail acts like a steering rudder, helping it make sudden, high-speed turns while hunting.
✏️ When drawing, blocking out the cheetah with simple shapes (circles, ovals, lines) makes getting the pose and proportions easy.
🎨 Adding directional shading and varied spot sizes gives your cheetah depth and a more realistic fur look.
How do you draw a cheetah step by step?
What materials do I need to draw a cheetah?
What ages is this cheetah drawing activity suitable for?
What are the benefits of drawing a cheetah and how can we vary the activity?
