How to draw a chain - a free chain drawing guide
Learn to draw a realistic chain by sketching linked loops, shading for depth, and practicing proportions and spacing step by step.

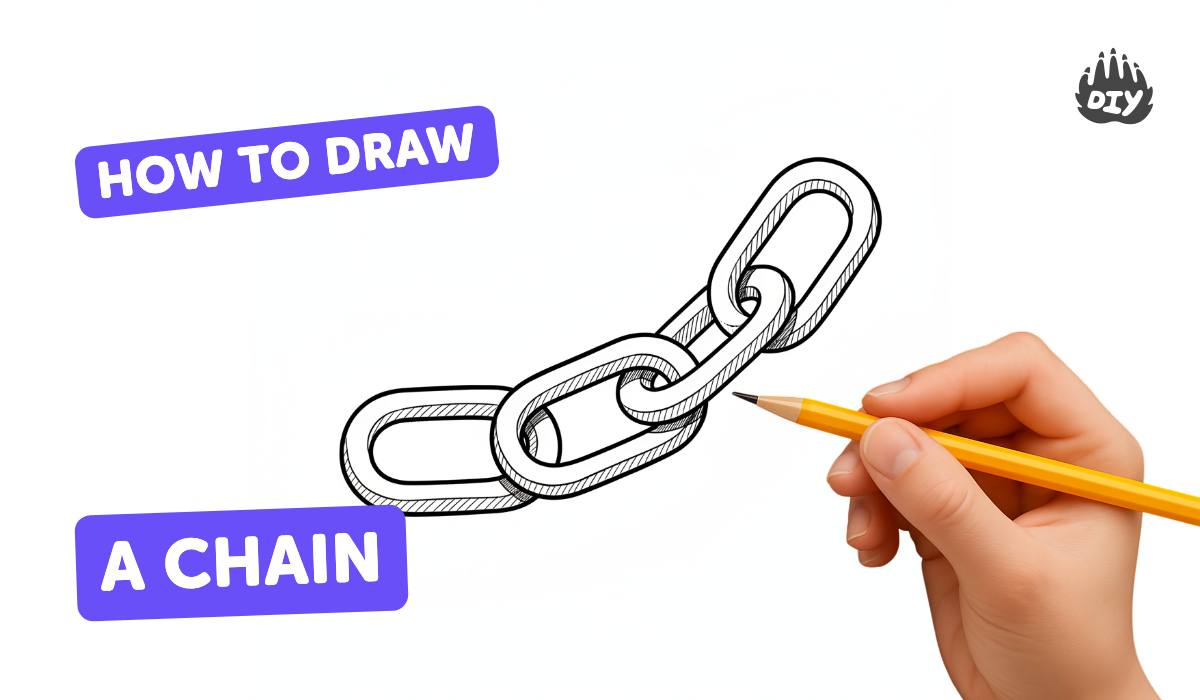
Step-by-step guide to draw a realistic chain
How to Draw Chains - Simple Step by Step Drawing for Beginners
Step 1
Gather all your materials and place them on a clean flat workspace so you are ready to draw.
Step 2
Lightly draw a straight or gently curved guideline across the paper to show the path of your chain.
Step 3
Mark evenly spaced points along the guideline to show where the centers of each link will go.
Step 4
Draw a light oval around the first point to create the first chain link.
Step 5
Draw a second oval around the next point so it overlaps the first and looks linked.
Step 6
Continue drawing ovals along the guideline so each new link passes through the previous one.
Step 7
Erase the parts of each loop that should sit behind the link in front so the links look interlocked.
Step 8
Draw a smaller inner oval inside each link to give each link visible thickness.
Step 9
Draw a small arrow at the top edge of the paper to show the direction the light is coming from.
Step 10
Shade the side of each link that faces away from the arrow to create the illusion of depth.
Step 11
Use a blending stump or tissue to smooth and soften the shaded areas for a realistic metal look.
Step 12
Use the eraser to lift thin highlights where the light would hit each link for shiny reflections.
Step 13
Write your name or draw a small signature in the corner of the paper.
Step 14
Share your finished chain drawing on DIY.org.
Help!?
What can we use instead of a blending stump, special eraser, or artist paper if we don't have them?
If you don't have a blending stump use a clean tissue, cotton swab, or fingertip to smooth the shaded areas, and replace a kneaded eraser with a regular pencil eraser and standard printer paper for the drawing surface.
My links don't look linked — how can I fix that while drawing?
Draw the ovals lightly and mark the centers first, then carefully erase the parts of each loop that should sit behind the next link (as instructed) using a small eraser so the overlaps read as interlocked.
How can I adapt the activity for different age groups?
For toddlers have an adult pre-draw the guideline and evenly spaced points and let them color big ovals, for elementary kids have them draw and erase overlapping ovals and add inner ovals, and for older kids have them add the arrow, detailed shading away from the arrow, blending with a stump, and lifted highlights with the eraser.
How can we enhance or personalize the finished chain drawing?
Use metallic colored pencils or light watercolor over your shaded links, vary link shapes and sizes along the guideline, add a cast shadow beneath the chain, lift thin highlights with the eraser where the arrow indicates light, and sign and share on DIY.org as the instructions suggest.
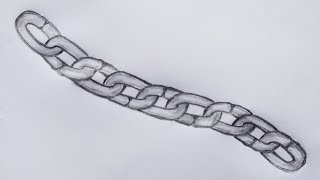
Watch videos on how to draw a realistic chain
How to Draw a Realistic Chain - Easy Step-by-Step Tutorial!"
4 Videos
How to Draw a Realistic Chain - Easy Step-by-Step Tutorial!"
Draw the chain 3D।How to draw a chain step by step।Easy way to draw a chain।
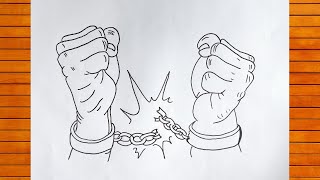
How to Draw a Hands Breaking Chains Easy Step by Step || Broken Chains Easy Pencil Sketch
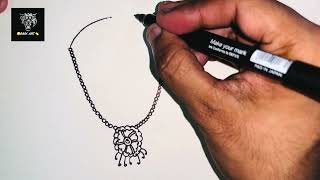
How to Draw Necklace Easy Step by Step for Kids | Simple Jewelry Drawing
Facts about drawing and sketching
🔗 Real chains often use oval links because the elongated shape spreads weight and resists twisting.
🔍 A circle viewed at an angle becomes an ellipse — that’s why chain loops look flattened when tilted.
✏️ Pro tip: sketch light guide lines and overlapping curves first so linked loops line up before you ink them.
🎨 Shading trick: put a small, sharp shadow where one link crosses another and softer shading along the curved sides to show roundness.
📏 Keep spacing regular by marking repeat measurements along your guide line so the chain looks even and believable.
How do I teach my child to draw a realistic chain step by step?
What materials do we need to draw a realistic chain with kids?
What ages is learning to draw a realistic chain suitable for?
What are the benefits of drawing chains for children?
