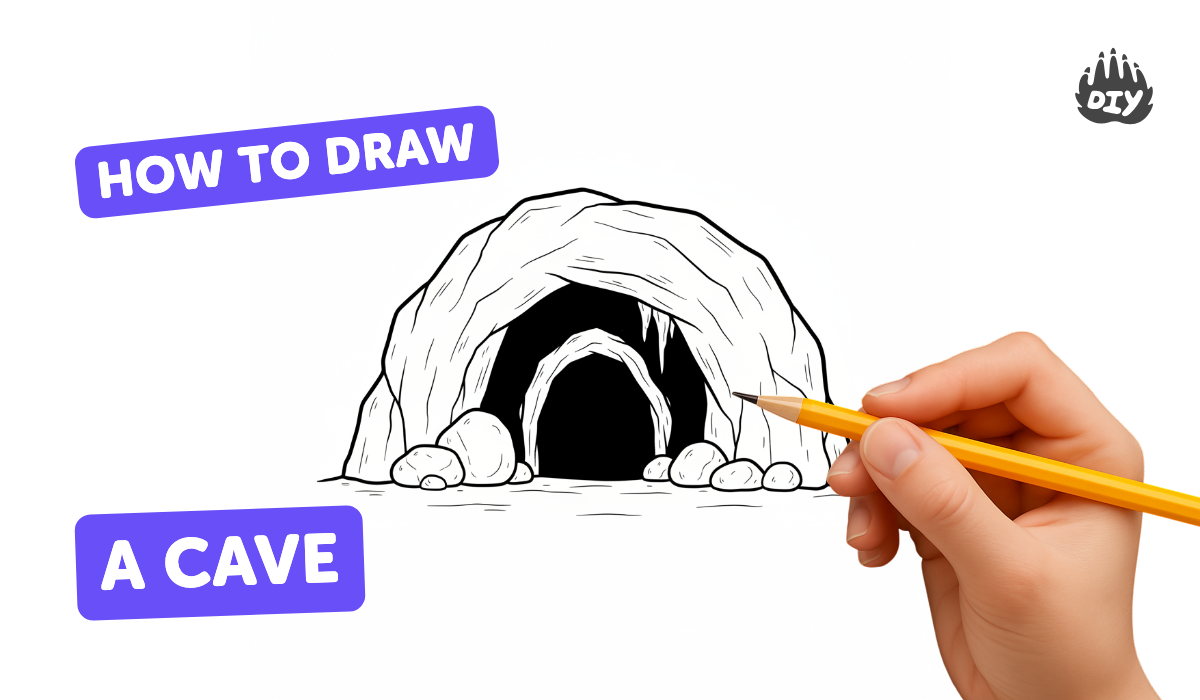
How to draw a cave - a free cave drawing guide
Learn to draw a cave step-by-step using pencil, eraser, and crayons, adding texture, shadows, stalactites, and a glowing entrance to practice shading.

Drawing Apps
Photos of cave drawing examples


Step-by-step guide to draw a cave
How to draw The Cave for kids || drawing and coloring learning || step by step drawing🎨🌈👑
Step 1
Place your paper on a flat surface.
Step 2
Lightly sketch a big rounded cave entrance near the center or to one side of the paper.
Step 3
Draw a faint winding path from the entrance toward the front of the paper to show where the light travels.
Step 4
Draw several pointed stalactites hanging from the cave ceiling using uneven triangle shapes.
Step 5
Draw a few stalagmites rising from the cave floor using uneven cone shapes.
Step 6
Mark where the light is coming from by drawing a bright open space or small circle just outside the entrance.
Step 7
Add short curved and jagged lines along the cave walls and ceiling to create rock texture.
Step 8
Shade the deepest parts of the cave with soft pencil strokes pressing a little darker where it is farthest from the light.
Step 9
Gently rub the shaded areas with your finger or a tissue to blend and soften the shadows.
Step 10
Color the entrance with bright yellow and orange crayons to make it look like it is glowing.
Step 11
Add a lighter halo of color around the entrance to make the glow spread into the cave.
Step 12
Color the cave interior with darker browns grays and purples to show cool shadowed rock.
Step 13
Darken the shadows directly under stalactites and along the floor to make the shapes feel three dimensional.
Step 14
Erase any extra pencil guidelines lightly to tidy your drawing.
Step 15
Share your finished cave drawing on DIY.org
Help!?
If we don't have crayons or a tissue, what can we use instead?
Use colored pencils or washable markers to color the entrance and a soft cotton cloth, finger, or blending stump to blend the shaded areas instead of crayons and a tissue.
My shadows look patchy when I rub them — how can I fix that?
Revisit the 'shade the deepest parts of the cave' step by applying light, even pencil strokes and then blend in small circular motions with a clean finger, cloth, or kneaded eraser to smooth patchy shading.
How can I simplify or make this activity harder for different ages?
For younger children, pre-sketch the big rounded cave entrance and winding path and let them color with thick crayons, while older kids can add detailed rock texture, extra stalactites/stalagmites, and layered darker browns, grays, and purples for advanced shading.
How can we personalize or extend the cave drawing once it's finished?
Add a glowing campfire or torch just outside the entrance, paint a reflective puddle on the cave floor, or use metallic gel pens for the bright yellow-orange entrance and lighter halo to make the glow stand out.
Watch videos on how to draw a cave
Creative Cave Painting Art Lesson Activities
4 Videos

Creative Cave Painting Art Lesson Activities
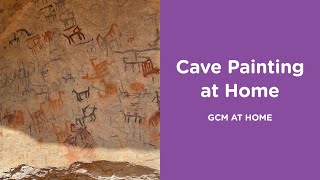
Cave Painting At Home | Easy Drawing Activity for Kids
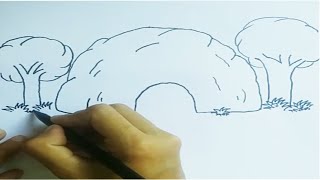
Draw Easy Step by Step 3 Drawing How to Draw a Cave
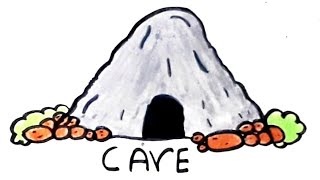
How to draw a cave || easy drawings || for kids || Crafty people
Facts about drawing and shading techniques for kids
🕳️ Veryovkina Cave in Georgia is the deepest known cave at over 2,200 meters deep — that's like stacking over 7 Eiffel Towers!
🪨 Stalactites hang from cave ceilings while stalagmites grow up from the floor — remember: stalactites 'hold tight' to the ceiling.
⏳ Stalactites and stalagmites grow extremely slowly, often taking hundreds to thousands of years to form just a few centimeters.
✨ A glowing cave entrance creates strong contrast and silhouette effects that are perfect for practicing shading and light direction.
✏️ Simple tools like pencil, eraser, and crayons can create convincing rock texture and depth when you layer tones and use highlights.
How do I teach my child to draw a cave step-by-step?
What materials do I need to draw a cave with my child?
What ages is drawing a cave with shading suitable for?
What are the benefits of drawing caves and how can I vary the activity?
