How to draw a cat paw - a free cat paw drawing guide
Draw a realistic cat paw using simple shapes, guides, and shading steps. Practice proportions and texture to create a polished paw illustration.

Photos of cat paw drawing examples


Step-by-step guide to draw a cat paw
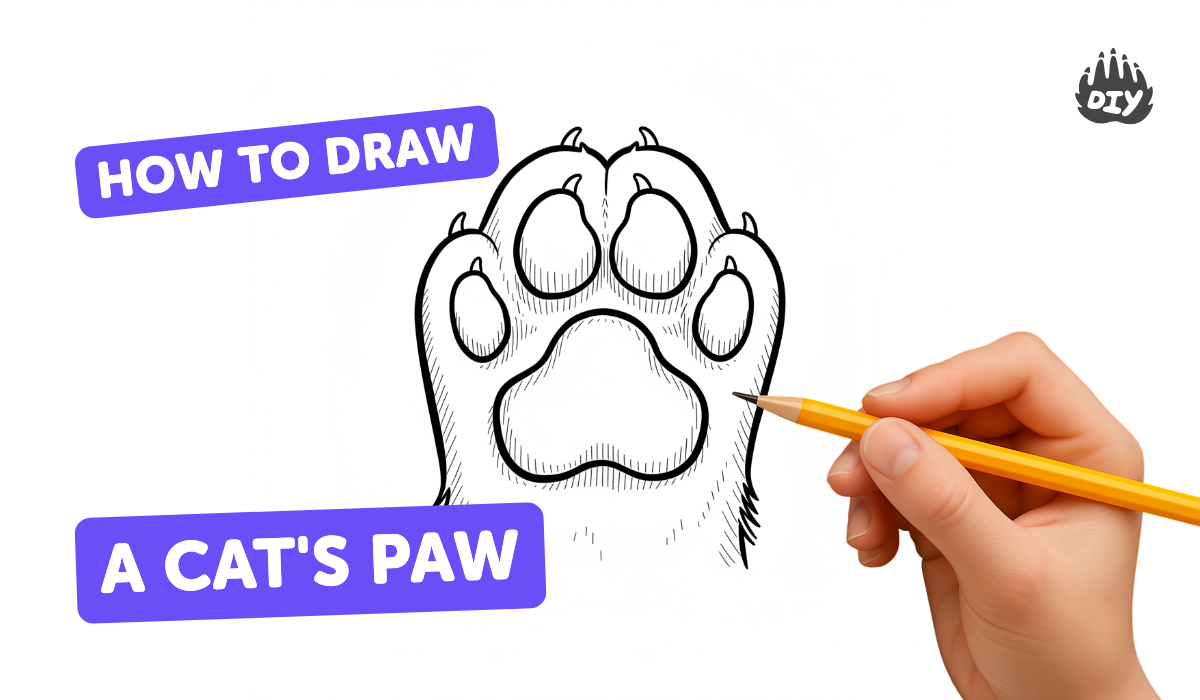
How to Draw a Cat Paw
Step 1
Place your paper and pencil in front of you so you are ready to draw.
Step 2
Lightly draw a large rounded triangle or bean shape for the main paw pad.
Step 3
Add four small ovals above the main pad for the toe pads spaced evenly.
Step 4
Draw light curved guide lines connecting each toe pad to the main pad to show their positions.
Step 5
Sketch a soft outer outline around the pads to form the paw’s furry silhouette.
Step 6
Erase any guide lines that fall outside the outer paw outline so the shape is clear.
Step 7
Add short directional fur strokes along the outer edge following the curve of the paw.
Step 8
Draw small curved lines at the front of each toe pad to suggest partially hidden claws.
Step 9
Shade the underside of each pad with light pencil strokes to make them look rounded.
Step 10
Gently smudge the shaded pad areas with a blending stump or cotton swab for smoothness.
Step 11
Darken the shadow where the pads meet the paw and just under the paw to give depth.
Step 12
Add fine short strokes inside and between pads to build realistic fur texture.
Step 13
Trace the main lines with a sharper pencil or fine pen to make important edges stand out.
Step 14
Erase stray sketch marks to clean up your drawing and make it look polished.
Step 15
Take a photo of your finished cat paw and share it on DIY.org.
Help!?
What can I use if I don't have a blending stump, fine pen, or a good eraser?
If you don't have a blending stump use a cotton swab or your fingertip to smudge the shaded pad areas (step about smudging), darken important edges with a sharpened pencil instead of a fine pen (step to trace main lines), and lift guide marks with a clean cloth corner or a kneaded eraser when you erase stray sketch marks.
My paw looks flat or the pads don't look rounded — how do I fix it?
Darken the shadow where the pads meet the paw and just under the paw, deepen the light pencil strokes shading the underside of each pad, then gently smudge with your blending stump or cotton swab to create rounded volume.
How can I adapt this drawing for different ages?
For younger kids simplify to a single large rounded triangle and four ovals drawn with a marker and skip smudging, while older kids should keep light guide lines, add short directional fur strokes and fine short strokes between pads, then trace with a fine pen for realism.
How can we extend or personalize the cat paw drawing activity?
After erasing guide lines, add color with colored pencils or watercolor, vary the outer furry silhouette and fur stroke lengths for different breeds, arrange multiple paws into a pattern, and photograph your finished paw to decorate before sharing on DIY.org.
Watch videos on how to draw a cat paw
How to Draw Cat Paws Easy - quick pose gesture sketch for beginner kitty artist, simple practice art
4 Videos
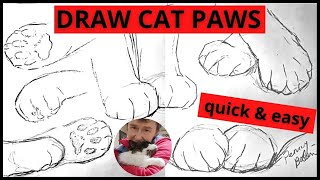
How to Draw Cat Paws Easy - quick pose gesture sketch for beginner kitty artist, simple practice art
How to draw a cat paw print step by step easy version | Easy Drawings
How to Draw Cat Paw Prints in a Few Easy Steps: Drawing Tutorial for Beginner Artists
How to Draw a Cute Cat Step by Step: Fun & Easy Drawing Tutorial for Kids and Beginners!
Facts about animal drawing for kids
🐾 Cat paw pads contain sweat glands — they help cats cool down and leave scent marks!
😺 Most cats have five toes on each front paw and four on each back paw (some polydactyl cats have extra!).
✍️ Artists often block in a paw with simple shapes like circles and ovals before adding details.
🌈 Paw pad color often matches a cat's fur pigmentation — black cats commonly have dark pads, for example.
🎨 To draw realistic texture, use soft directional shading and tiny overlapping strokes to show fur and pad wrinkles.
How do I draw a realistic cat paw step-by-step?
What materials do I need to draw a realistic cat paw?
What ages is drawing a realistic cat paw suitable for?
What are the benefits of drawing a cat paw for children?


