How to draw a cape - a free cape drawing guide
Draw a flowing cape step-by-step using simple shapes, folds, shading, and motion lines to create realistic fabric texture and depth.

Step-by-step guide to draw a flowing cape
How To Draw Cape Step by Step #shorts #shortsfeed
Step 1
Lightly sketch a small head and a short shoulder line to anchor where the cape will attach.
Step 2
Draw a curved neckline line across the shoulders to show where the cape fastens.
Step 3
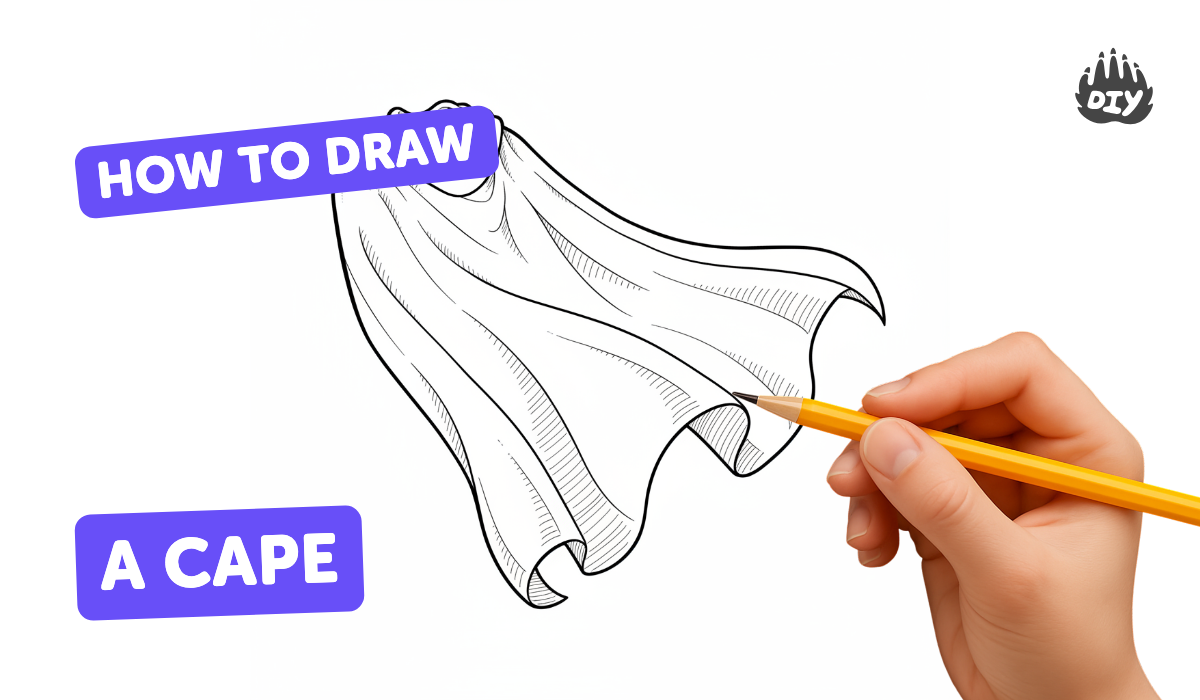
Sketch a large teardrop or semicircle shape behind the body to map the cape’s overall size.
Step 4
Draw long curved flow lines radiating from the neckline outward to set the cape’s movement direction.
Step 5
Add 3 to 5 curved fold lines following the flow lines that connect the neckline to the cape edge.
Step 6
Outline the cape’s outer edge with a wavy line to show wind and motion.
Step 7
Erase extra guide lines that fall outside the final cape outline to clean up your drawing.
Step 8
Draw short inner crease lines near the neckline and along folds to emphasize where fabric bunches.
Step 9
Shade the underside of each fold with light pencil strokes that follow the curve of the fabric.
Step 10
Gently blend the pencil shading with a tissue or cotton swab to soften shadows.
Step 11
Add short motion lines and small fluttering fabric lines around the cape edge for extra movement.
Step 12
Colour raised areas lightly and add darker colour to the shaded parts to create depth and texture.
Step 13
Share your finished cape on DIY.org so others can see and celebrate your drawing.
Help!?
What can we use instead of a tissue or cotton swab for blending if we don't have one?
Use a clean fingertip, a folded paper towel, or a soft scrap of cloth to gently blend the pencil shading in step 10 when you don’t have a tissue or cotton swab.
My cape looks stiff and flat—what step should I fix to make it look like it's blowing in the wind?
Go back to step 4 and redraw long curved flow lines radiating from the neckline, then add 3–5 curved fold lines in step 5 that follow those flows and shade the underside of each fold in step 9 to give realistic movement.
How can I change this activity for younger children or make it more challenging for older kids?
For younger kids simplify to a big teardrop shape from step 3 with one or two fold lines and crayons to colour, and for older kids add detailed inner crease lines (step 8), careful curved shading (step 9), blending (step 10), and extra motion lines (step 11).
How can we personalize or improve the final cape drawing before sharing it on DIY.org?
Add a unique pattern or clasp at the curved neckline (step 2), vary the cape edge waves in step 6 for different wind effects, and use lighter colours on raised areas plus darker tones on shaded parts in step 13 to make your cape pop before uploading in step 14.
Watch videos on how to draw a flowing cape
How to Draw a Cape in a Few Easy Steps: Drawing Tutorial for Beginner Artists
4 Videos
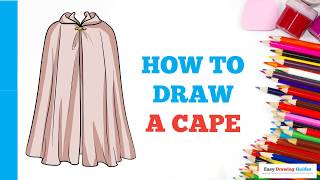
How to Draw a Cape in a Few Easy Steps: Drawing Tutorial for Beginner Artists
How to draw a cape

How to Make an Easy Cape (Halloween, Cosplay, or Fall Fashion)

Shapes Galore! Match, Draw & Color Fun Shapes Game for Toddlers | Easy Art Activities! | Cape Shape
Facts about drawing and shading for kids
🦸♂️ Capes have been worn for centuries — from medieval travelers to modern superheroes — because they’re both stylish and dramatic!
🎨 Artists since the Renaissance have studied drapery to learn how cloth folds and catches light, making figures look more realistic.
✏️ Gesture drawing is a fast, fun way to capture the movement of a flowing cape before adding details.
🧵 The thickness and stiffness of fabric change its folds: lightweight silk creates soft ripples while heavy wool makes long sweeping folds.
✨ Simple shading techniques like cross-hatching can turn flat paper into convincing, three-dimensional fabric.
How do I draw a flowing cape step-by-step with my child?
What materials do I need to draw a flowing cape with my child?
What ages is drawing a flowing cape suitable for?
What are the benefits of drawing capes and fun variations to try?
